Butternut Squash Soup

Butternut Squash Soup

We love love love love love this perfectly fall soup (even the toddler!)
Servings 4 people

Ingredients
  

  • 1 butternut squash roasted at 425 for about 45 minutes
  • 3 Tbs extra-virgin olive oil
  • 1 shallots
  • 1/2 yellow onion
  • 1 1/2 teaspoon sea salt
  • 6 garlic cloves minced
  • 1 teaspoon maple syrup
  • 1/8 teaspoon ground nutmeg
  • freshly ground black pepper
  • 4 Cup vegetable broth
  • 2 Tbs butter

Instructions
 

  • Coat squash in olive oil and salt and pepper to taste. Roast squash in the oven at 425 for about 45 minutes.
  • Peel the squash and set aside.
  • In a soup pot, heat up 1 tablespoon olive oil until shimmering over medium heat. Add the chopped shallot, onion and salt. Cook, stirring often until the shallot and onions have softened and are starting to turn golden about 4-5 minutes. Add the garlic and cook until fragrant, stirring frequently. DON'T LET THE GARLIC BURN.
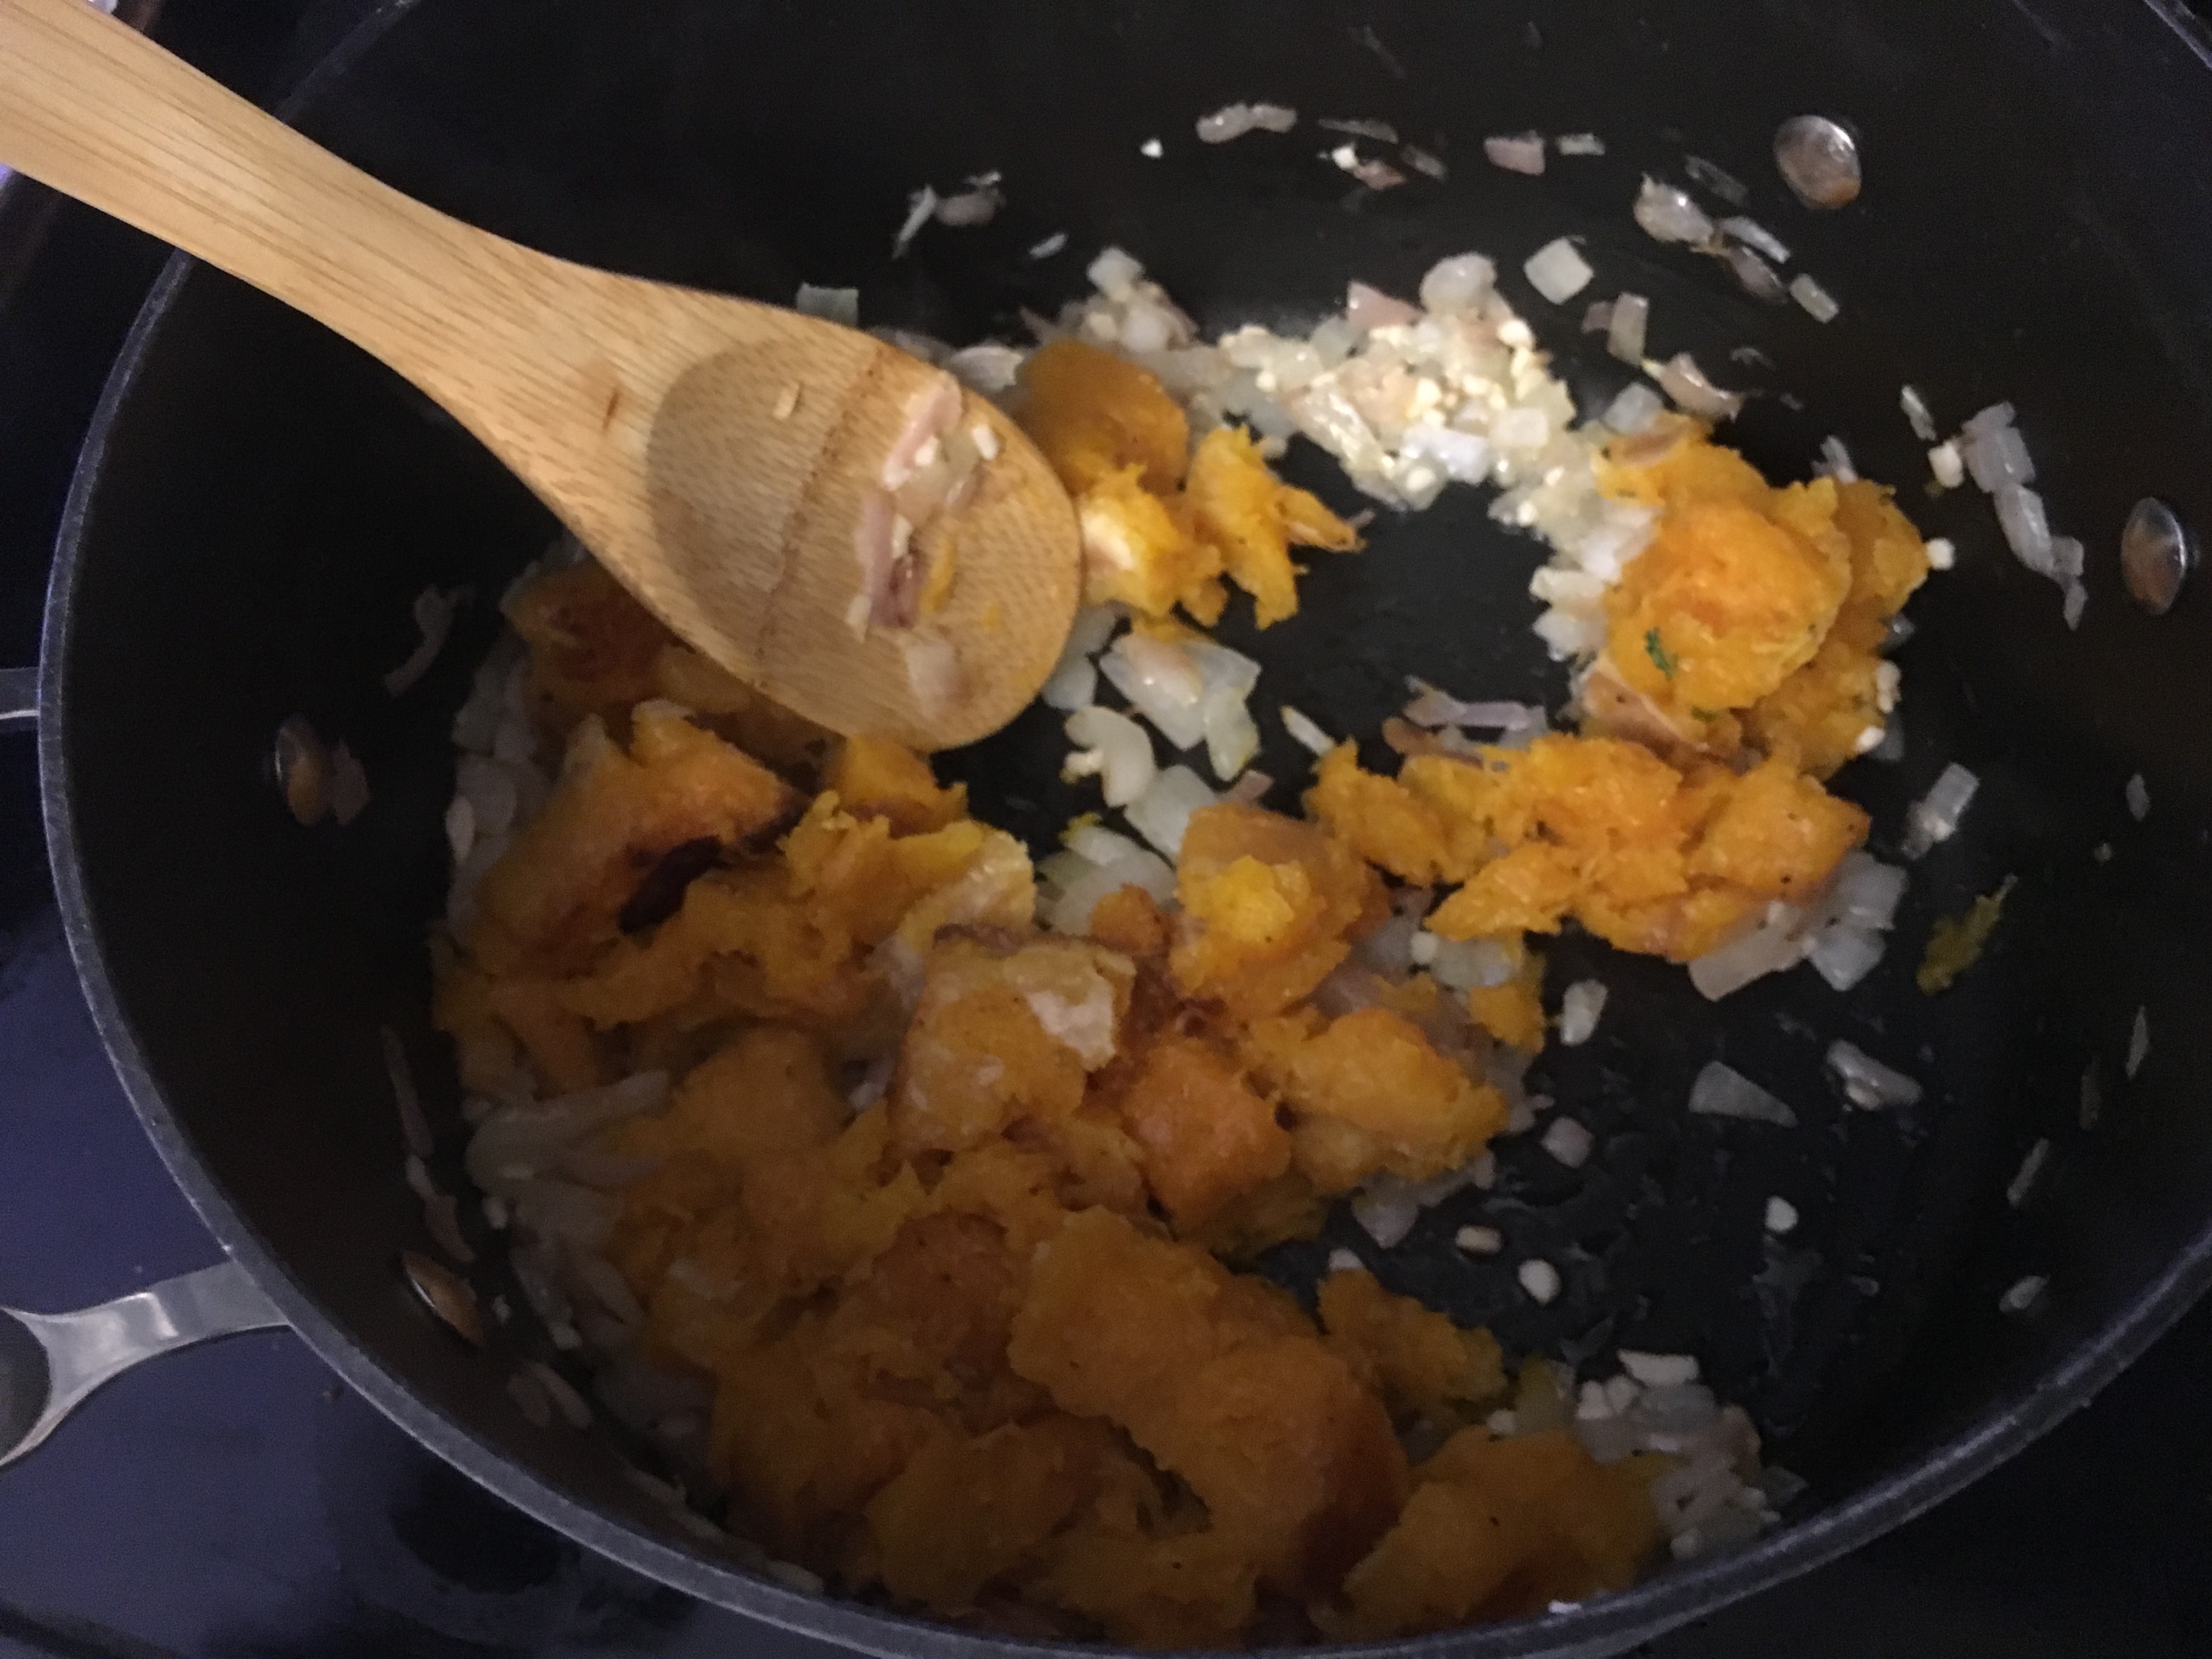
  • Add the reserved butternut squash, maple syrup, nutmeg and a few shakes of ground black pepper, plus half the butter.
  • Pour in the broth and using your favorite stick blender, blend until smooth. Add the butter and blend again.

Instant Pot Directions

  • On medium saute heat 1 tablespoon olive oil until shimmering. Add the chopped shallot, onion and salt. Cook, stirring often until the shallot and onions have softened and are starting to turn golden about 4-5 minutes. Add the garlic and cook until fragrant, stirring frequently. DON'T LET THE GARLIC BURN. Add the reserved butternut squash, maple syrup, nutmeg and a few shakes of ground black pepper, plus half the butter. Pour in the broth.
  • Add the broth and CANCEL the saute function. Turn on Pressure cook. Set time for 10 minutes. Turn steam value to seal. When cooking time is done, let NATURAL release for 10-15 minutes. If the release valve hasn't depressed after 10-15 minutes, SLOWLY turn the release valve to venting. NOTE: if you get liquid coming up through the valve wait 2 to 3 minutes and try again.
  • Remove the lid when the pressure has released. Using your favorite stick blender, blend until smooth. Add the butter and blend again. Serve.
Tried this recipe?Let us know how it was!

Yum

Yellow Shrimp Curry


While this originally started out to be Bombay Shrimp, I accidentally purchased the wrong type of tamarind paste so the dish ended up more like a curry. The end result was quite delicious and I was disappointed there wasn’t enough for seconds!

Ingredients:
1 pound raw shrimp, medium (we used 26-31 size)
1 teaspoon garlic paste
1 teaspoon fresh, crushed ginger
4 tablespoons tamarind paste  (we accidentally used tamarind cooking concentrate, which is not paste)
1/4 teaspoon turmeric powder
1/4 teaspoon red chili powder (cayenne)
1/4 teaspoon salt  (to taste)
2 tablespoons Vegetable oil
3 cloves Garlic, chopped fine
1/2 cup Coconut milk
2 medium Jalapenos, chopped (ours were disappointingly mild)
1 tablespoon cilantro finely chopped

Directions:
Peel the shrimp and place in a large bowl. Add ginger, garlic, and tamarind paste, turmeric powder, chile powder and salt to the shrimp. Mix well and set aside for 10 minutes.

Heat the oil in a pan over medium heat, add garlic cloves and stir until brown.  Add shrimp and stir for 2 minutes, so that the shrimp begins to brown and curl. Add coconut milk, cilantro and jalapenos.

Turn the heat off when the gravy begins to simmer. Serve with steamed Basmati rice.

My opinion:
As I said before, I wish there were left overs. We will definitely be making this again. With the mild jalapenos, the dish could have used a bit more spice.

Szechuan Kung Pao Chicken

Easy At Home Szechuan Kung Pao Chicken by Dispatches from the Castle
I love Chinese food. When I was younger and my sister and I got to pick the restaurant for our birthday dinner, I always chose the local Chinese restaurant. As I grew up, I loved trying the flavors of the different provinces, but Szechuan has remained a favorite. J found this recipe from Big Oven (our new favorite go-to recipe source). It was divine. I was so disappointed there weren’t any leftovers! The secret is in velveting the chicken. This crucial step is what makes all the difference.

Ingredients:
1 lb chicken thighs (we used two large boneless, skinless, chicken breasts)
10 whole red chili peppers (we left five whole)
1 small red onion, diced
2-3 cloves garlic (original recipe calls for crushed, we used minced)
1/2 piece fresh ginger (crushed, we just tossed this in the food processor.)
A handful of roasted peanuts (we used unsalted and about a half cup)
Marinade:
Pinch of salt
1 tablespoon Shaoxing wine or Sherry (we used a dry sherry)
1 Egg white
1 tablespoon Cornstarch
Seasoning:
1 tablespoon Shaoxing wine or sherry (again, we used a dry sherry)
1 tablespoon dark vinegar (balsamic will do)
1 tablespoon Dark soy sauce
1 tablespoon sugar
Pinch of salt
1 scallion (we used a “bunch” of scallions from our garden)

Directions:
Dice chicken into half-inch cubes (We originally went a little too big, but you also don’t want to make these as small as they are in traditional Kung Pao dishes served in your local Chinese establishment.) Mix marinade, lightly beating the egg white and pour over the chicken. Leave to stand for no more than 30 minutes. Velvet the chicken with oil or water (again, this is the secret and makes a HUGE difference! We used the water method, but the oil method would work as well):
Bring a large pot of water to a boil. Stir the chicken to separate and stir again. Simmer for about 2 minutes until the chicken turns white. Drain the chicken. Tear the chilis into pieces, then soak them in hot water for 30 minutes. Drain. Peel the onion and cut into square 1 1/2 inch pieces. Heat 2 tablespoons of oil in the wok until very hot (until it starts to smoke). Add the garlic and ginger to the oil, stir for 15 seconds, then add the chilis and stir for a minute or two. Add the onions and continue to stir and flip for another minute. Add the chicken, scallion, peanuts and cook for another minute. After this, if you notice that it seems a little dry for your taste, feel free to mix 1 tablespoon of cornstarch with a little bit of water and pour in along with your seasoning. Give it a good quick stir (I mean it, be quick, the sugar will burn.) Serve with rice!

My Opinion:
Leaving the chilis in whole meant this dish was spicy. We liked it so much we actually added the leftover rice to the wok in order to sop up all of the leftover sauce. The chicken was tender, juicy and just amazing. Next time, we’ll add a bit more onion, ginger and garlic. Plus a green pepper for some added vegetables. This dish was so good I could eat it every single day for a long time and never grow bored.

p.s. If anyone one knows where to find Shaoxing wine in Columbia, let me know! I’m sure it would just add a bit more depth to the dish!

Simple Spring Sauteed Asparagus

I’ve mentioned before how much I’ve grown to love asparagus recently (see post on grilling asparagus here). Until last week, the weather has meant no grilling, so we had to find new ways to prepare this wonderful spring vegetable. So I give you simple sauteed asparagus.

Ingredients:
3 tablespoons butter
1 bunch fresh asparagus
3 cloves garlic, minced
Yes, just three ingredients.

Directions:
Melt the butter in a large skillet over medium-high heat. You want a pan big enough that the asparagus is in one layer and not stacked on top of each other. Add the garlic and cook for about one minute. Then add the asparagus spears (again in a single layer). cover and cook for 10 minutes, stirring occasionally, or until asparagus is tender. Don’t over cook! As soon as the asparagus is tender remove it from the heat.

My opinion:
I know what you’re thinking, this is so simple how could it possibly be that amazing? It is. Simple ingredients let the main star, the perfect spring asparagus, shine. I’m sure if you try it, you’ll be surprised. But of course, if you aren’t let me know!

Modified Garlicky Chicken and Barley Soup

Monday was a bit chilly and perfect for a crockpot soup. We tried a new one that come highly recommended. However, only after I started making it, did I realize we only had about half the ingredients, so we modified it. It was excellent. I can only imagine how great the original recipe will be!

Ingredients:
3 cups chicken broth
1 large chicken breast, diced
1/2 onion, chopped
1 carrot grated
4 cloves garlic, minced
1/2 can whole tomatoes with juice
Italian seasoning
2 tbs olive oil
1/2 cup barley

Directions:
Sautee the chicken, garlic and onions in the olive oil. Cook until garlic is fragrant, chicken is cooked and the onions translucent. Pour the tomato juice and chicken broth into the crockpot. (Note: Our crockpot is small. If yours is larger, you might need another cup of chicken broth.) Add the shredded carrot. Put the chicken, garlic and onion in the crockpot. Add the whole tomatoes (should be about 4 or five) to the same pan the onions and garlic and chicken were in. Sautee with Italian seasoning while mashing them. Allow the mixture to cook down. Add to the crockpot. Add 1/2 cup uncooked barley. Turn the crockpot on medium. Cook 6 to 8 hours.

My opinion:
The original recipe called for Italian diced tomatoes and celery. I think those additions would have made it a bit more like soup instead of stew, but this was still super tasty. It would even be good served chilled in the summer.