Gluten and Dairy Free Chocolate Chip Cookies

We love cookies. Finding alternative cookies we can eat that also taste good is a bit more challenging. Luckily, I found this recipe on the back of Bob’s Red Mill Almond flour. With a few alterations, it is the perfect chocolate chip cookie alternative.[wpurp-searchable-recipe] – – Coconut Oil room temperature (54g. You may want to increase this to 1/3 of a cup if you like your baked goods a bit more chewy. ), Maple Syrup (80g), Egg room temperature (50g), Egg Whites room temperature (40g), Vanilla Extract, Natural Almond Flour (336g), Baking Soda, Sea Salt, Red and Green M&Ms (or more!), Red and Green M&Ms (or more!), Preheat oven to 375°F. Line two baking sheets with parchment paper.; Combine almond meal, baking soda and sea salt and set aside.; Mix room temperature coconut oil and maple syrup in a mixer until creamy but not fully incorporated. Add room-temperature whole egg, egg whites and vanilla extracts until fully mixed.; Slowly add dry ingredients to egg mixture and mix briefly. Add M&Ms and mix until well combined.; Place large rounded tablespoons (about 18g per cookie) onto prepared baking sheets, about 1 inch apart. ; Place in oven. NOTE: after about 3-4 minutes take them out and use the bottom of a glass to flatter. If you try to flatten before the cookies will just stick to the glass. ; Bake until set and golden, about 12- 15 minutes.; – Thought we made these for the Christmas holiday, you can easily add chocolate chips or regular M&Ms and eat any time of year.[/wpurp-searchable-recipe]

Gluten and Dairy Free Chocolate Chip Cookies

We love cookies. Finding alternative cookies we can eat that also taste good is a bit more challenging. Luckily, I found this recipe on the back of Bob's Red Mill Almond flour. With a few alterations, it is the perfect chocolate chip cookie alternative.

Ingredients
  

  • 1/4 cup coconut oil for chewy cookies
  • 1/4 cup Maple Syrup
  • 1 Egg room temperature
  • 2 Egg Whites room temperature
  • 1 tsp Vanilla Extract
  • 3 cups Natural Almond Flour or blanched Almond Meal
  • 1 tsp Baking Soda
  • 1/2 tsp Sea Salt
  • 1/2 cup Red and Green M&Ms or more!

Instructions
 

  • Preheat oven to 375°F. Line two baking sheets with parchment paper.
  • Combine almond meal, baking soda and sea salt and set aside.
  • Mix room temperature coconut oil and maple syrup in a mixer until creamy but not fully incorporated. Add room-temperature whole egg, egg whites and vanilla extracts until fully mixed.
  • Slowly add dry ingredients to egg mixture and mix briefly. Add M&Ms and mix until well combined.
  • Place large rounded tablespoons onto prepared baking sheets, about 1 inch apart.
  • Place in oven.
  • NOTE: After about 3-4 minutes take them out and use the bottom of a glass to flatter. If you try to flatten the cookies before they have started to set, the cookies will just stick to the glass.
  • Bake until set and golden, about 12- 15 minutes.

Notes

Though we made these for the Christmas holiday, you can easily add chocolate chips or regular M&Ms and eat them any time of year.
Tried this recipe?Let us know how it was!

Overnight Apple Cinnamon Oatmeal


IMG_3583
Life with a newborn (now technically an infant!) was hectic before I went back to work. Now, it’s even more of a whirlwind and I started looking for shortcuts for many meals, especially breakfast. Since my usual dairy laden cereal and breakfast bar are now out due to baby A’s milk protein issues. Enter my favorite kitchen appliance (aside from the food processor): the crockpot.

With some steel cut oats, the applesauce I made and froze this fall and a few other ingredients I had an easy breakfast that I didn’t have to think about! Even better, it was automatically dairy free!

Overnight Apple Cinnamon Oatmeal

Ingredients
  

  • 1 cup steel cut oats
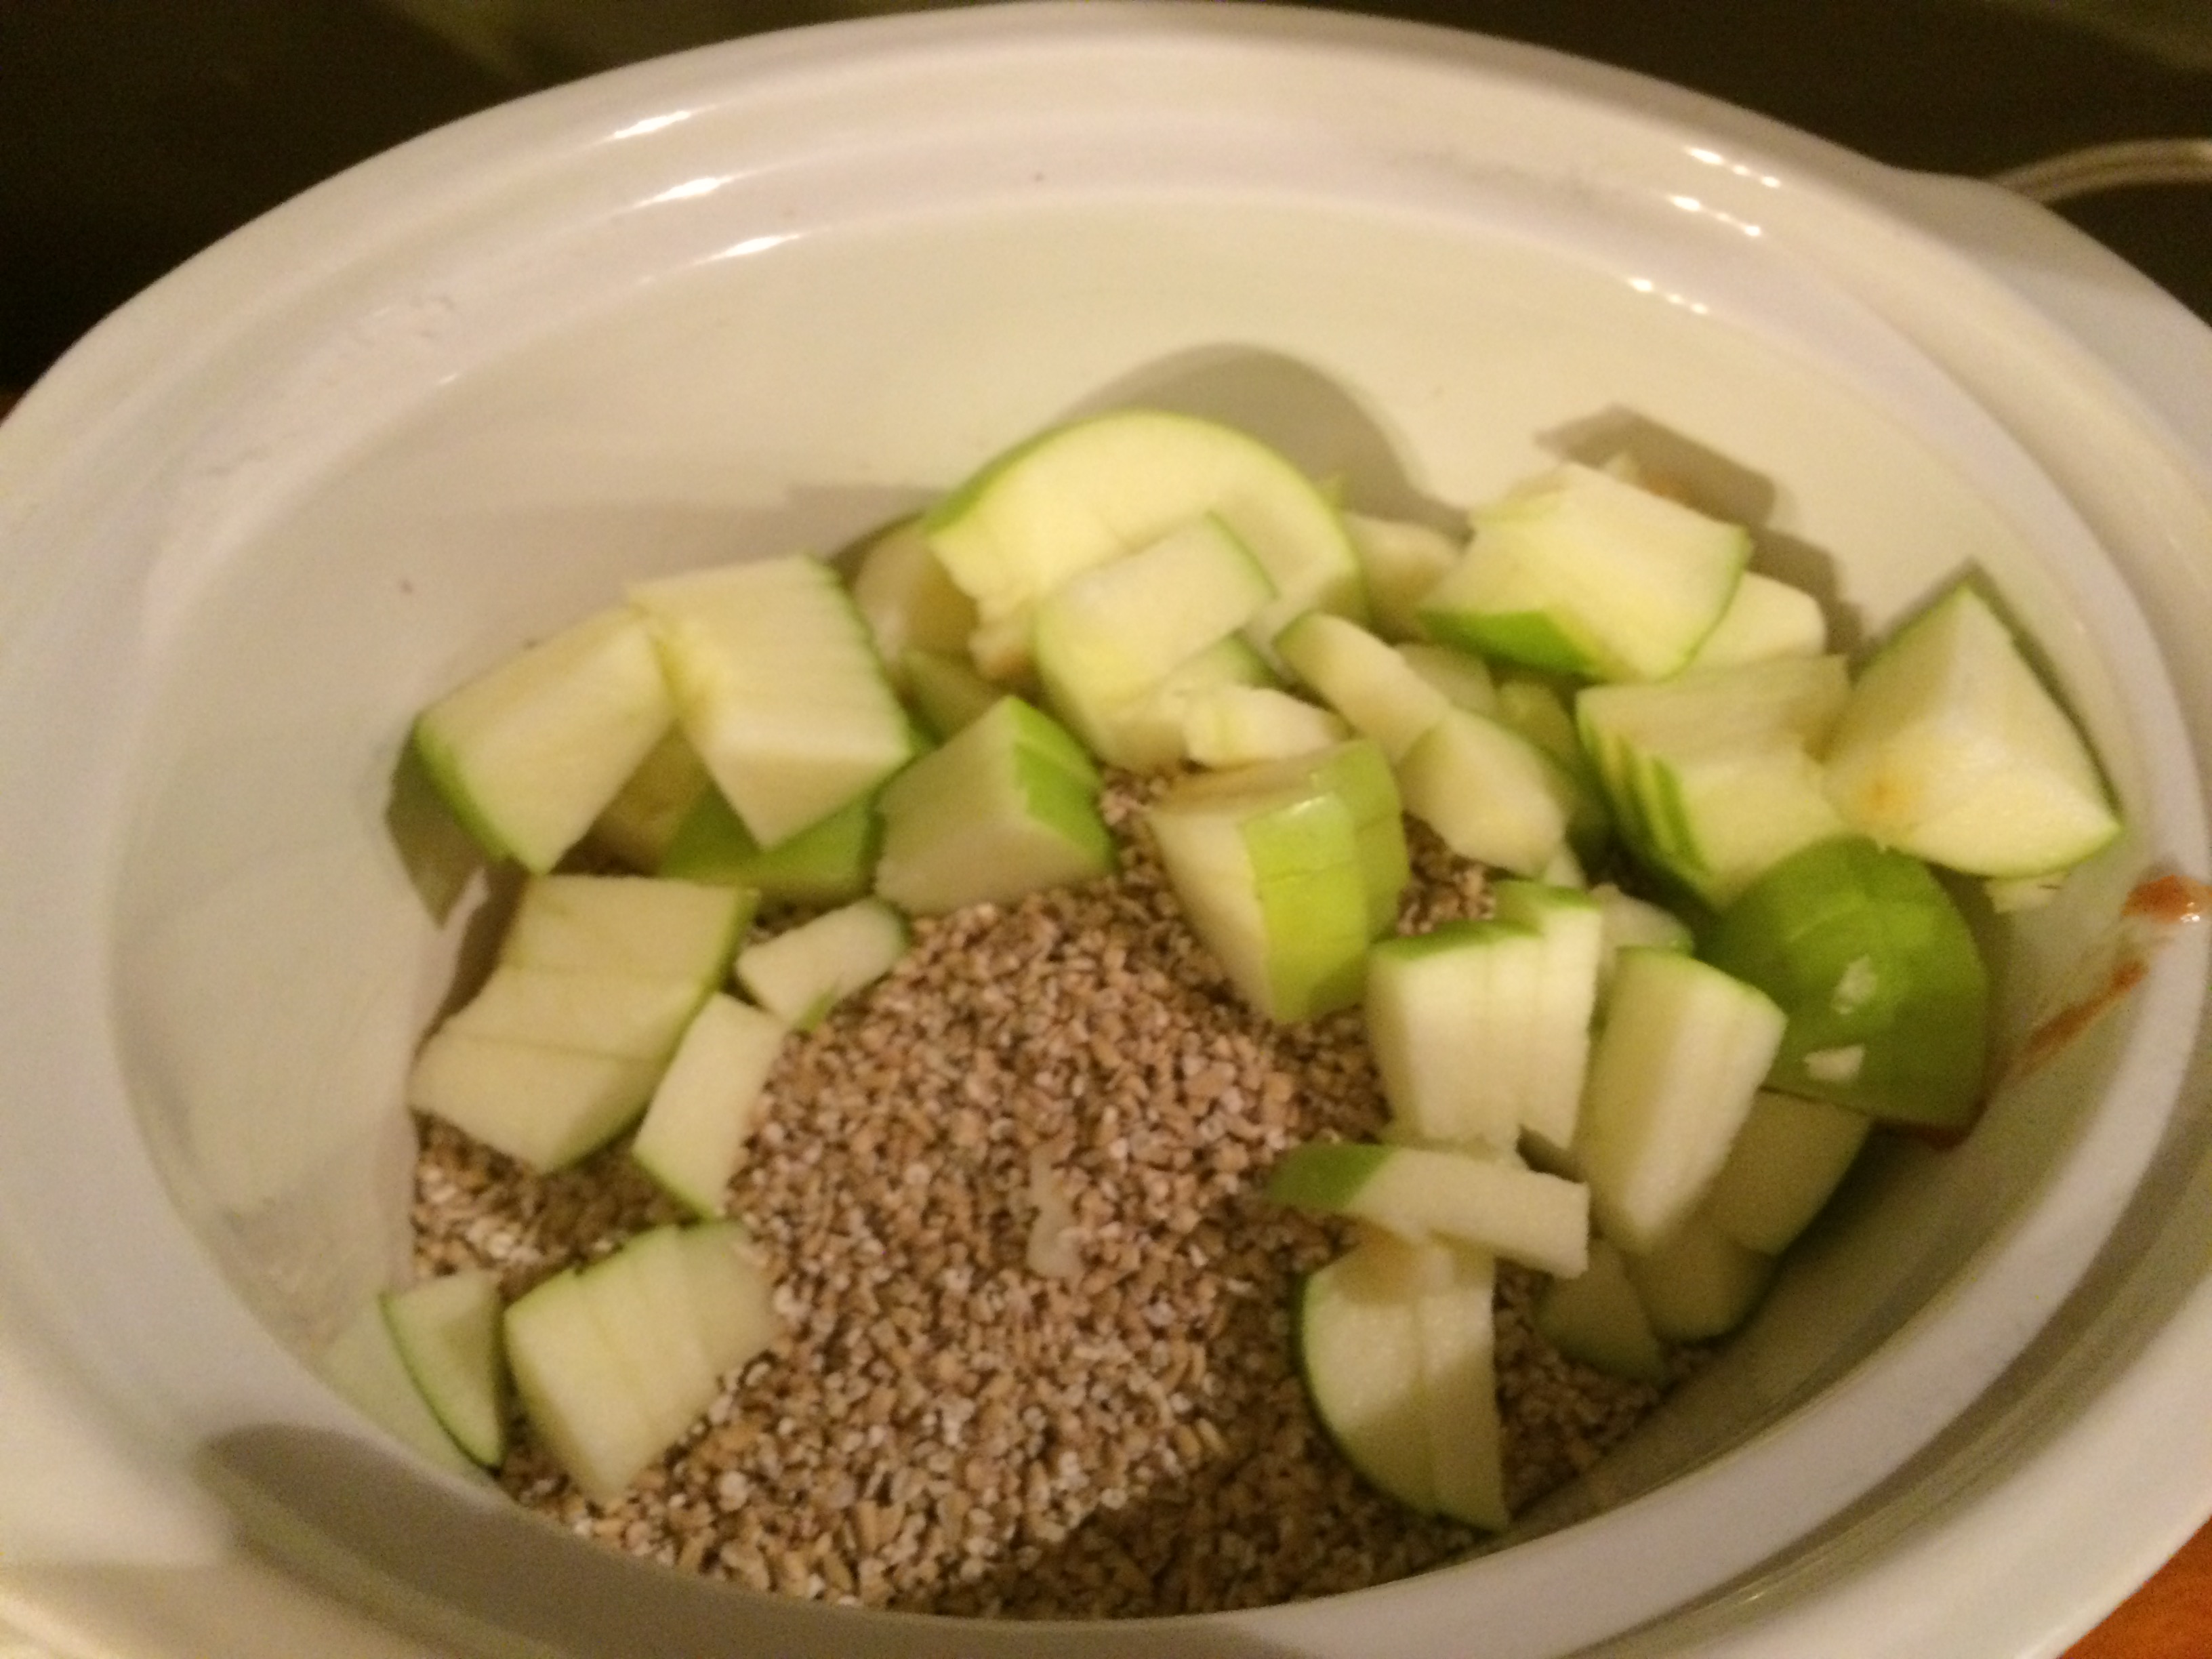
  • 1 apple chopped
  • 2 cups applesauce I used this one!
  • 2 cups water
  • 2 tablespoons brown sugar
  • Your favorite non-stick spray

Instructions
 

  • Spray the crockpot with non-stick spray. Add the apple sauce.
  • Add the oatmeal.
  • Add the apples.
  • Add the water and cinnamon and sugar.
  • Stir to combine. Just make sure the oats are all in contact with the liquid.
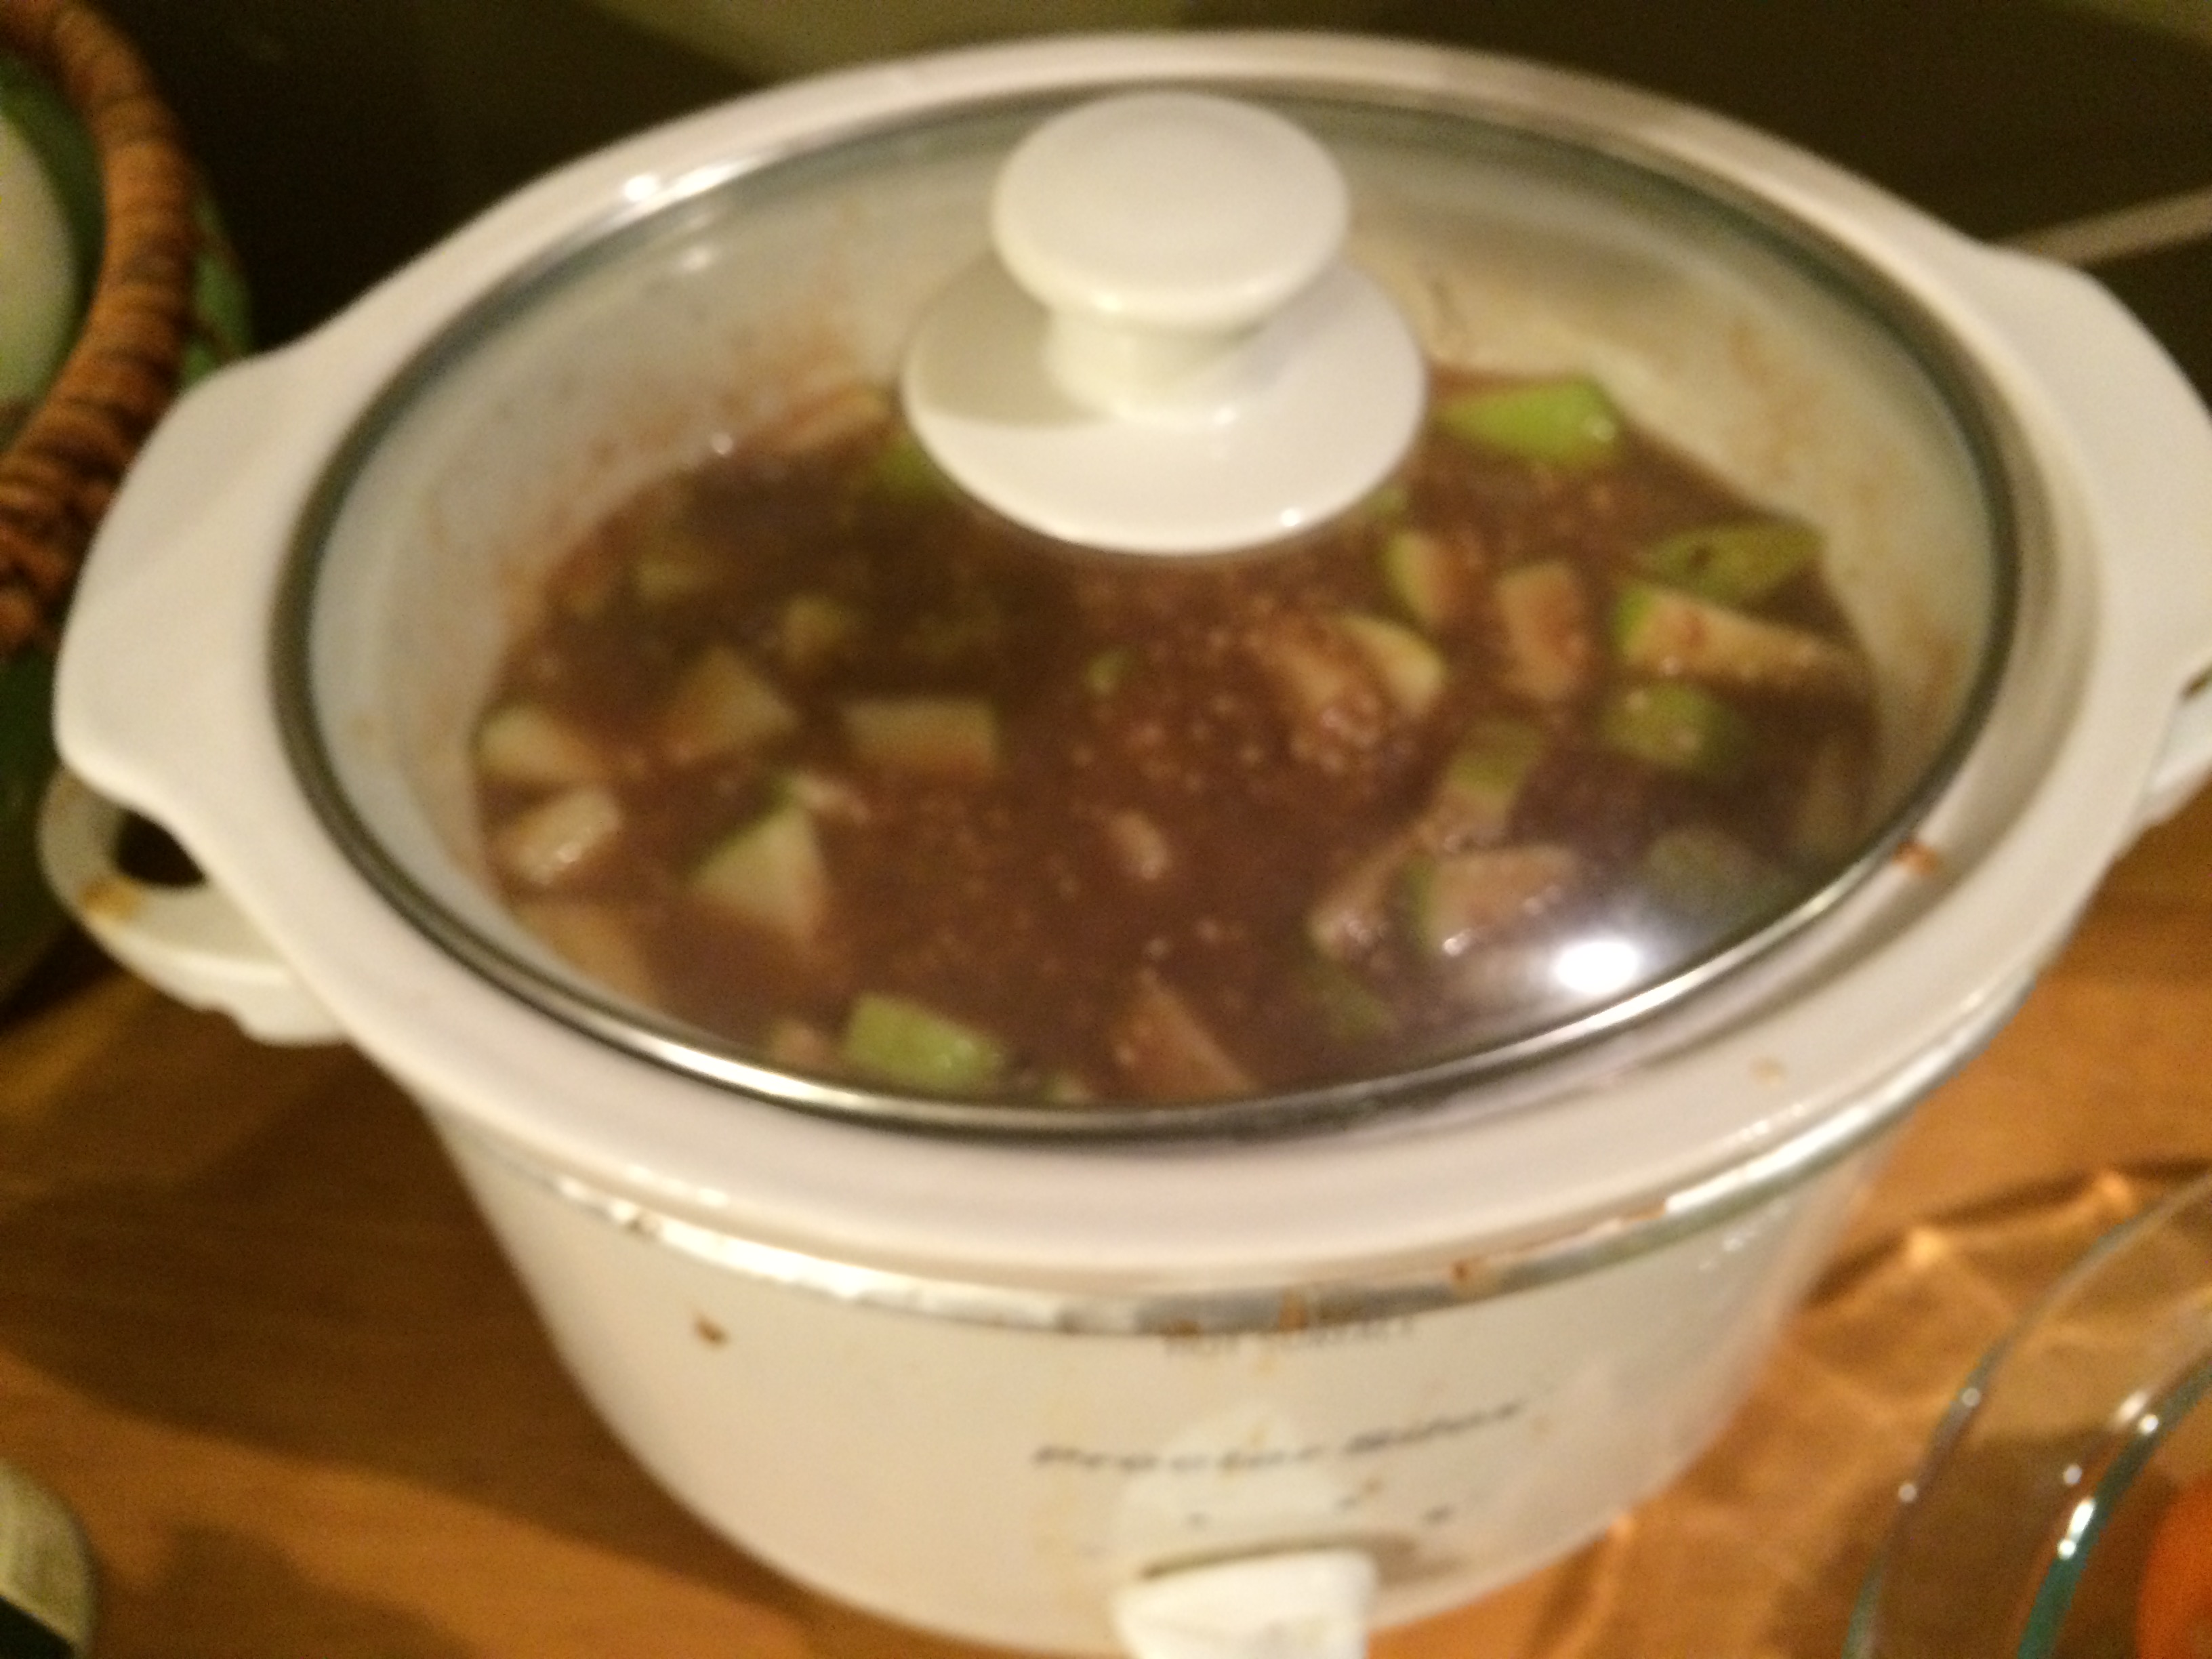
  • Cover and cook on low for at least 7 hours.
  • I accidentally cooked mine for 9 and it turned out fine. This is what it looked like when I woke up.
  • Spoon into bowls and enjoy!

Notes

Optional: If you are using plain applesauce, plan to add some cinnamon. You can also sweeten with honey or white sugar if you prefer. You can also add nutmeg.
Tried this recipe?Let us know how it was!

My opinion:
Delicious, easy and filling. I can’t wait to try more overnight breakfast options especially as baby A grows! It also reheats well if you have leftovers.

Vietnamese Bo Luc Lac


As the arrival of our daughter gets closer, J and I have started perfecting some of our favorite restaurant dishes at home. We finally got this dish perfect and couldn’t be happier. The original recipe can be found here.

Vietnamese Bo Luc Lac

Servings 2 people

Ingredients
  

Beef Marinade Ingredients : makes the gravy

  • 1.5 pounds beef sirloin cut into 1 inch cubes or any cut you like
  • 2 tablespoons minced garlic
  • 1.5 tablespoons sugar we have found brown works pretty well
  • 2 tablespoons oyster sauce
  • 1 tablespoons fish sauce
  • 1 tablespoons sesame oil
  • 1 teaspoon soy sauce (we used regular but the original recipe calls for thick)

Dipping Sauce Ingredients (this is our favorite part it really brings the whole dish together!)

  • 1/2 cup rice vinegar
  • tablespoon Vinaigrette Ingredients : for quick pickling of the veggies and aor two in some white rice makes a HUGE difference!
  • 1.5 tablespoons sugar
  • 1/2 tablespoons salt
  • Juice of 1 lime
  • 1/2 teaspoon kosher salt
  • 1/2 teaspoon fresh cracked pepper

Non-sauce Ingredients

  • 1 medium red onion thinly sliced (you can use yellowa pinch)
  • 2 bunches of iceberg or watercress or romaine long stems trimmed
  • 2 tomatoes thinly sliced
  • Cooking oil for frying
  • Non-sauce Ingredients:
  • 1 in red onion thinly sliced (you can use yellowa pinch)
  • 2 bunches of iceberg or watercress or romaine long stems trimmed
  • 2 tomatoes thinly sliced
  • Cooking oil for frying

Instructions
 

  • Prepare marinade by combining garlic, oyster sauce, sugar, fish sauce, soy sauce and sesame oil with the beef for at least half an hour, preferably 1-2 hours let marinate in the refrigerate. (Note: If you're thinking ahead (like we occasionally do), feel free to combine the beef and the marinade and freeze the mixture. Then you can just take it out of the freezer and put it in the refrigerator when you leave for work.)
  • Prepare vinaigrette by mixing rice vinegar with salt and sugar. It should be a balance of sour, salty and sweet. It should look something like this:
  • Thinly slice the red onion and use about 3-4tablespoons tablespoons the vinaigrette to pickle and set aside covered in fridge for about 10 minutes (longer is better here too!). Prepare bed of lettuce and tomatoes in a serving platter and set aside.
  • Heat a large wok or pan over high heat.
  • Add about 2 tablespoons cooking oil and when it begins to smoke, add an even layer of beef and allow to sear for about 2 minutes, before “shaking” to sear the opposite sides for about another 1-2 minute more to brown all the sides. Do this in batches to cook all the beef if necessary. This will sear the beef so it looks like this:
  • Transfer beef to bed of watercress and tomatoes.
  • Drizzle another 3-4 tablespoons of vinaigrette over the beef and greens and top with pickled red onions.
  • Lastly, squeeze lime juice over salt and pepper in a small bowl and use for dipping the beef, or feel free to just drizzle it on.
  • The dipping sauce should look like this:
Tried this recipe?Let us know how it was!

My opinion:
This has to be in my top 10 favorite dishes of all time. I love the veggies and the balance of all five flavors. I also love that the rice isn’t even really necessary for this to be a filling meal. Plus even if you do all the prep work right before dinner, the whole start to finish time is only about 30 minutes.

Thai Beef Salad

Summer finally arrived about a week ago and it’s been too hot to cook. Too hot for heavy meals and just generally too hot. My favorite thing about this dish adapted from this Shape.com recipe is it’s served chilled and for a light dinner, it is really filling.

Ingredients:
Well-marbled New York steak or a skirt steak, grilled (we broiled and pan-seared a couple of times when it was too hot to grill) to your liking, but preferably no more than medium rare
1 small red onion, sliced into skinny wedges
1 bunch cilantro, coarsely chopped, no stems
Large handful cherry tomatoes, sliced in half (or 1/2 vine-ripened tomatoes cut into wedges)
1 green pepper, sliced thin
2 limes (or about 1/4 to 1/3 cup lime juice)
1 tablespoon brown sugar (you may need more. Note: the original recipe called for palm sugar, but we’ve had a hard time finding it)
1.5 tablespoon fish sauce
Thai chili powder to taste (we found a blend at Penzy’s Spices that we love for this dish – Bangkok blend)

Directions:
Grill, pan-sear or broil the meal as directed above and slice into thin strips after allowing to rest at room temperature for 15-20 minutes. Put the brown sugar in a medium-sized mixing bowl, add some of the lime juice and mush into a thick liquid form. Add the rest of the lime juice, fish sauce and palm sugar.
When the steak has cooled, Add it to the sauce mixture. Toss with your hands to incorporate all over the steak. Add the rest of the veggies, toss and taste. Tasting as you go is the most important part. Add more fish sauce if it needs more salt, or more sugar if it is to lime-y.
Chill in the refrigerator for at least an hour or so to let the flavors meld. Then serve on a bed of lettuce and garnish cilantro.

My opinion:
You can add the cilantro into the sauce mixture, just give it a rough chop. If you want to quick sautee your veggies in peanut oil (or your favorite cooking oil), feel free it adds another layer of flavor. This is the perfect dish for a hot summer evening or a refresh from the indulgences of holiday food.

Langlois Crusty Bread


In case you haven’t guessed, I love bread. I especially love fresh from the oven, homemade bread. While at Langlois Culinary Crossroads in New Orleans for cooking school, I learned just how easy it is to make delicious, wonderful bread at home. From scratch. Even though it officially takes two days, I promise it is really worth it. 

Note: The most important ingredient is a clay or cast iron dutch oven or clay pot with a tight-fitting lid. We found this one from Lodge on sale and couldn’t be happier.

Langlois Crusty Bread

Servings 8 slices

Ingredients
  

  • 3 cups all-purpose flour
  • 1 teaspoon and 3/4 Kosher salt (this is key. If you use regular iodized salt it will be salty.)
  • 1/2 teaspoon yeast I used one packet
  • 1 and 1/2 cups water

Instructions
 

  • Wish together the flour, salt and yeast in your favorite mixing bowl.
  • Add the water and mix until a "shaggy mixture" forms.
  • As Chef Matt said when showing us how to make this, it should look like a wet dog.
  • Cover the bowl with plastic wrap and set aside for at least 12 hours or overnight. Longer in this case is better.
  • The next day (or 12 hours later) place the dutch oven and lid in a 450-degree oven so the pot and the oven are heating at the same time.
  • Turn out the dough on a heavily floured surface and shape into a ball.
  • When the oven (and the dutch oven) reach 450 degrees, place the dough in the center of a piece of parchment paper and put the whole thing in the dutch oven with the parchment paper side down.
  • Cover with the lid and either return to the oven, or slide the wire rack back in and close the oven door (I find the second way to be the easiest rather than trying to lift the super hot dutch oven in and out of the oven more than once).
  • Cook covered for 30 minutes.
  • After 30 minutes, remove the lid and reduce the oven temperature to 350 degrees.
  • Bake for an additional 30 minutes.
  • Remove the bread from the oven and place on a cooling rack. (This means take it out of the dutch oven.)
Tried this recipe?Let us know how it was!

My opinion:
There are directions for stuffed bread, but I haven’t tried it yet. I want to get the basics down first. In my first few trials (and errors!) I learned valuable lessons, like the difference between iodized and kosher salt, that sometimes the times are off and it is ok to cook bread a little longer to get a more golden crust. If you do accidentally use iodized salt and the bread is a bit on the salty side, treat it like a bagel and just don’t salt the eggs for the bagel, egg and cheese sandwich (it evens out in the end). It’s been hard not to make this every single weekend since we returned!