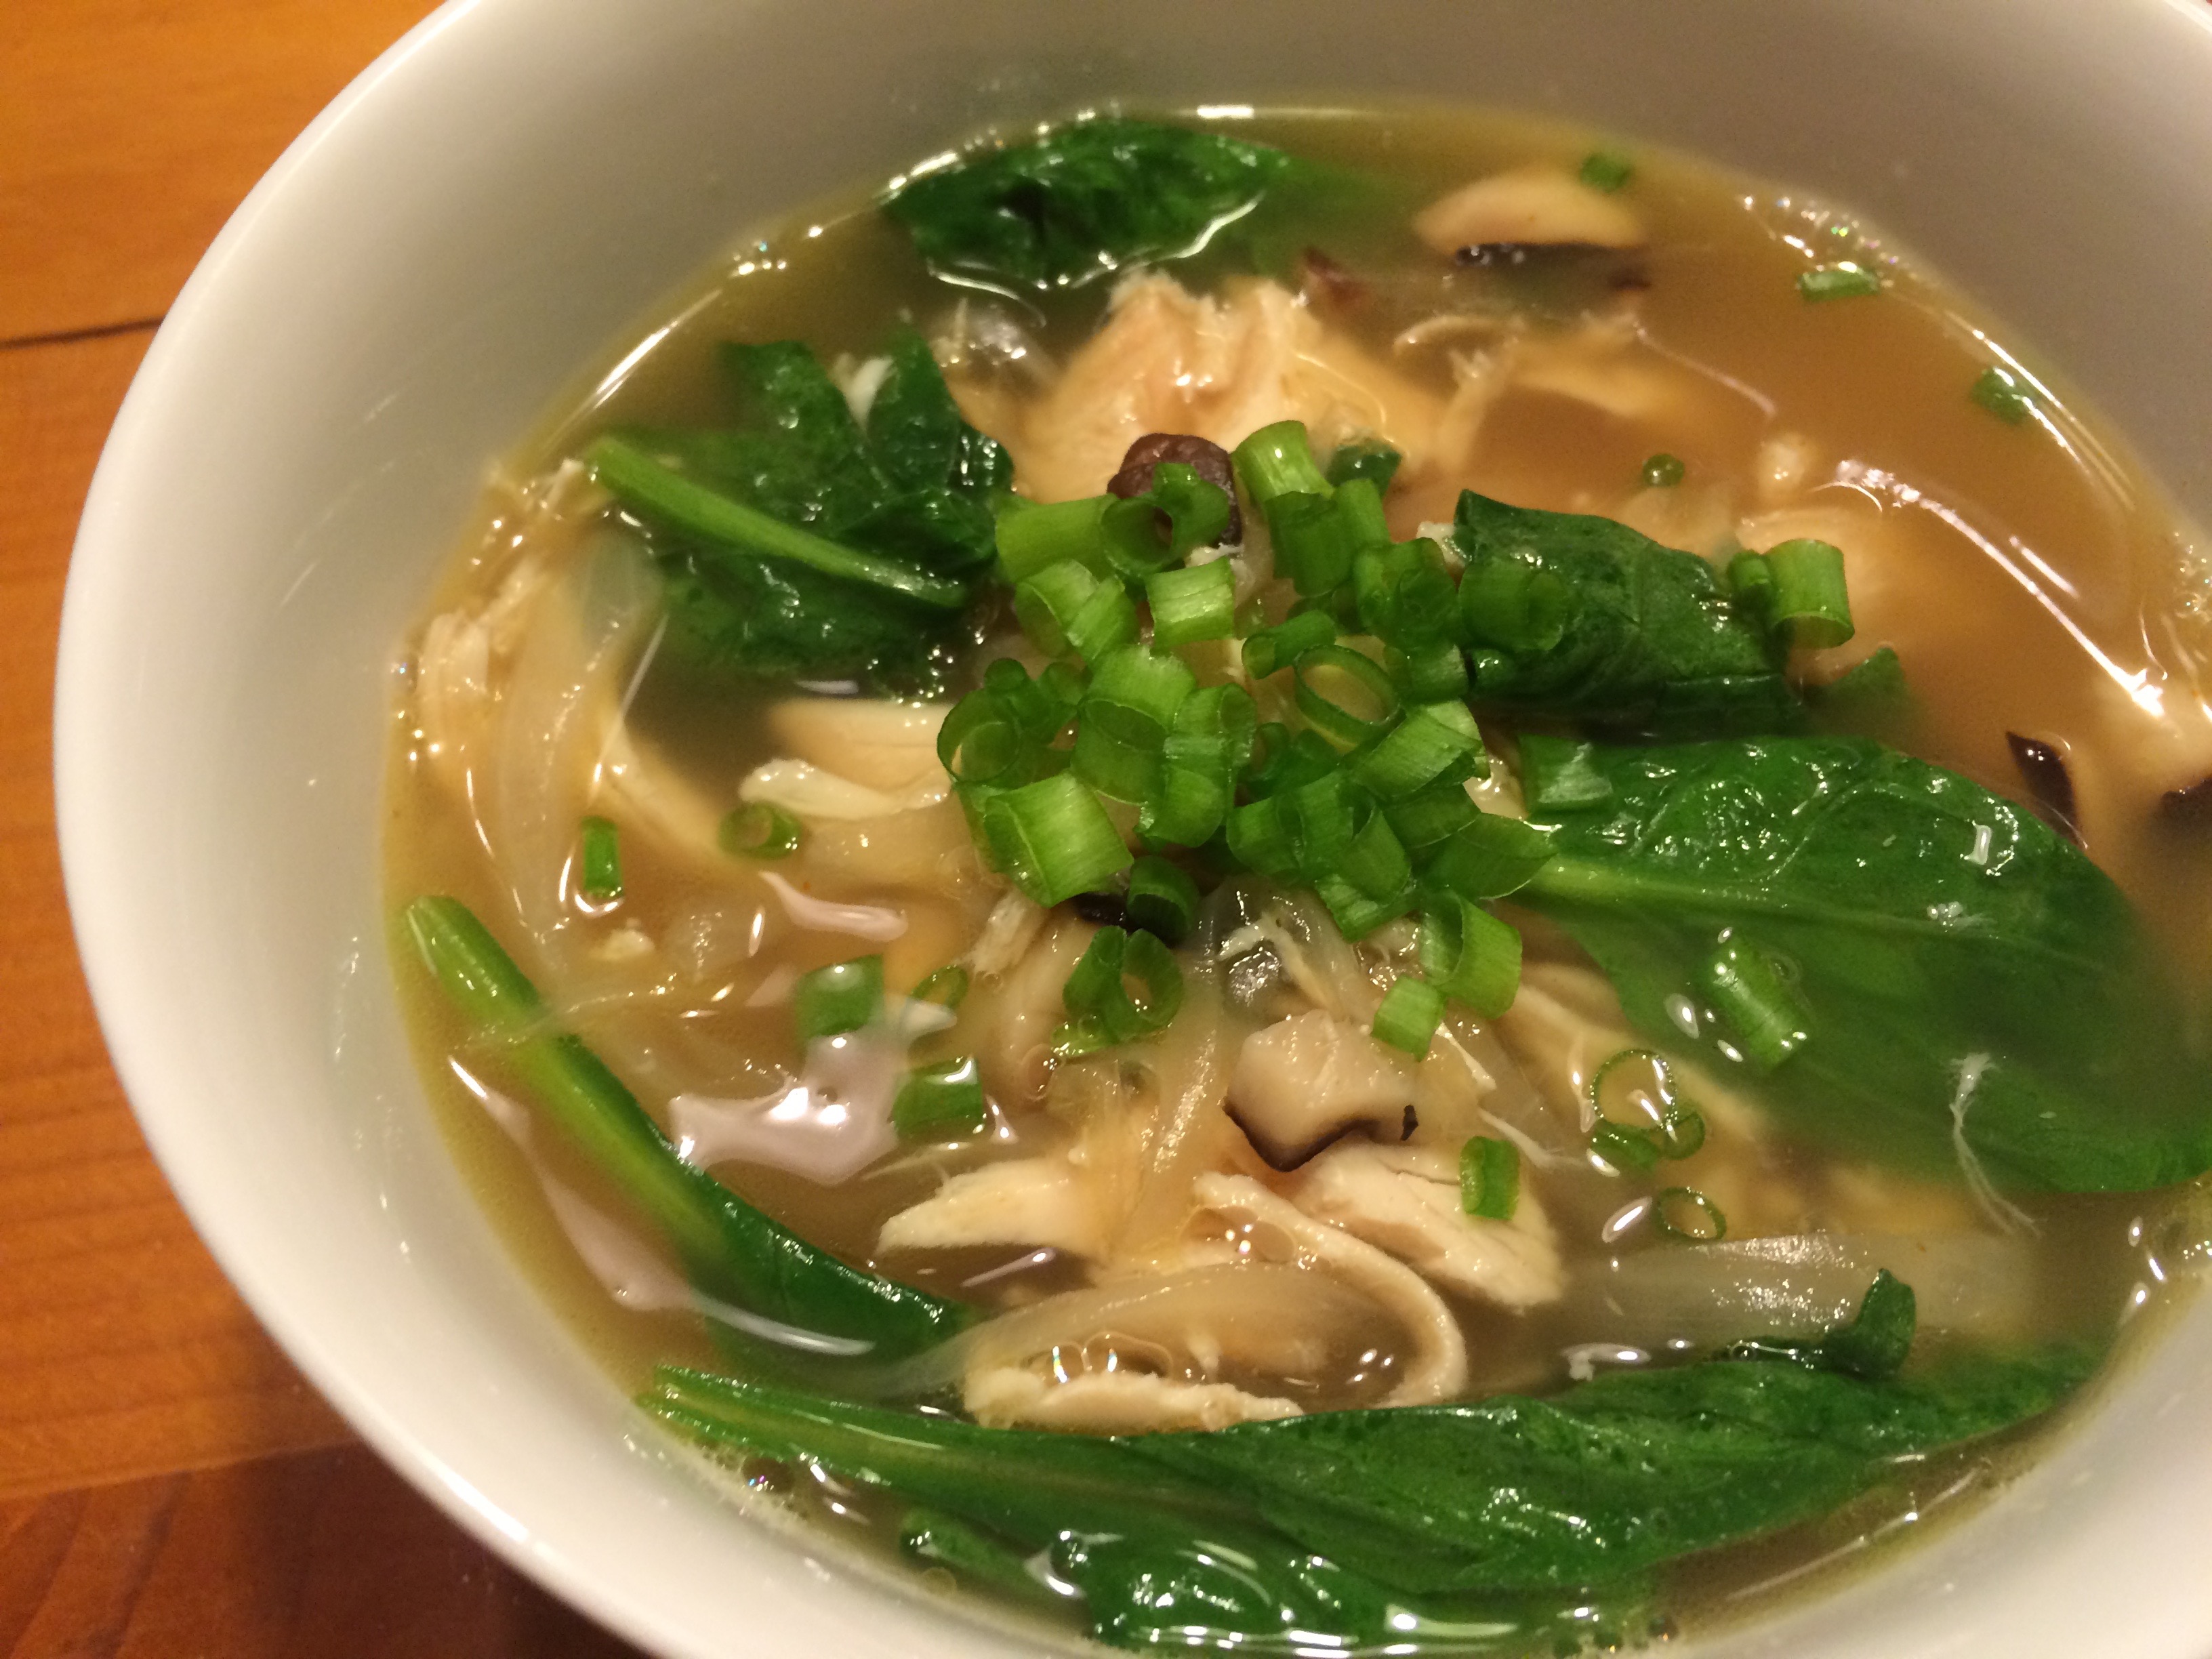
Weeknight Spicy Chicken Soup

Spicy Chicken Soup

Weeknight Spicy Chicken Soup

As the weather cools, we start eating more and more soups. I would never have tried this without the urging of J. It doesn't sound delicious.  Plus when he told me it was a Bon Appétit recipe, I thought it would be way too complicated and complex. Turns out, it's super simple and  does taste delicious. It's definitely a new favorite. We've used leftover turkey and rotisserie chicken and both have been wonderful. The recipe says it serves four, but it can stretched to serve more, or cooked down longer to serve less.
Course Main Dish
Servings 4 people

Ingredients
  

  • 1 prepared rotisserie chicken we've occasionally just used the rotisserie chicken breasts with good luck
  • 1 tablespoon olive oil
  • 1 medium onion thinly sliced (we use yellow)
  • 1/2 cup sliced shiitake mushrooms or sliced button if your local grocer is out of shiitake
  • 2 garlic cloves finely chopped
  • 1 1 in " piece ginger peeled, chopped (we LOVE using the already minced gingerthe jar!)
  • 2 quarts low-sodium chicken broth
  • 1/2 teaspoon cayenne pepper a little goes a long way in this dish
  • 2 cups baby spinach
  • Kosher salt freshly ground pepper
  • 2 scallions thinly sliced
  • 4 Lime wedges for serving, or you can use about aor more lime juice once you've ladled the soup into bowls

Instructions
 

  • Pick meat from chicken, shred, and place in a small bowl (you should have about 4 cups); discard skin and bones.
  • Heat oil in a large saucepan over medium-high heat.
  • Add onion and mushrooms and cook, stirring occasionally, until softened and golden, about 8–10 minutes.
  • Add garlic and ginger and cook, stirring often, about 2 minutes; season with salt and pepper.
  • Add shredded chicken, broth and cayenne and bring to a boil.
  • Turn heat to low.
  • Add spinach and divide soup among bowls.
  • Top with scallions and serve lime wedges alongside for squeezing over.

Notes

My opinion:
That's it, really. It takes a total of between 15 and 20 minutes to prep everything and about 40 minutes to cook per the recipe.  This recipe is easy enough to be a weeknight dinner. If you let it cook down longer or reheat it for lunch the next day, the flavors intensify and meld together even more. If I am planning to eat it the next day, I leave the spinach out and add it in right before eating.  I adore this dish!
Tried this recipe?Let us know how it was!

Korean Short Rib Tacos

http://garbosgrillkw.com
photo from: http://garbosgrillkw.com

We made these the other night for dinner and they were amazing. J and I fell in love with the Kogi Korean BBQ  tacos at Garbo’s Grill in Key West this summer. This recipe from Food for My Family is really close and with a few tweaks, we won’t have to trek to Key West every time we crave this dish.

Ingredients:
3 pounds flank-style beef short ribs (We actually used about 2 pounds of short ribs because they were on sale!)
1 cup soy sauce
1/2 cup brown sugar
1/3 cup mirin
1/4 cup sesame oil
6 cloves garlic (we used a bit more than six cloves)
6 scallions
2 teaspoons fresh peeled ginger (we used grated)

Slaw ingredients:
3 cups Napa cabbage, chopped (we shredded it)
1 cup daikon, diced into matchsticks (in case you’re wondering, like I was, this is a root vegetable and kind of tastes like a radish)
1 cup bean sprouts (If you can’t find this, don’t worry we left the out and it still tasted great!)
6 scallions, diced
3 tablespoons cilantro, chopped
1 lime, juiced
2 tablespoons soy sauce
1 tablespoon mirin
1 tablespoon sriracha or chili pepper sauce (or more if you like it spicy!)
1 tablespoon extra virgin olive oil

Other ingredients:
10-15 yellow corn tortillas (we used flour because it was what we had on hand)
sriracha sauce

Directions:
Begin by cutting off excess fat from the short ribs. You can also remove the membrane under the bone side of the rib. (We just removed the bones because we were hungry and in a hurry.) Place in a zip-top bag.
In a food processor, blend together soy sauce, brown sugar, mirin, sesame oil, garlic, scallions and ginger. Reserve 1/2 cup of sauce and store in an airtight container in the refrigerator. Pour the rest of the sauce over the short ribs, ensuring all ribs are covered. Seal tightly and allow to marinate in the refrigerator for up to 24 hours. Longer is better, but you should let them marinate for at least 3 hours.

To prepare the slaw: Place shredded Napa cabbage, shredded daikon (use your food processor, otherwise you’ll be cutting forever!), spouts, scallions and cilantro together in a medium to large bowl. In a small bowl, whisk together lime juice, soy sauce, mirin and sriracha. Slowly whisk in olive oil. Pour dressing over vegetables and toss to coat. Store covered in the fridge until ready to serve.

IMG_6640
The original recipe called for reducing the extra marinade ingredients in a small saucepan over medium heat, stirring occasionally, until the mixture is thick. Place in a serving bowl to drizzle on tacos. We thought this made it too salty. Next time, we won’t reduce it. But this is what it looks like reduced.
IMG_6642
Heat a pan over high heat. (Or like the original recipe suggests, heat a grill to at least 550 degrees). The intent here is to flash cook the meat while simultaneously caramelizing the marinade. Place your short ribs on the grill. Cook for three minutes and flip. Cook an additional three minutes, wrap in foil and set aside.
IMG_6641
Cut short ribs into strips, avoiding the bones. Assemble your Korean tacos:  tortilla, barbecued short ribs, a drizzle of Korean barbecue sauce, Napa cabbage slaw and extra sriracha to match your tastes. Serve immediately.

My opinion: It was so good, I didn’t get a photo of the completed dish. Next time!

San Francisco Shrimp

San Francisco Shrimp

We’ve been on a shrimp kick again. Only this time, we’re eating more than just the sriracha shrimp. J bookmarked this recipe on a wonderful recipe finding site, Big Oven. So far almost every thing we’ve made from the site has been delicious. While at first glance this dish may seem time and labor intensive, it isn’t. The key to making it a weeknight meal is to have the ingredients ready to go.

Ingredients:
2 pounds jumbo shrimp shelled
5 stalks scallions finely chopped (more works too!)
8 cloves garlic, minced
5 slices ginger root finely chopped (we grated it, it was easier)
2-3 pods dried red chile peppers crushed (in a pinch you can use red pepper flakes)
Sauce
1/2 cup Ketchup
1 Tbsp cooking sherry (this is a bit salty in my opinion, we usually use regular sherry)
1 Tbsp vinegar
1 tsp sugar
1 tsp soy sauce
1/2 tsp salt (if using cooking sherry, omit this!)
4 tablespoons cooking oil (you might need more or less depending on the oil you use. We found with sesame oil, it absorbs fast, but tastes the best!)
cornstarch about 2/3 of a cup should be enough

Directions:
Put the cornstarch in a zip top gallon sized bag. Dry the shrimp with paper towels and put into the cornstarch bag. Shake. Pour about an inch of cooking oil in the bottom of a wok. Deep fry shrimp in batches until pink and slightly golden. Remove shrimp to a separate plate covered in paper towels. Ladle a bit of oil from the wok to a non-stick skillet. Heat and add scallions, garlic, ginger, and chile pepper mix in the oil until fragrant, about one minute. Pour sauce ingredients into the skillet, stir until bubbly. Return shrimp into the skillet, mix well. Serve over a bed of rice.

My Opinion:
This dish is perfect for a hot summer night. It’s delicious and sweet and spicy and a touch sour. We’ve added a diced onion into the scallion mixture and it was wonderful. We’ve added broccoli into the sauce and it was fantastic. This might just be in my top five favorite meals. So good!

Green Chili Chicken Macaroni and Cheese

Green Chili Chicken macaroni and cheese

In case you missed it, we love macaroni and cheese and have graduated from the blue box to homemade amazingly delicious recipes. While we love, love, love our original recipe, every now and then we want something a little different. Not to mention, some of our favorite San Antonio memories involve sitting at a table at Silo and sharing the amazing green chili and orzo macaroni and cheese with friends. J found this Serious Eats recipe, which with a few modifications is really close.

Ingredients
2 teaspoons cornstarch
1 (12-ounce) can evaporated milk (we used fat-free because it’s what our local HyVee had)
2 eggs
2 bone-in, skinless chicken breast halves (about 1 pound total) (we used boneless skinless because it’s what we had on hand)
Kosher salt
Half pound dry elbow macaroni (Or the whole box like us)
3 tablespoons unsalted butter
4 ounces grated American cheese (or your favorite mild cheese, we like Monterrey jack cheese)
8 ounces grated pepperjack cheese
1 (3.5 ounce) can chopped green chilies
1 cup homemade or store-bought salsa verde (in a pinch you can use the Texas Two-Step green chili stew)
1/2 cup chopped fresh cilantro leaves
6 scallions, thinly sliced

Directions:
Combine cornstarch, evaporated milk, and eggs in a small bowl and whisk until homogenous. Set aside.


Season chicken with salt. Place chicken breasts in a large Dutch oven or stockpot and cover with water by 4 inches. Bring to a boil over high heat, then reduce to a simmer and cook until chicken is cooked through, about 5 minutes after a boil is achieved. Using tongs, transfer to a large bowl and set aside.


Return water to high heat until boiling and add pasta. Cook, stirring occasionally, until barely al dente. Drain pasta and return to pot. While pasta is cooking, pull chicken meat into bite-sized shreds and set aside, discarding bones (which is why we used boneless, skinless in the first place.) 
When pasta is cooked, return to low heat. Add butter and stir until melted. Add evaporated milk/egg mixture and cheese. Stir until smooth and creamy. Stir in chopped chilies, salsa verde shredded chicken, cilantro, and scallions.

Green Chili mac and cheese

We baked this for about 15 minutes in a 350 degree oven to let it set.

My opinion:
This is now my second favorite macaroni and cheese recipe ever. Plus, it freezes well.

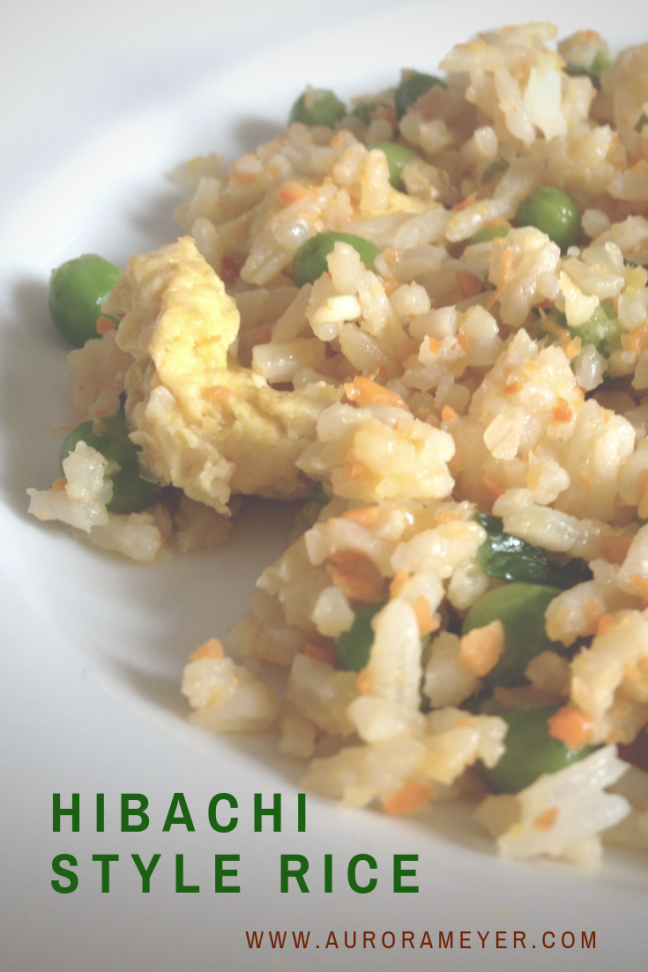
Japanese hibachi style fried rice

After a recent trip to our local Hibachi grill, we realized that copying the food at home wouldn’t be that difficult. So after a quick internet search, we found exactly what we were looking for the fried rice recipe.

Ingredients:
4 cups White Rice, short-grained, cooked
1 cup Green Peas
2 tbsp Carrot, shredded (we ended up using about one and a half small carrots)
2 eggs
one Onion, diced
bunch of scallions, diced
1 1/2 tbsp Butter
2 tbsp Soy Sauce

Directions.
The Rice: Cook rice according to package directions. Put in bowl and place in refrigerator to cool while getting the rest of the ingredients together. Eggs: Scramble the eggs in a small pan over medium heat. Separate the scrambled chunks of egg into small pea-size bits while cooking. When rice has cooled to near room temperature, add peas, shredded carrot, scrambled egg and diced onion to the bowl. Dump the bowl of rice into the pan with the eggs. Slowly add soy sauce plus a dash of salt and pepper. Mix to combine. Cook rice for 6-8 minutes over heat, stirring often. (We actually only cooked it for about another 5. This will depend on the Wok you are using and how hot your stove top gets.) Serve immediately.

My opinion:
I love this rice. It’s simple and filling enough to eat as a meal by itself.