Quick Yellow Shrimp Curry

Easy Yellow Shrimp Curry Sometimes I really want a good curry, but I don’t have time to toast the spices or wait for it to come together. This super simple curry from Nadia’s Healthy Kitchen is even quicker with our favorite Penzey’s Curry spice blend. Plus the best part is you can add any vegetables you have. I’ve used carrots, zucchini, broccoli and peppers with just as delicious results.

Quick Yellow Shrimp Curry

Ingredients
  

  • 1 bag frozen shrimp medium shelled and deveined works best.
  • 1/2 cup frozen peas
  • 1 l can coconut milk
  • 1 tbsp coconut oil or any oil
  • 1 medium onion chopped
  • 1-2 garlic cloves minced
  • 2 tablespoons Penzey's Curry Spice mix*
  • 1-2 teaspoons lemon juice
  • salt and pepper to taste
  • handful fresh parsley finely chopped

Instructions
 

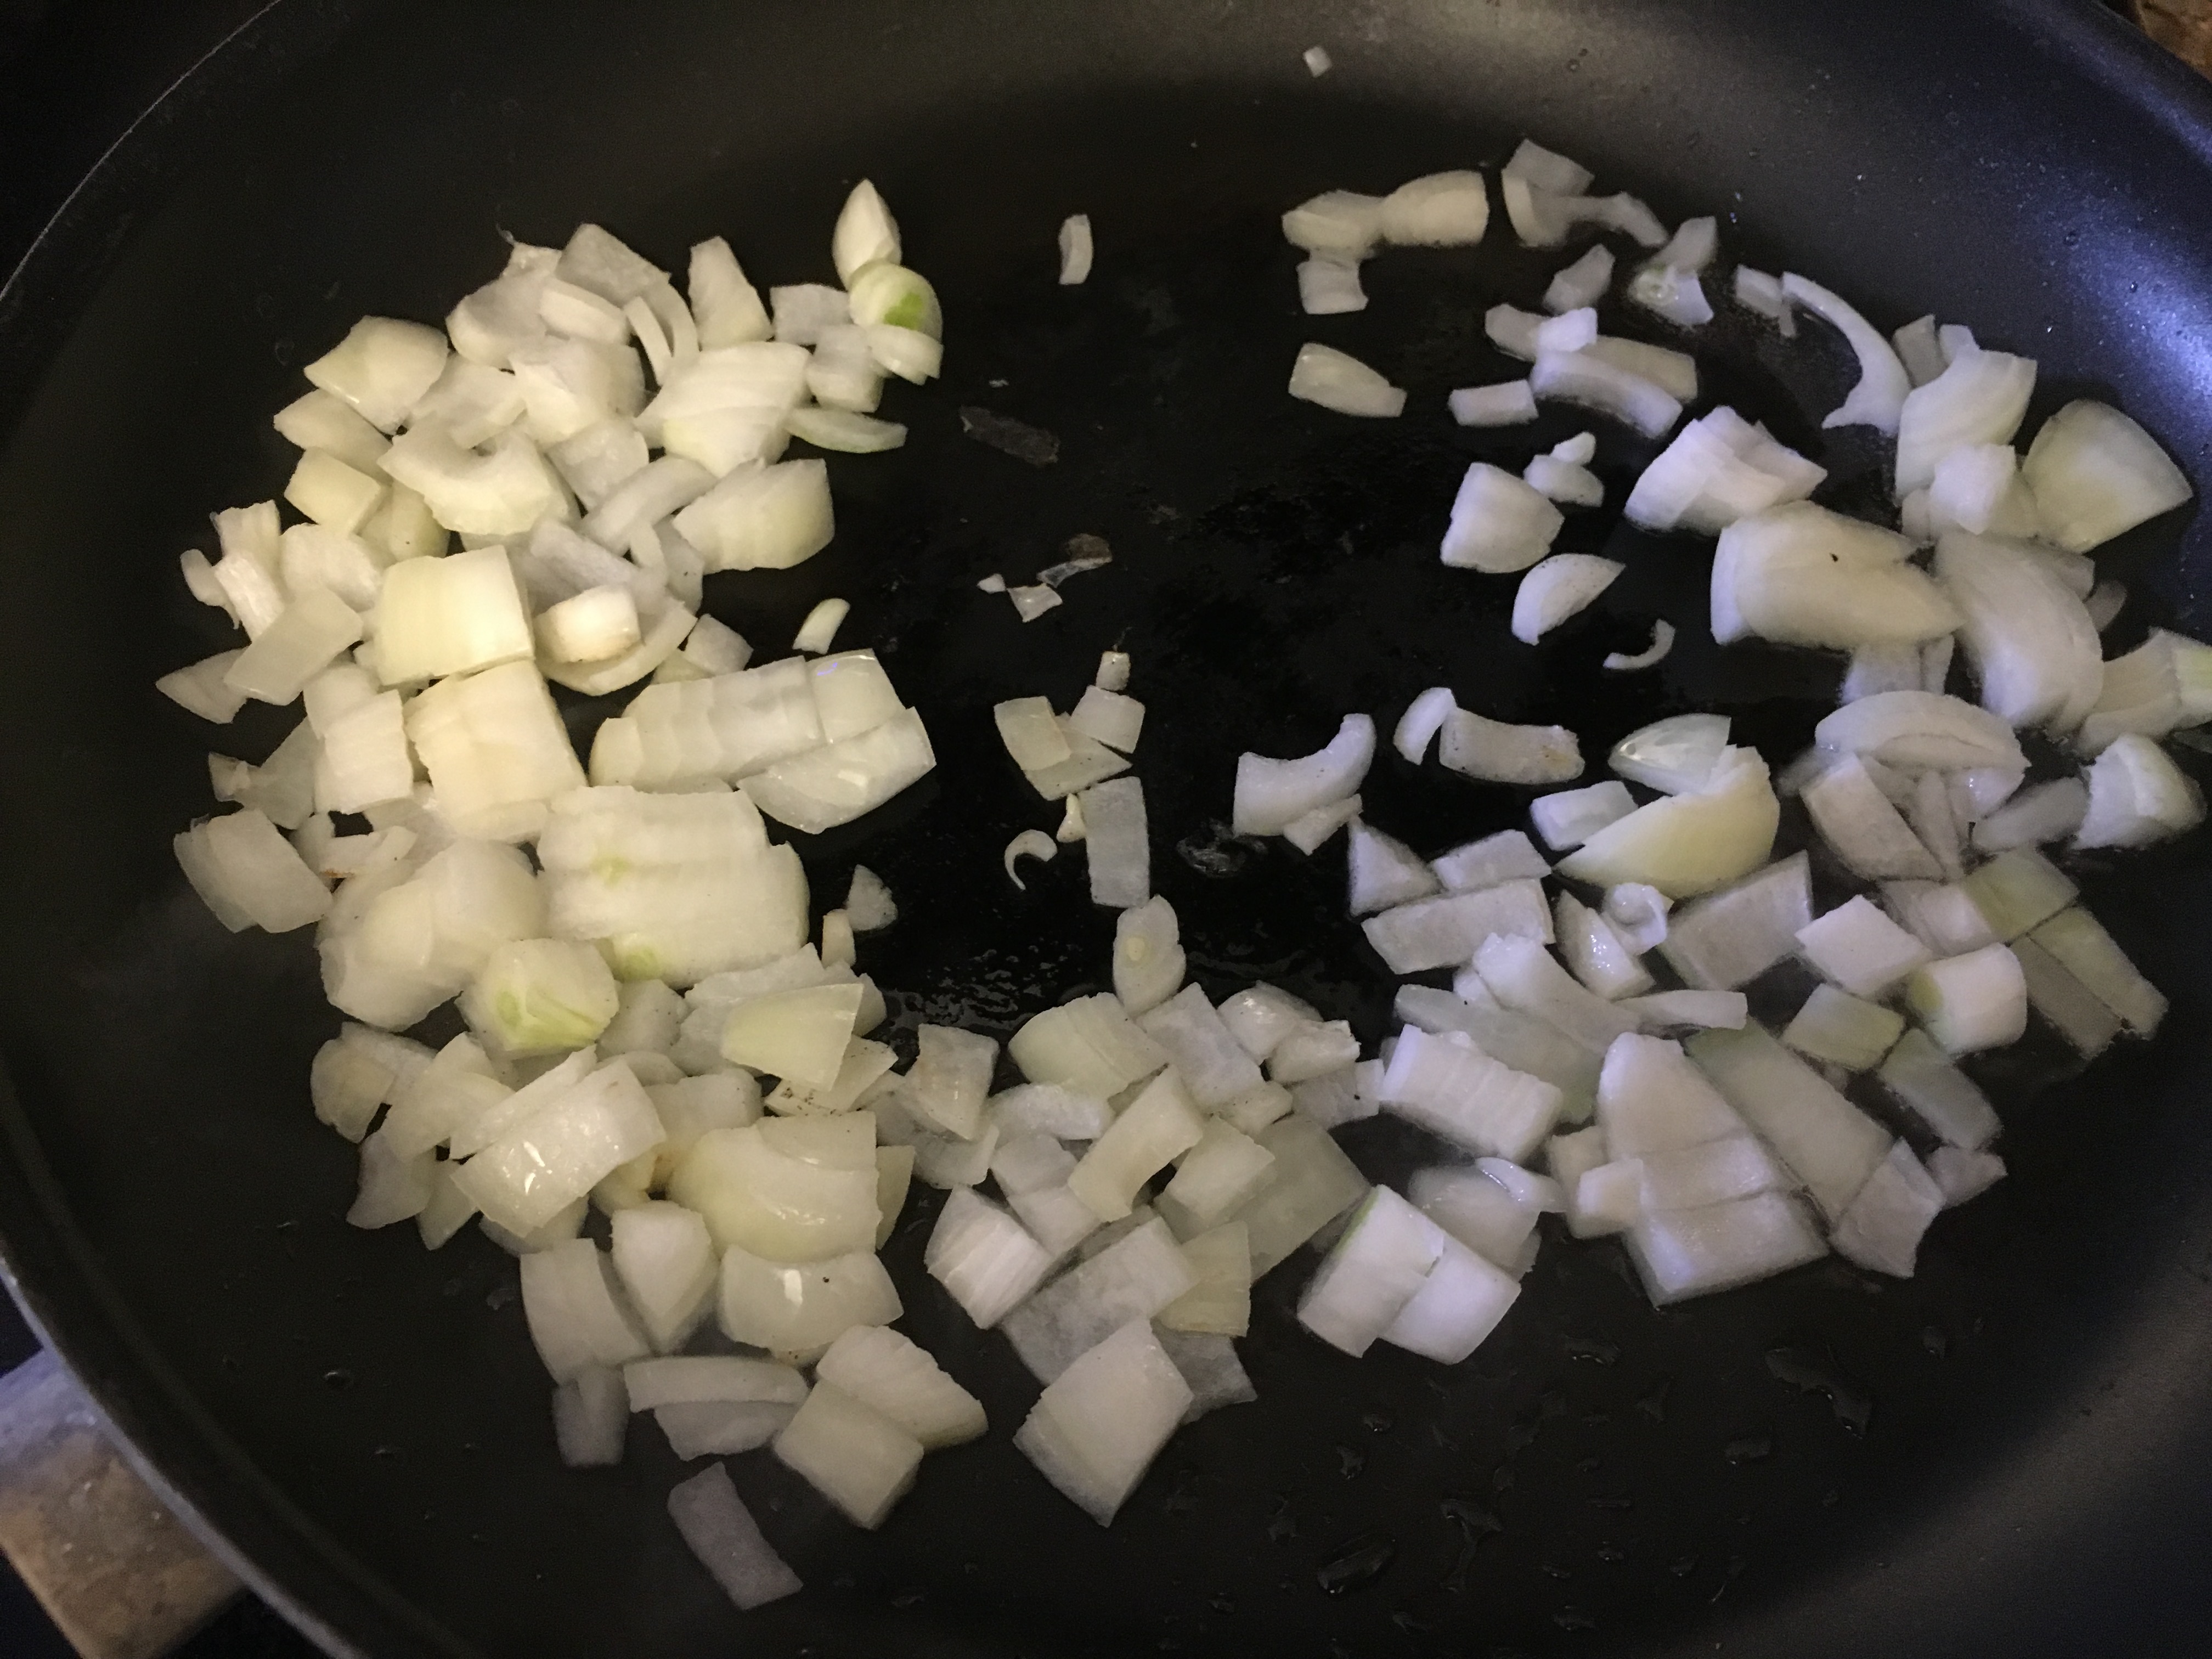
  • In a frying pan, sautee the onions over a medium heat for about 5 minutes or until they become transparent.
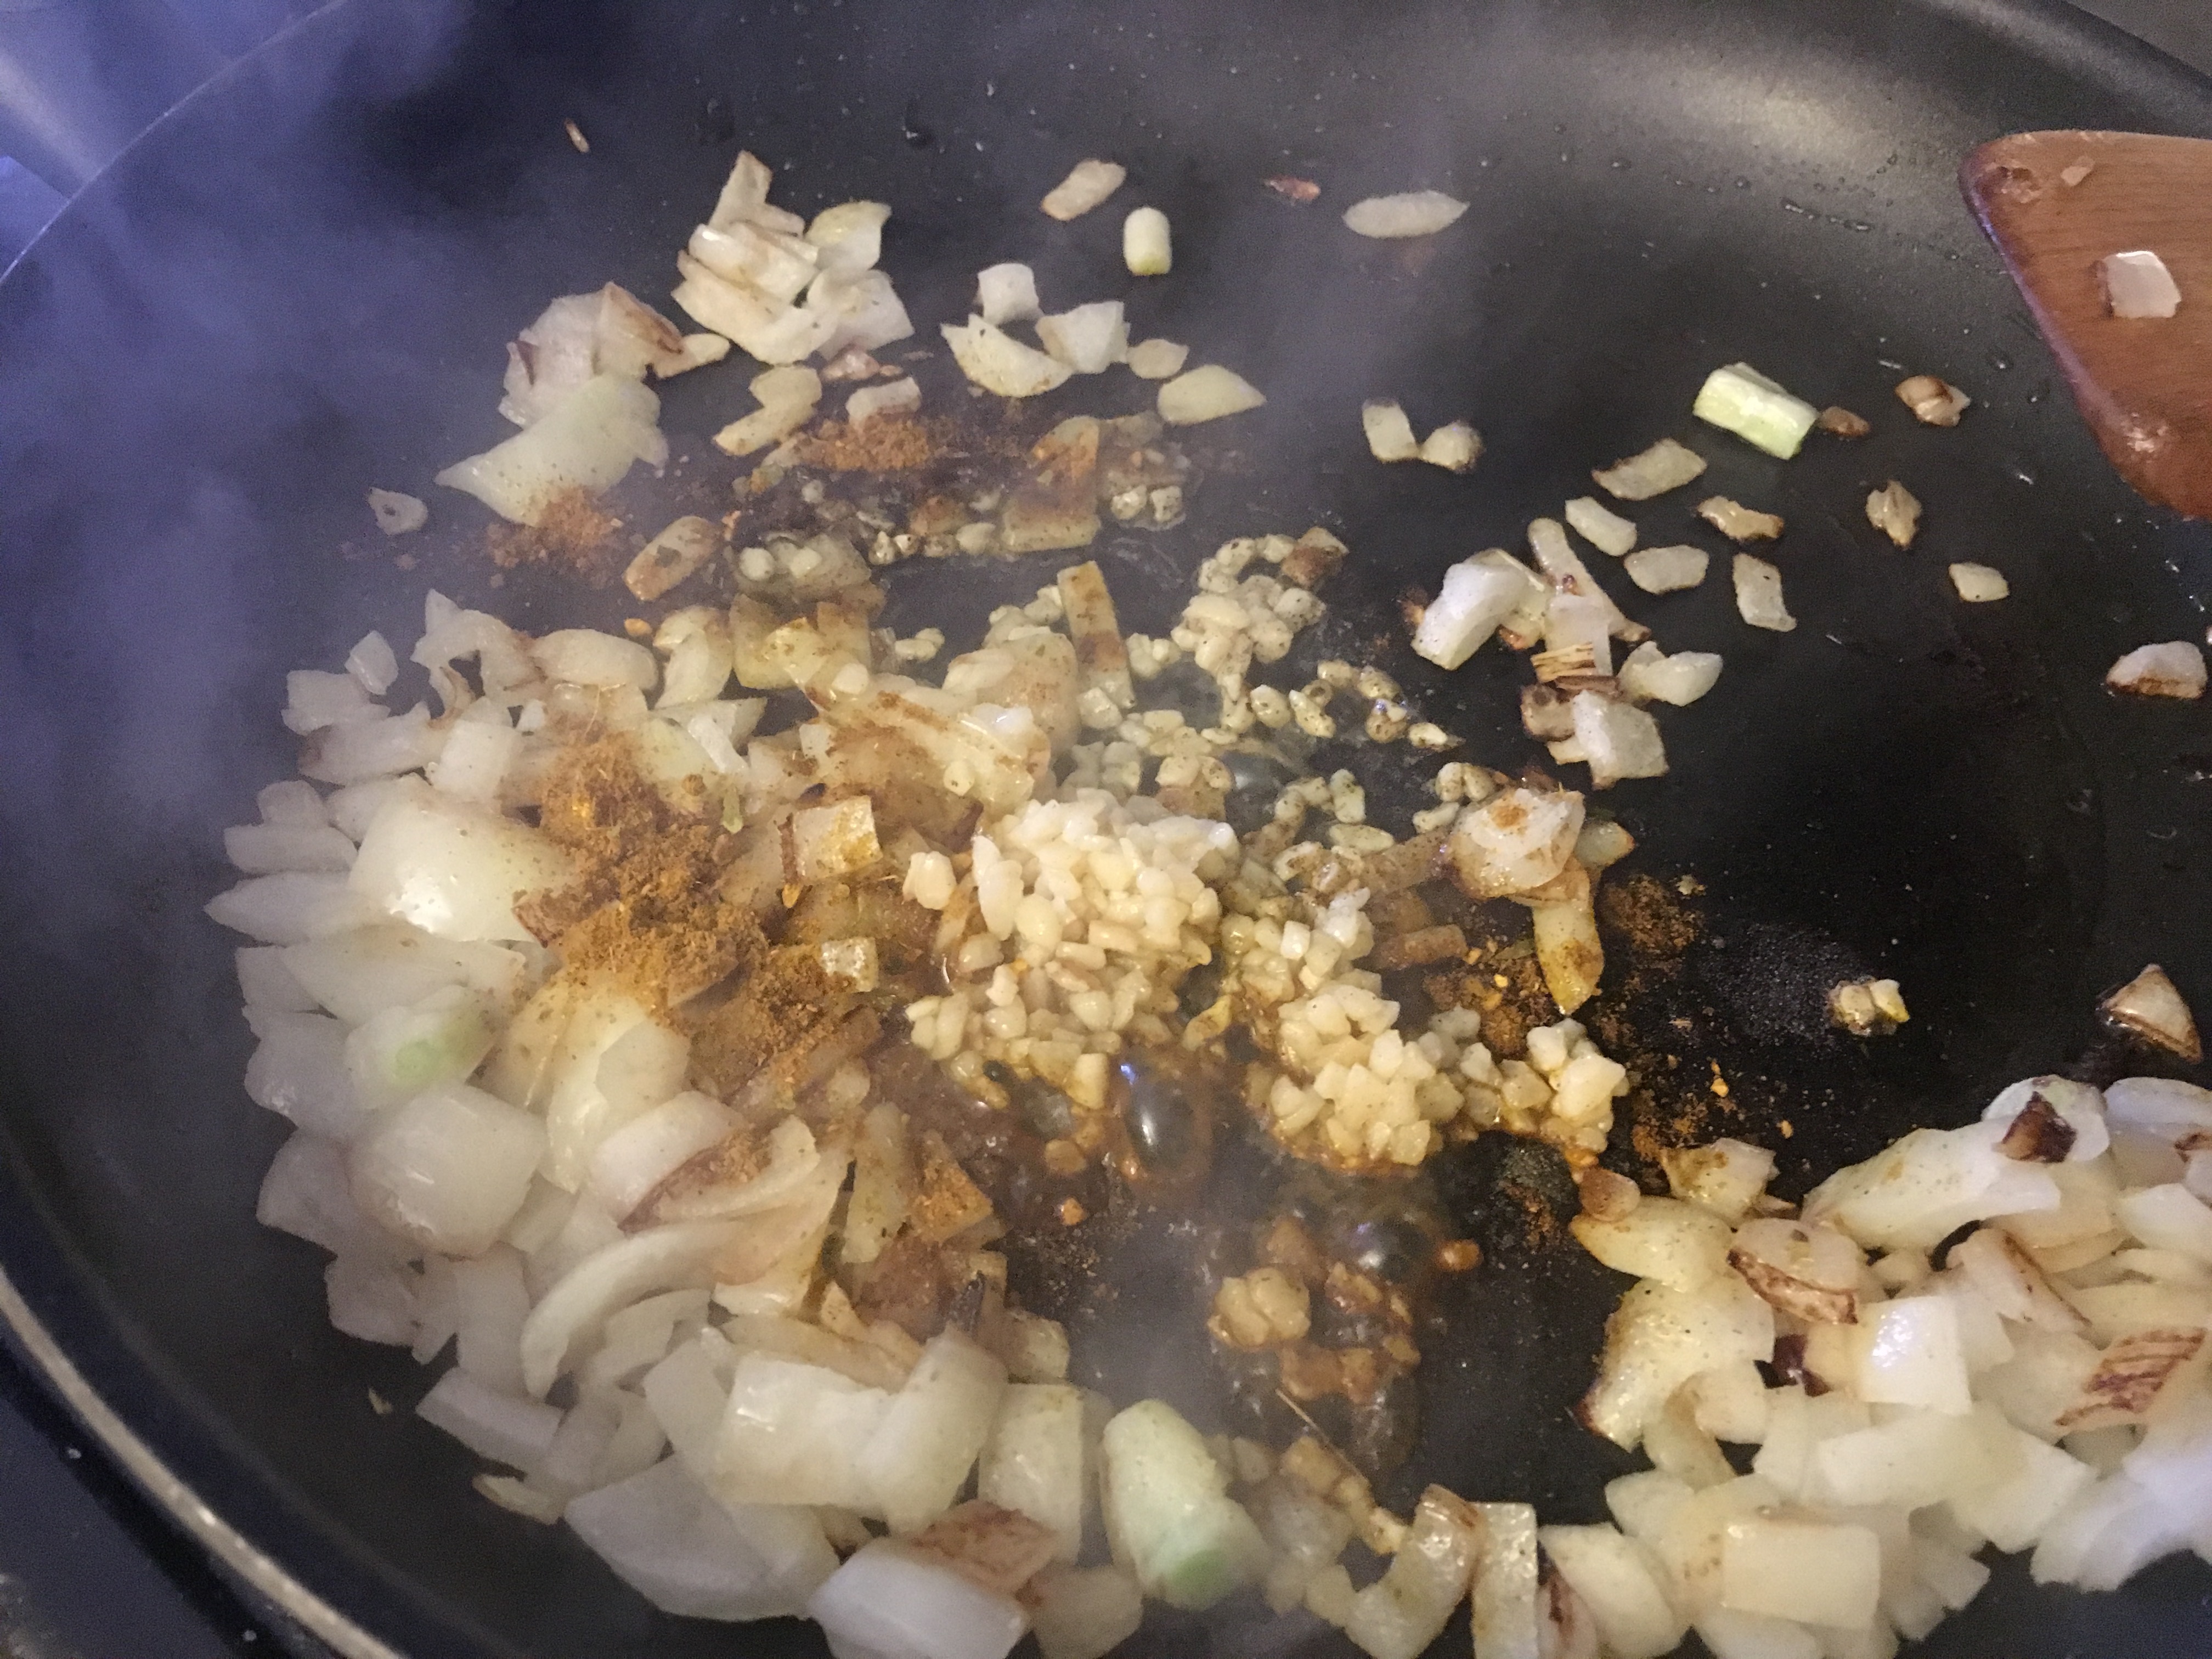
  • Add the spices and garlic and cook for a further 1 minute.
  • Add the shrimp and lemon juice. Stir to coat in with the spices, then pour in the coconut milk.
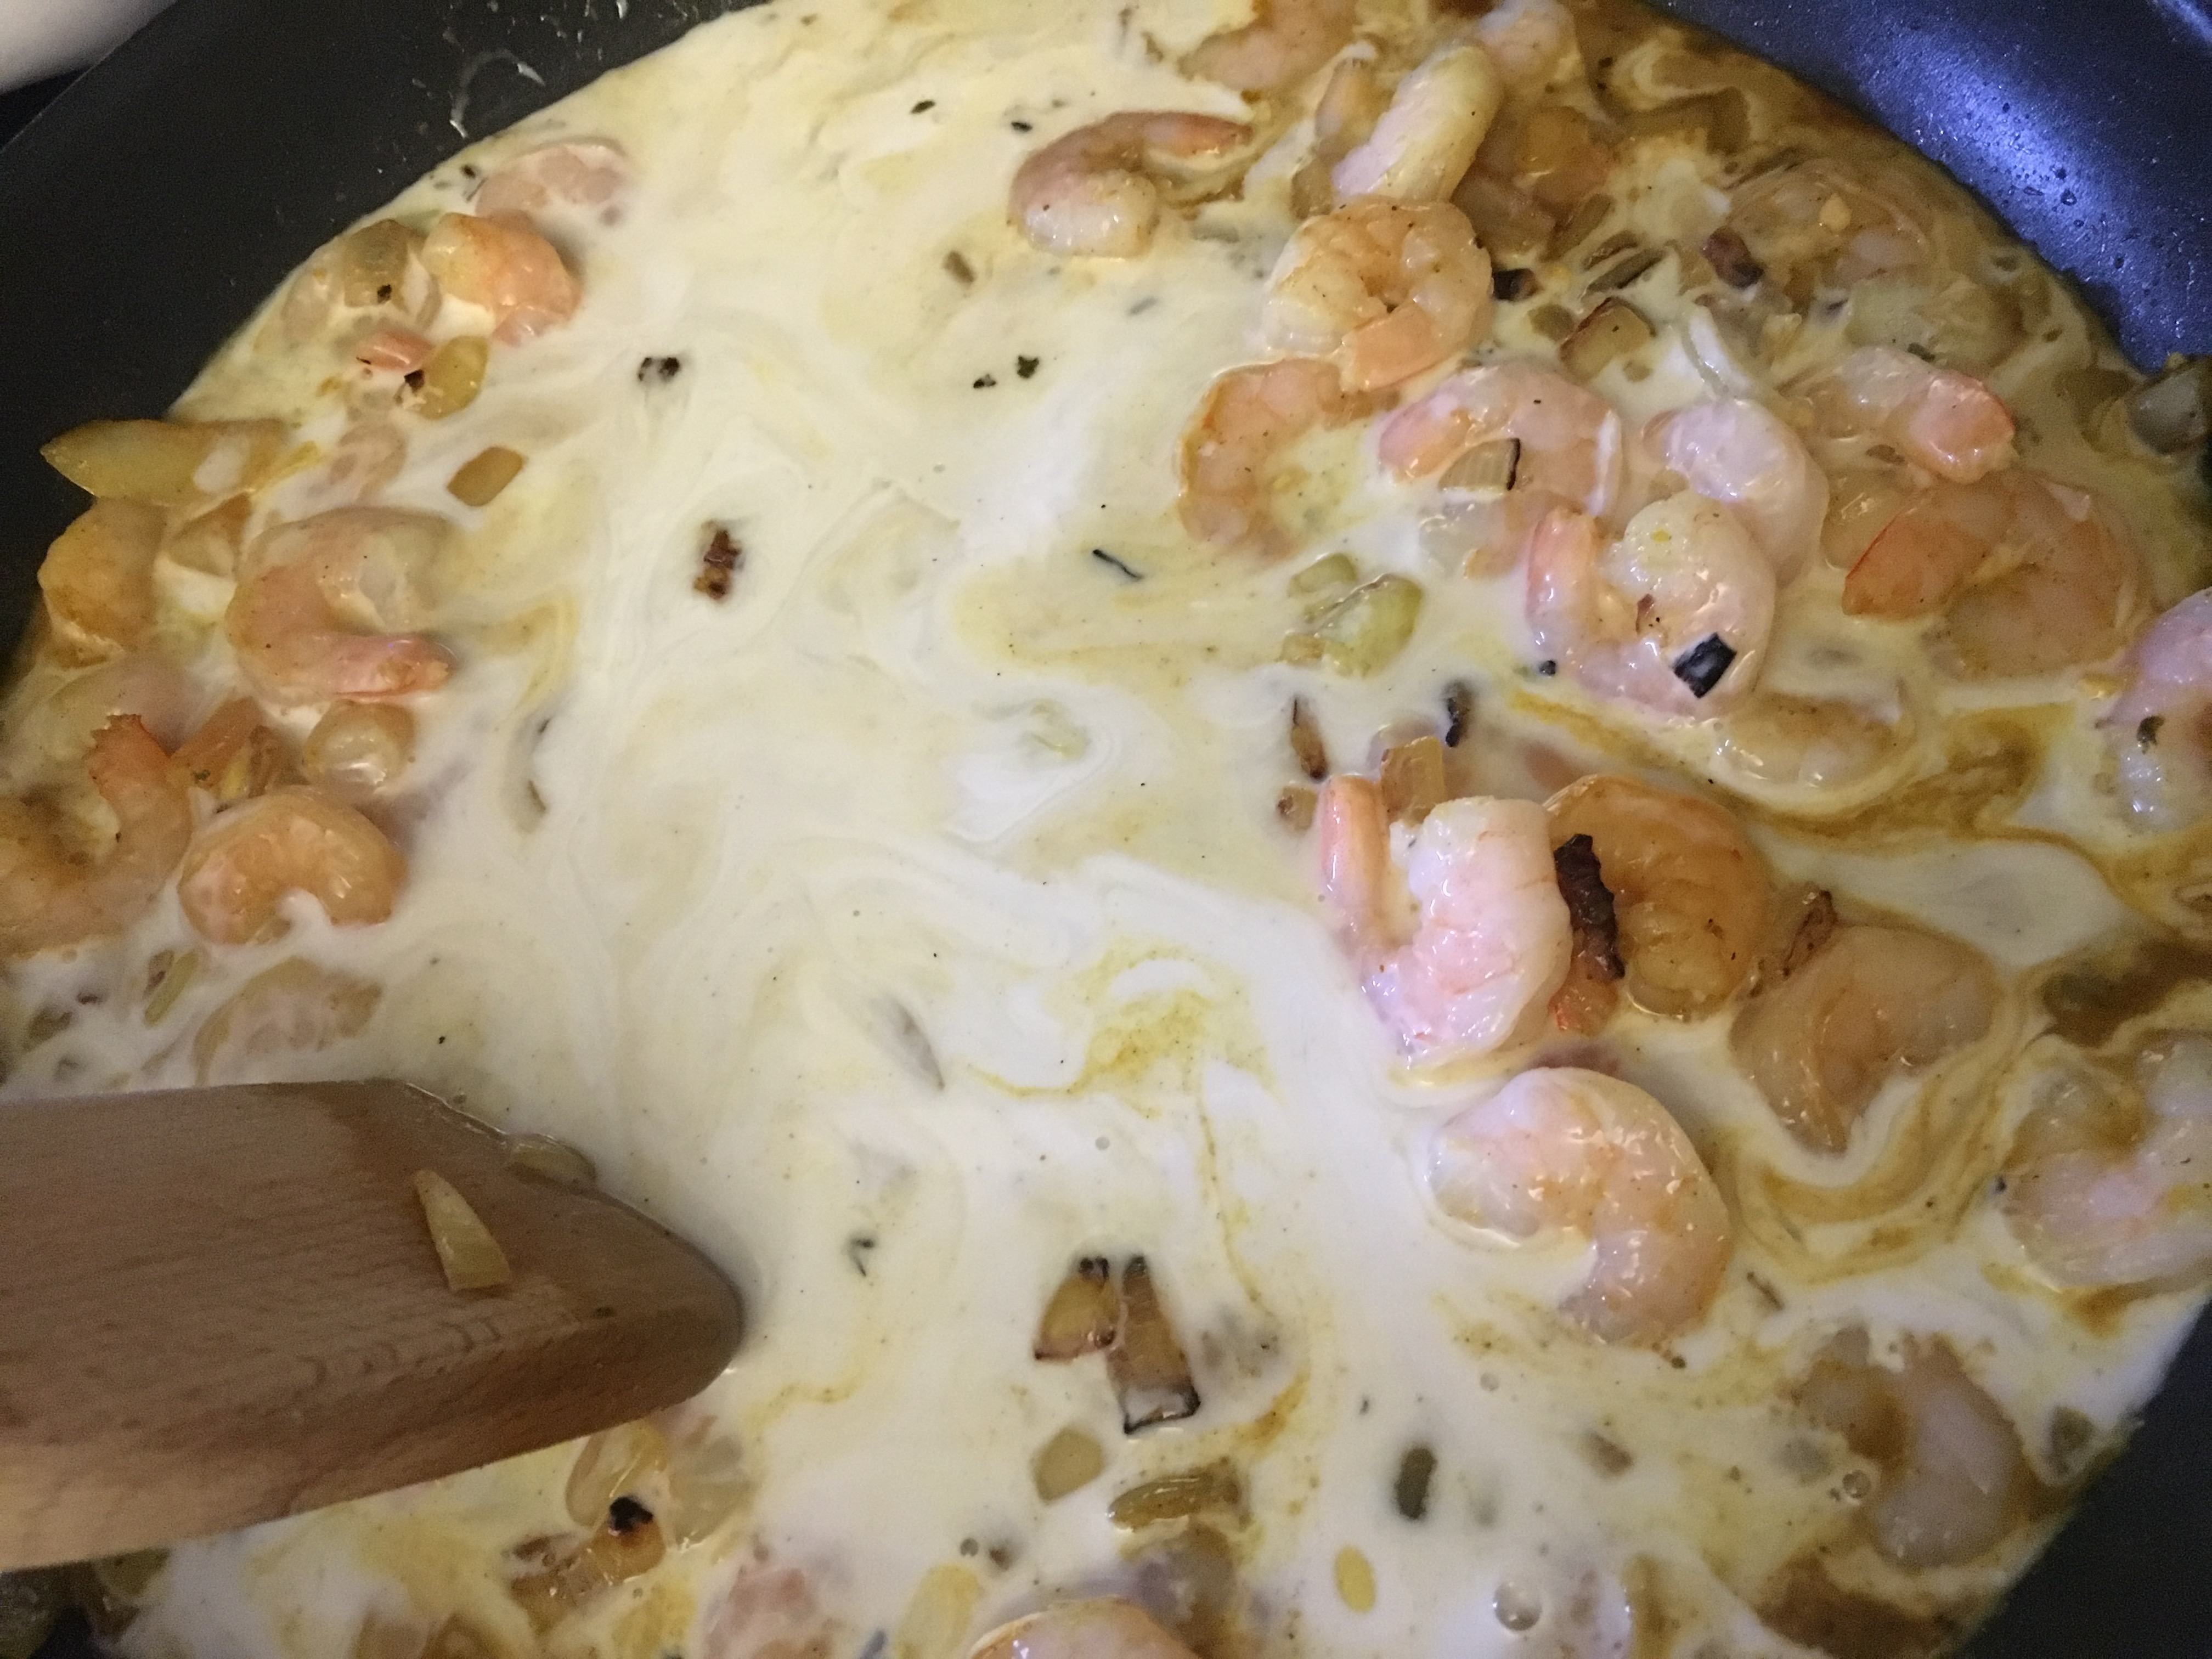
  • Add the peas and season with salt and pepper to taste. Cover and leave to simmer for 5-10 minutes.
  • Mix in the chopped parsley just before serving. Serve with rice, couscous or quinoa
Tried this recipe?Let us know how it was!

My opinion:
This takes less than 15 minutes, 20 if your vegetables aren’t already chopped. It’s simple, delicious and extremely delicious. I only wish there was a little more leftover for lunch the next day, there never is enough!

*If you don’t have the Penzey’s Curry spice mix, the original recipe called for: 1 teaspoon paprika, 1 teaspoon cumin, 1 teaspoon turmeric, 1 teaspoon garam masala, 1 teaspoon coriander and optional 1 teaspoon mustard seeds and 1 teaspoon cumin seeds.

p.s. even our toddler loves this dish!
Yum

Best Gazpacho

Gazpacho
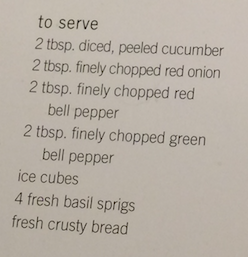
I know I said this was the best gazpacho recipe and I promise I still really like that one. This one is a teensy bit better and reminds me of a bowl of gazpacho from a restaurant in my hometown that doesn’t exist anymore. It’s the perfect HOT summer dinner. We found this gem hidden in a Mexican cookbook that we bought years ago:
Perfect Mexican
Now the serving suggestions include:
Screen Shot 2015-07-14 at 3.00.04 PMBut truthfully, we don’t bother because the model didn’t include the garnishes and it’s just as good.

Best Gazpacho

Ingredients
  

  • 1 cucumber (the original recipe says small we just got an average size one) peeled and chopped
  • 2 red bell peppers seeded and chopped
  • 2 green bell peppers seeded and chopped
  • 2 tablespoons garlic cloves we really like garlic so we used about twominced garlic
  • 1 cup fresh basil sprig we have this growing in the kitchen and used about a quarterof leaves
  • 2 1/2 cups strained tomatoes (we had a heck of a time finding strained tomatoes in our Mid-Missouri town so we used tomato puree)
  • 1 tablespoon extra-virgin olive oil splurge and use the good stuff. We have some wonderful EVOO from C's trip to Spain!
  • 1 tablespoon red wine vinegar splurge and use the good stuff
  • 1 tablespoon balsamic vinegar splurge and use the good stuff
  • 1 cup and 1/4vegetable stock
  • 2 tablespoons lemon juice
  • salt and pepper to taste
Tried this recipe?Let us know how it was!

My opinion:
Some people keep this extra chilly by serving an ice cube at the bottom.
Best Gazpacho
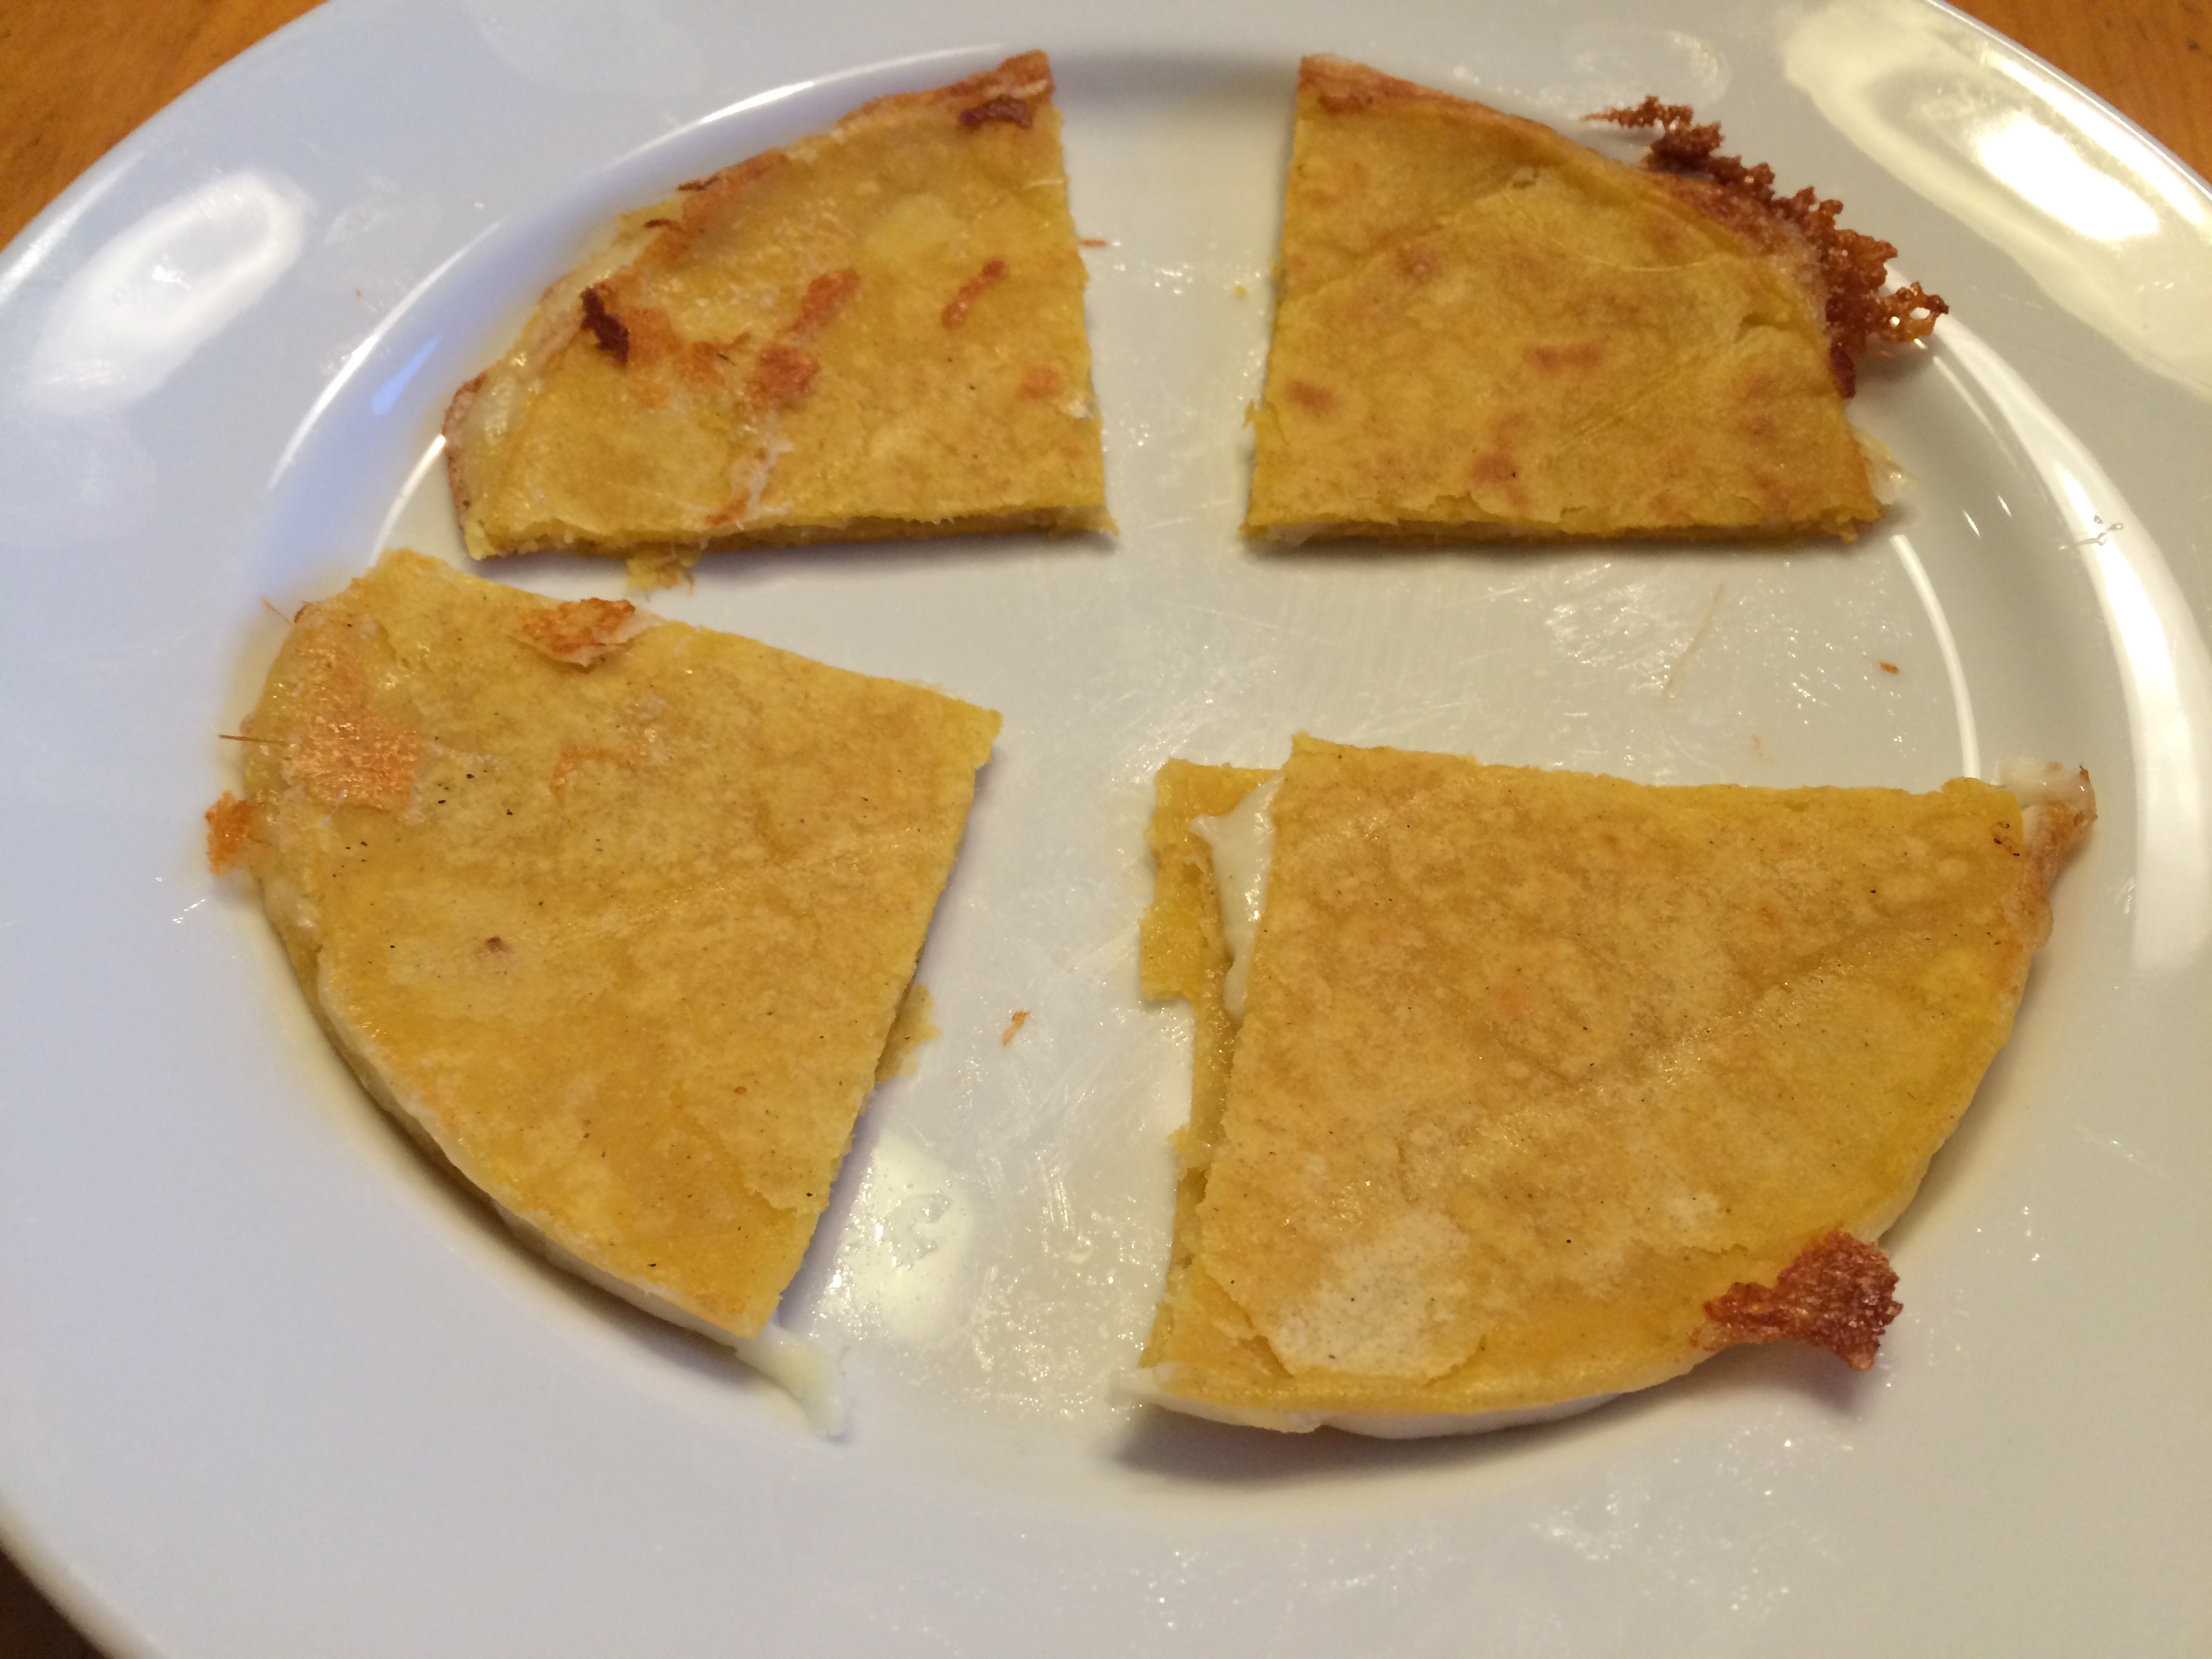
Instead of crusty bread (because I’m still limited in my wheat and gluten intake) we served it with corn quesadillas! Delicious!
Enjoy!
Corn Quesadillas

p.s. Summer 2016 update: even our toddler loves this gazpacho, which she calls “sauca!” She’s been practicing using a spoon on her own and if we keep this a bit on the chunkier side, she’s 90 percent successful! 

Langlois Stuffed French toast

Finished stuffed french toast
This is another recipe J and I learned to make while at the amazing Langlois Culinary Crossroads. It is perfect for a new year’s day breakfast or brunch. While it looks complicated, it’s actually pretty easy. The hardest part os stuffing the brioche!

Langlois Stuffed French toast

Servings 8 servings

Ingredients
  

Bread and filling ingredients:

  • loaf Brioche stale is better!
  • 8 ounces cream cheese
  • 2 tablespoons powdered sugar
  • 1 teaspoon vanilla extract
  • 1 lemon zested and juiced we've also used an orange and it is delicious!

Custard ingredients:

  • 6 large eggs
  • 1 cups and 1/2whole milk (for extra richness use heavy whipping cream or half and half)
  • 6 tablespoons sugar
  • 2 teaspoons vanilla extract
  • 1/2 teaspoon kosher salt
  • 2 tablespoons unsalted butter (if using salted omit the salt above)
  • 2 teaspoons vanilla extract
  • 1/2 teaspoon kosher salt
  • 2 tablespoons unsalted butter (if using salted omit the salt above)

Instructions
 

  • Cut the Brioche into about 6 2 by 2 rectangular pieces. Using a skewer precut the hole for the filling. You will have to turn it around to make a hole larger than the skewer. This is where slightly stale bread comes in handy.
  • In a medium-sized bowl, beat the softened cream cheese, powdered sugar, vanilla and lemon zest and juice together on medium speed until well blended.
  • Put the filling into a ziptop bag. Cut off the corner. Pipe into the skewer holes.
  • If this doesn't work, you can make a sandwich by making a pocket (think pita pocket), just make sure to only cut through one side of the bread or it will be more difficult to brown. Set this aside.
  • In another medium-sized bowl, beat the eggs, milk, sugar, vanilla and salt. Dip each piece of stuffed bread into the custard and turn once to completely coat. Cover and chill for at least 30 minutes (overnight is better!) but no longer than 24 hours.
  • When you're ready to cook, preheat the oven to 350 degrees.
  • In a large skillet melt the butter over medium to medium-high temperature.
  • Brown each piece of stuffed bread on all sides. Do not move it around. Do not check and see if it's browning.
  • Let it sit longer than you think it needs to. About 5 minutes per side.
  • Place the browned pieces into a casserole dish and cook in the oven for about 10 minutes. Garnish as you please and serve.
Tried this recipe?Let us know how it was!

My opinion:
Sometimes we cover this in powdered sugar, other times maple syrup. It’s just as good alone though. We’ve served this to friends and family and everyone has raved about it each time.

Portuguese filet of Swai


J and I have been trying to eat more fish. Since one of my most favorites, seared tuna, is out at least until Baby Girl Tyler arrives in November, we’ve had to get creative. Last night, J found this super easy and really delicious Portuguese recipe from Food.com. We didn’t have any sole filets on hand, so we swapped out Swai (not sure what Swai is, check out this link from Consumer Reports) and it was wonderful. Since we didn’t want to figure out how to divide an egg yolk, we just made the full sauce recipe. Which turned out to be a great idea because the sauce was equally delicious over brown rice!

Portuguese filet of Swai

Ingredients
  

  • 2 Swai fillets
  • 1 1/2 tablespoons lemon juice
  • 2 tablespoons butter
  • 1/4 cup dry sherry
  • 1 teaspoon soy sauce
  • 2 sprigs parsley minced
  • 1 egg yolk

Instructions
 

  • Arrange fillet in broiler pan and sprinkle with a little lemon juice and dot with butter.
  • Broil until fish begins to brown.
  • While the fish is broiling, combine the remaining lemon juice, sherry, soy sauce, parsley, and egg yolk. Mix well.
  • When the fish has browned, spoon the sauce mixture over fish and return to broiler until sauce begins to bubble.
  • If you end up with more sauce than fish, like we did, add the sauce to a pan and heat on medium until bubbling. This ended up being perfect because the sauce on the fish soaked in.
Tried this recipe?Let us know how it was!

My opinion:
With a side of brown rice and broccoli, this was a super light and tasty dish. In total, it took longer to cook the brown rice than to make the fish from start to finish. Next time, we’ll add more fresh parsley at the end.

C’s Baklava


I always thought baklava was too complex to try at home. Then C found this amazing recipe in The Complete Middle East Cook Book and not only proved me wrong, but it was hands down the best baklava I’ve ever had.

C's Baklava

Ingredients
  

Base

  • 20 in sheets fillo pastry dough look for itthe freezer section!
  • 3/4 cup melted unsalted butter
  • 2 cups finely chopped walnuts
  • 1 cup finely chopped almonds
  • 1/4 cup sugar –
  • 2 teaspoons ground cinnamon
  • 1/8 teaspoon ground cloves

Syrup Ingredients:

  • 1 cups and 1/2sugar
  • 1 cups and 1/2water
  • 1/4 cup honey
  • thinly peeled lemon rind (in a pinch we've left this out, but it does make a difference!)
  • piece smallof cinnamon bark we used a small cinnamon stick
  • 3 cloves
  • 2 teaspoons lemon juice
  • 3 cloves
  • 2 teaspoons lemon juice

Instructions
 

  • Preheat the oven to 325 degrees.
  • If your walnuts and almonds are whole, or not ground pretty fine, throw them in the food processor.
  • Mix the nuts, sugar and spices together in a bowl.
  • Butter the sides and bottom of a large baking dish.
  • Place one sheet of the fillo dough on the bottom of the baking dish and brush with melted butter. Repeat eight times.
  • Spread some of the nut mixture over the buttered fillo dough. Top with another sheet of fillo dough.
  • Butter that sheet.
  • Top with a second sheet of fillo dough.
  • Butter that sheet. ]
  • Spread the remaining nut mixture over butter fillo dough.
  • Top with the remaining nine sheets of fillo dough, making sure to butter each sheet. Brush the top with butter and using a sharp knife, cut a diamond shape and sprinkle with water to prevent the top layers from curling.
  • Bake on the center shelf for 30 minutes.
  • Then move up one shelf and cook for another 30 minutes. You'll want to keep an eye on it, if the top browns too quickly, cover with foil.
  • While the baklava is cooking, make the syrup. Note: we've discovered the longer the syrup sits, the better it is. We've even canned it for later.
  • Place the sugar, water and honey in a medium-sized pot over medium heat.
  • Stir until the sugar is dissolved.
  • Add the remaining ingredients and bring to a boil.
  • Be careful! This boils quickly and the last thing you want is for the mixture to boil over. Manage your heat and let boil for 15 minutes. We found stirring continuously helps prevent boil overs.
  • Strain and let cool.
  • When the baklava is done baking, spoon the syrup over the pastry. Leave it alone for several hours (this step is the hardest, but I promise it is worth it).
Tried this recipe?Let us know how it was!

My opinion: This recipe takes more than the  hour of baking time and makes at least 30 pieces. You might want to cut them small, unlike some treats this is best in small, completely satisfying quantities.