Crockpot Alton Brown Pork Loin

AB Crockpot Pork Loin
I haven’t been shy about my love for all of AB’s recipes (for example our Christmas ham, gyro meat and a peach buckle). This one started out as a delicious grilled summer meal, but quickly morphed into a scrumptious year round crock pot meal. Extra bonus, we make it ahead and freeze it so it’s super simple to just pop into the crockpot!

Crockpot Alton Brown Pork Loin

Ingredients
  

  • 1 whole pork tenderloin approximately 1 pound
  • 1/2 cup freshly squeezed lime juice concentrate is also fine!
  • 1/4 cup honey
  • 1/2 teaspoon garlic powder we actually use regular minced garlic
  • 1 in chipotle chile pepperadobo sauce (out of the can we use about three or four chipotles and half of the sauce)
  • 1 1/2 teaspoons kosher salt We omit (but you can feel free to add!)
  • 1 tablespoon chopped fresh cilantro leaves We omit (but you can feel free to add!)

Instructions
 

  • Place the lime juice, honey and garlic powder in a ziptop bag and shake to combine.
  • Add the chipotle pepper (s) and squish together to combine.
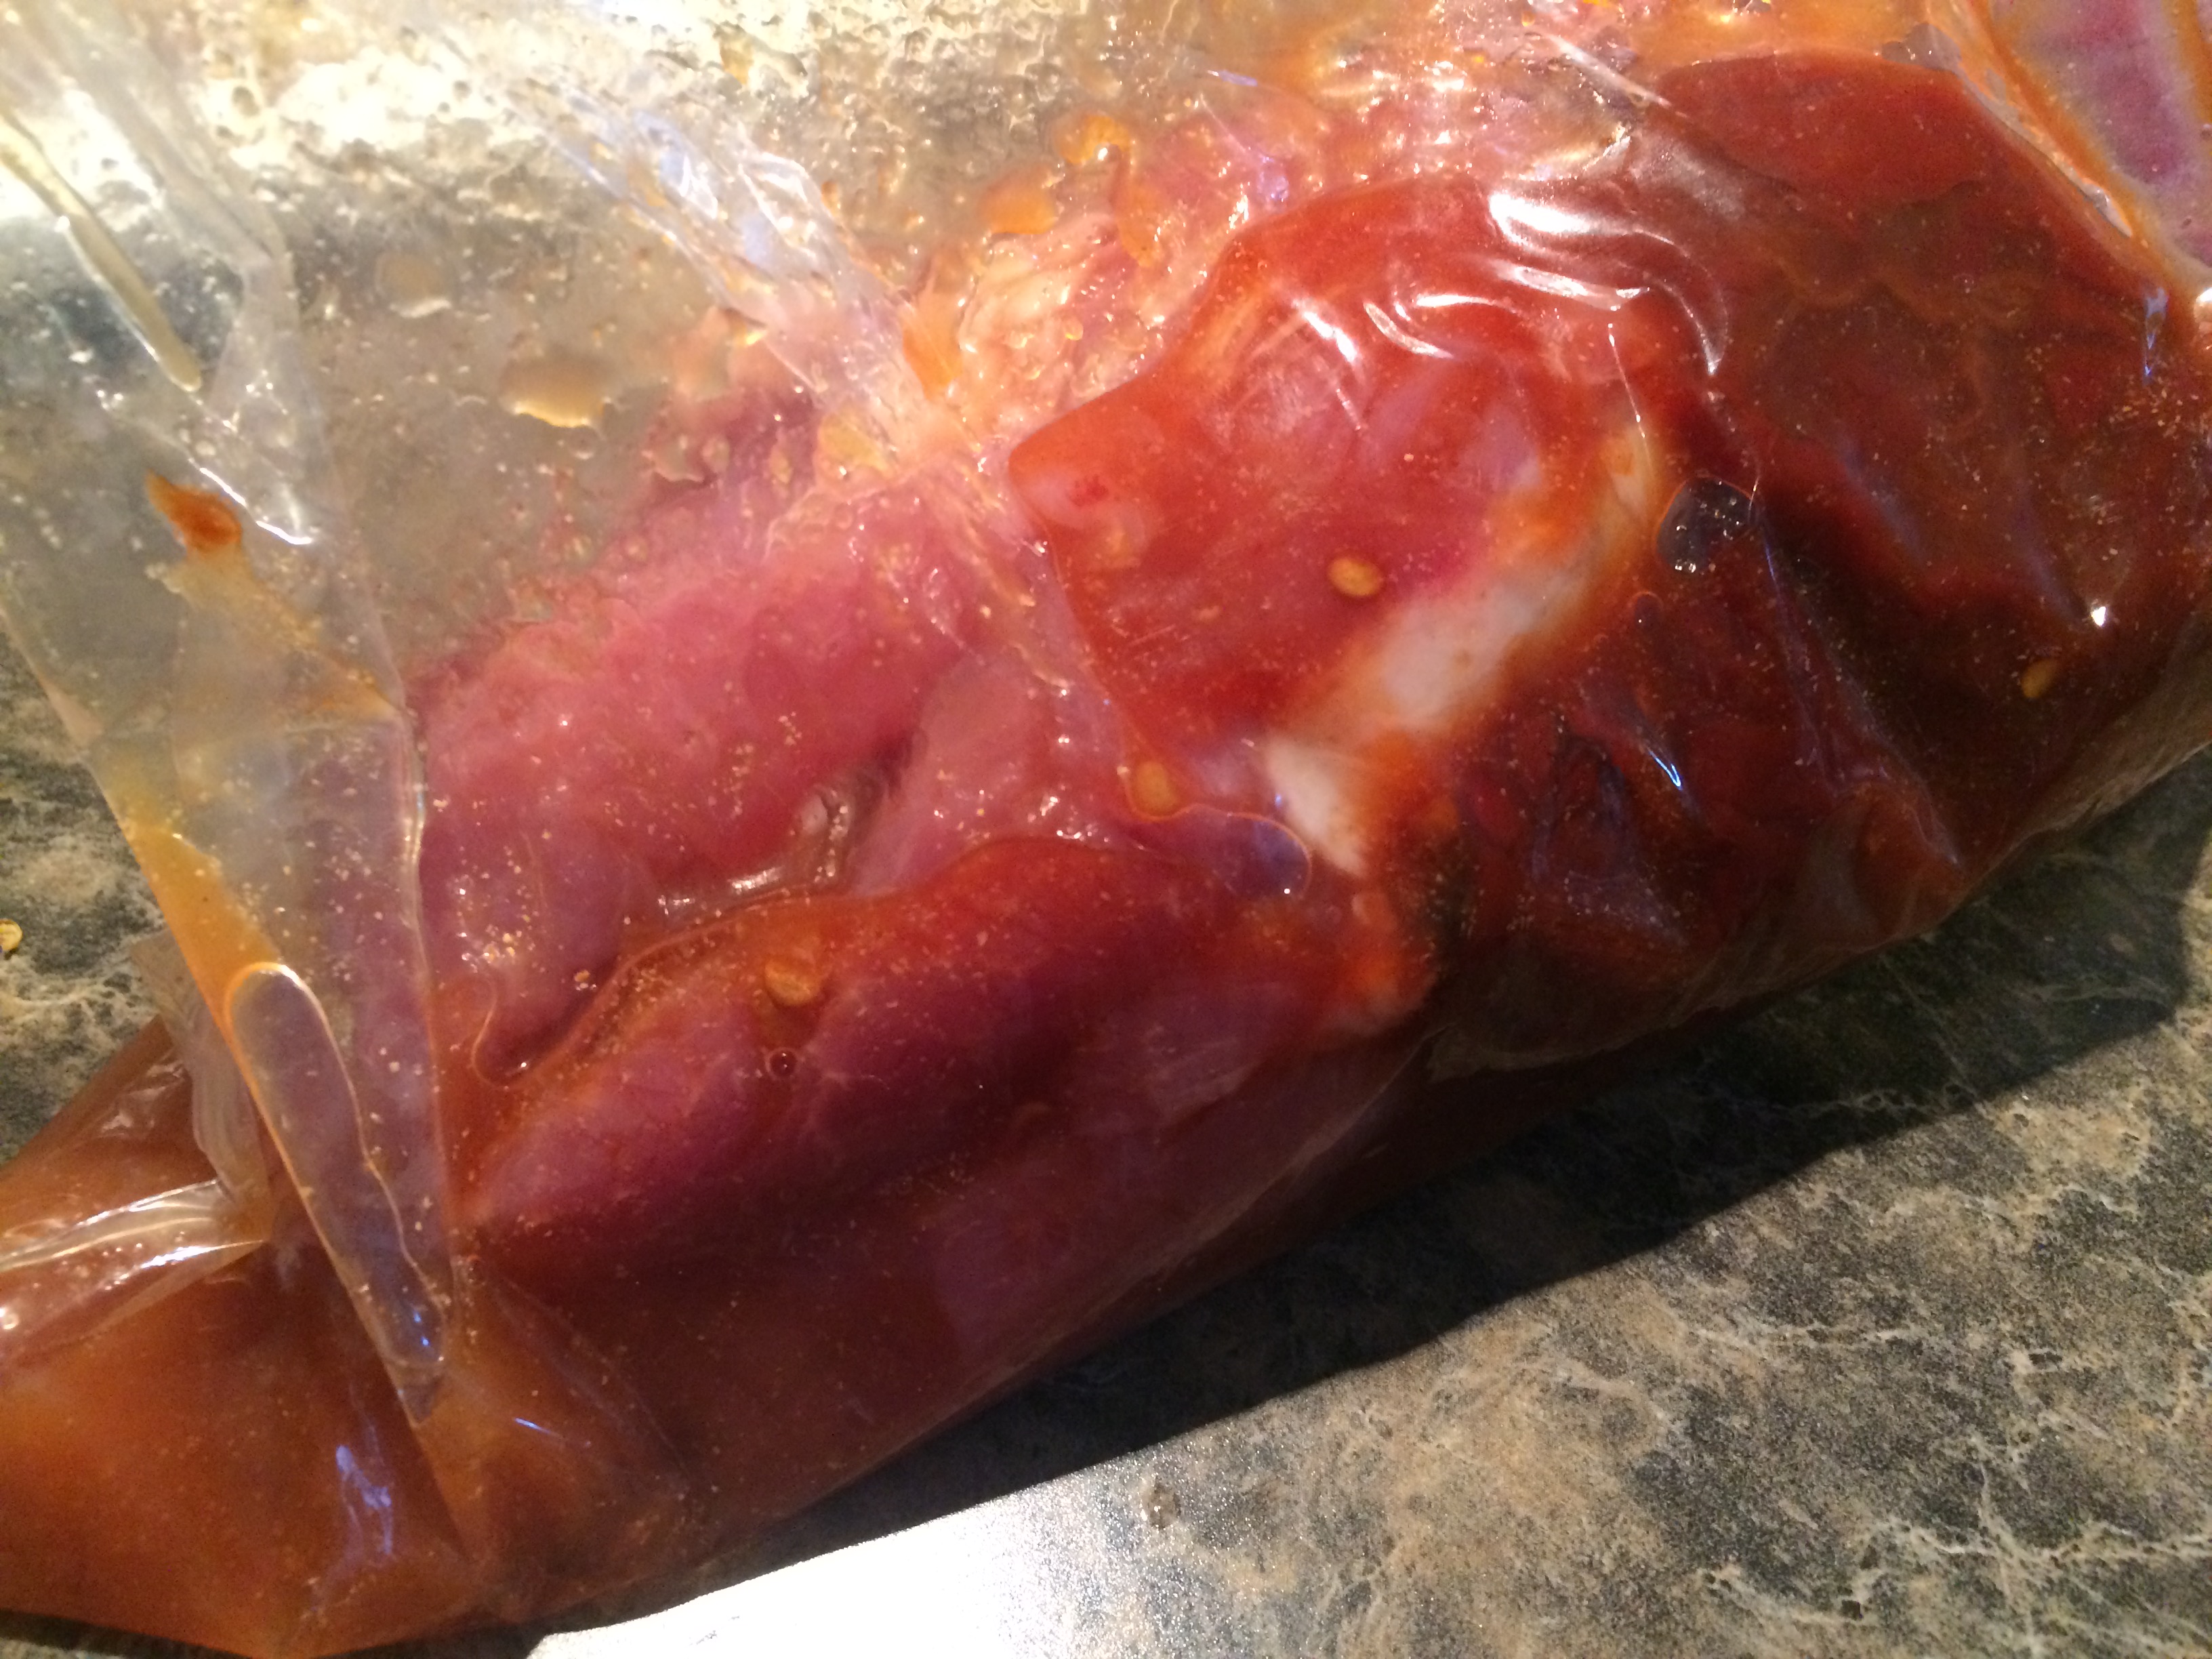
  • Add the pork tenderloin to the bag and seal, removing as much air as possible and squish to coat the tenderloin. (At this point, we usually freeze this mixture together.)
  • If not freezing, marinate in the refrigerator for 6 to 24 hours (we like overnight).
  • When you're ready to cook, dump the entire mixture into the crockpot, marinade and all. Cook on low for 8 to 10 hours. (Always double-check your specific crockpot settings for correct cooking times).
  • If you can, flip it once, but if you can't it's ok.
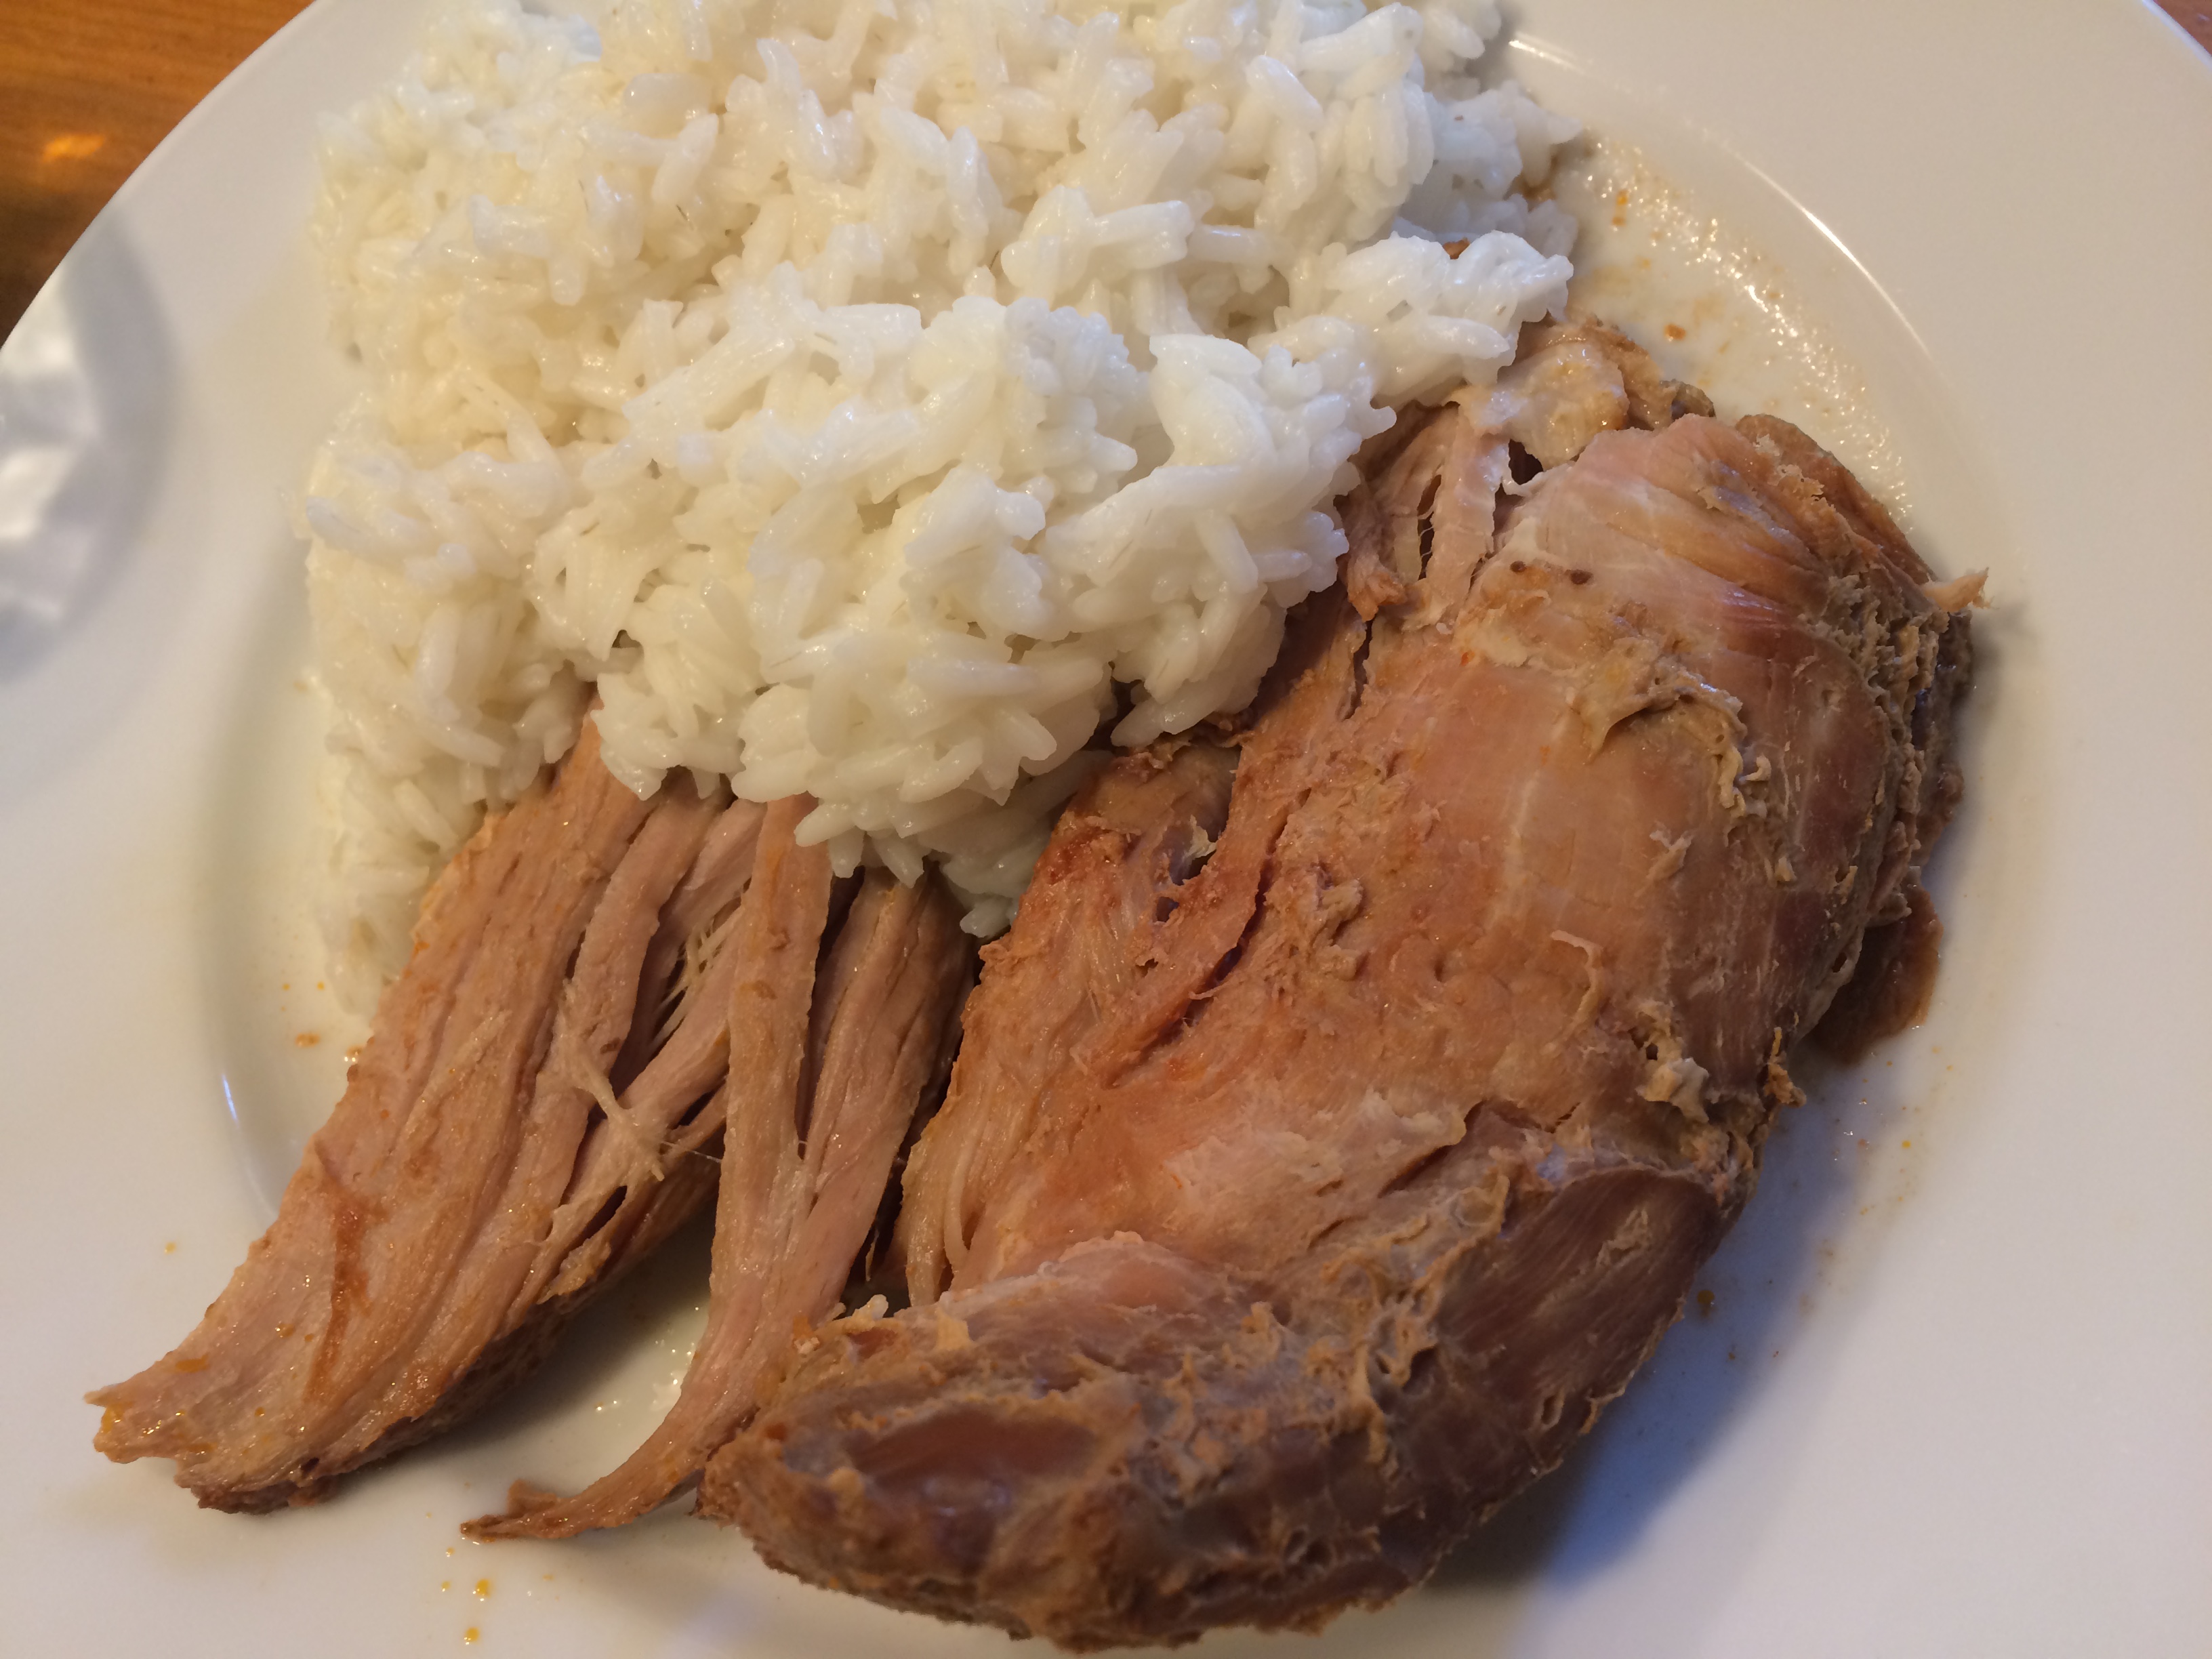
  • When you're ready to eat, remove the pork loin. Make sure to reserve the juices! We enjoy pouring it over rice to go with the pork.
Tried this recipe?Let us know how it was!

My opinion:
Like I said above, this is great year round. It’s just as good with a salad as it is over rice. Enjoy!

p.s. Summer 2016 update: without the chipotles in adobo sauce, our toddler eats this up! We just add the chipotles and adobo sauce to our plates. 

Gyro Meat with Tzatziki Sauce

Homemade Gyro Meat by aurorameyer.com
A couple of weeks ago we had some friends over for a Sunday feast. J has previously mastered the Chicken Gyros (recipe soon!) and wanted to try his hand at the more traditional gyro meat, which is a combination of lamb and beef. As usual, one of our favorite Food Network chefs, Alton Brown, didn’t disappoint with this easy recipe. The hardest part was pressing the meat without a brick!

Ingredient Gyro Meat:
1 medium onion, finely chopped (we used the food processor)
1 pound ground lamb
1 pound ground beef
1 tablespoon finely minced garlic (we probably used a little more)
1 tablespoon dried marjoram
1 tablespoon dried ground rosemary
2 teaspoons kosher salt
1/2 teaspoon freshly ground black pepper
Tzatziki Sauce (recipe below)

Directions Gyro Meat:
Process the onion in a food processor for 10 to 15 seconds and turn out into the center of a tea towel. Gather up the ends of the towel and squeeze until almost all of the juice is removed. Discard juice. (We actually just used a coffee filter inside a strainer with a weight on top). Return the onion to the food processor and add the lamb, beef, garlic, marjoram, rosemary, salt, and pepper and process until it is a fine paste, approximately 1 minute. Stop the processor as needed to scrape down sides of bowl. Preheat the oven to 325 degrees. Place the mixture into a loaf pan, making sure to press into the sides of the pan. We ended up cooking this in two loaf pans. A bread loaf pan and a 9×13 pan. Place the loaf pan into a water bath and bake for 60 to 75 minutes or until the mixture reaches 165 to 170 degrees F. Remove from the oven and drain off any fat. (We ended up doing this twice as the first time the temperature wasn’t quite high enough. In fact, we ended up turning up the heat to 350 degrees just to make sure it cooked through.) Place the loaf pan on a cooling rack and place a brick wrapped in aluminum foil directly on the surface of the meat and allow to sit for 15 to 20 minutes, until the internal temperature reaches 175 degrees F. We used smaller pans to press the meat. Warning: Be careful during this process, the water is hot, the meat is hot, the pan is hot and there are lots of opportunities for burns. Steam burns hurt. If you are using traditional pot holders and oven gloves, be extra careful the steam will cause these to get wet and increase your chances of getting a burn. If you have an oveglove, use that, we plan to invest in one ourselves.

Slice and serve on pita bread with tzatziki sauce, chopped onion, tomatoes and feta cheese.

My opinion:
This was so so so so good. I couldn’t stop eating it. The flavors rally shine and despite my hesitation (and general aversion to sauces) the tzatziki sauce make all the flavors pop even more. I cannot wait to eat this again!

Ingredients Tzatziki Sauce:
16 ounces plain yogurt (we used Dannon because it came in the right sized container)
1 medium cucumber, peeled, seeded, and finely chopped
Pinch kosher salt
4 cloves garlic, finely minced
1 tablespoon olive oil (we used extra virgin)
2 teaspoons red wine vinegar
5 to 6 fresh mint leaves, finely minced

Directions:
Place the yogurt in a tea towel, gather up the edges, suspend over a bowl, and drain for 2 hours in the refrigerator. (We actually didn’t do this as the yogurt we purchased had already separated so we just drained it off). Place the chopped cucumber in a tea towel and squeeze to remove the liquid; discard liquid. In a medium mixing bowl, combine the drained yogurt, cucumber, salt, garlic, olive oil, vinegar, and mint. Serve as a sauce for gyros. Store in the refrigerator in an airtight container for up to a week. (We just used the original container.)

My opinion:
This is good as a dip too! I’ve eaten it with pita chips and tortilla chips. Where it really makes a difference is on the gyro meat.
C’s Blueberry and Peach Buckle


My sister has a gift. The gift of making extremely amazing baked goods. This is one of my new all time favorites. Right up there with her pound cake recipe. She created this dessert using a hybrid of the recipes from Alton Brown and Joy of Cooking.

Ingredients:
1 large ripe peach, halved, pitted and cut into small chunks (or 4-5 if you’re just using peaches)
Combine with:
1 1/2 cups blueberries or boysenberries
whisk together:
1 3/4 cups all-purpose flour (you can use up to 3/4 cup whole wheat flour)
2 teaspoons baking powder
1/2 teaspoon salt
1/2 teaspoon ginger
Combine in another bowl and beat until light and fluffy:
1/4 cup or 1/2 stick unsalted butter, softened
1 cup sugar (can reduce to 3/4 cup sugar if the peaches are very sweet)
1 large egg
Gradually beat in 1/2 cup milk

Struessel topping:
1/3 cup sugar
2 tablespoons all-purpose flour
2 tablespoons unsalted butter (chilled)
1/2 teaspoon nutmeg
1/2 teaspoon cinnamon

Directions:
In addition to the directions above, position a rack in the lower third of the oven. Preheat the over to 350 degrees F. Butter and flour a 10-inch round cake pan or 9-inch square baking dish (C uses shortening instead of butter). Combine all the dry ingredients and then cut the butter up into pieces, using a fork to blend in the butter until the mixture is crumbly.

Add the flour mixture and stir just until the dry ingredients are moistened and the batter is smooth. Gently fold in the fruit. Spoon into the prepared pan and spread evenly. Sprinkle the struessel topping over the batter. Bake for 50 to 55 minutes, until the top springs back when touched and a toothpick (or butter knife) inserted in the center comes out clean. Let cool in the pan on a rack for at least 20 minutes before serving.

My opinion:
Like an extra delicious coffee cake. Perfect at any time of day for any occasion.

City Ham

Yes, this ham takes about six hours to cook. Yes, it is pretty messy. But it is so worth it. We’ve had this ham every year for Christmas dinner since 2006. It’s a must eat. It started by watching Alton Brown’s CityHam/Country Ham episode Ham I am. I used to watch it while making it. Now, I don’t need to.

Ingredients:
1 city style (brined) ham, hock end (with bone in)
1/4 cup brown mustard (you might need more)
2 cups dark brown sugar (I’ve used light in a pinch)
1-ounce bourbon (even the cheap stuff will do, poured into a spritz bottle)
2 cups crushed ginger snap cookies

Directions:
Part One: Heat oven to 250 degrees F. Remove ham from bag (in the sink!), rinse and drain thoroughly. Place ham, cut side down, in a roasting pan. Using a small paring knife or clean utility knife set to the smallest blade setting, score the ham from bottom to top, spiraling clockwise as you cut. (If you’re using a paring knife, be careful to only cut through the skin and first few layers of fat). Rotate the ham after each cut so that the scores are no more than 2-inches across. Once you’ve made it all the way around, move the knife to the other hand and repeat, spiraling counter clockwise. The aim is to create a diamond pattern all over the ham. (Don’t worry too much about precision here.) Tent the ham with heavy duty foil, insert a thermometer, and cook for 3 to 4 hours or until the internal temperature at the deepest part of the meat registers 130 degrees F. Remove and use tongs to pull away the diamonds of skin and any sheets of fat that come off with them.
Part Two: Heat oven to 350 degrees F. Dab the meat dry with paper towels, then brush on a liberal coat of mustard, using either a basting brush or a clean paint brush (clean as in never-touched paint). Sprinkle on brown sugar, packing loosely as you go until the ham is coated. Spritz this layer lightly with bourbon, then loosely pack on as much of the crushed cookies as you can. Return to the oven (uncovered). Cook until interior temperature reaches 140 degrees F, approximately 1 hour. Let the roast rest for 1/2 hour before carving.

My opinion:
I used to follow his directions of placing it on top of towels to absorb the gooey mess, but this year I just placed it on a rack in the roasting pan. It worked out well. The key with the diamond pattern is to make it easy for the soon to be shrunken skin and desolving fat to be peeled away from the meat. I always end up using a knife to cut underneath. It never peels away as easily as it does on the show. This year I didn’t insert a thermometer (mini disaster last year, involved a melting thermometer). I just set the timer for 3 hours and 30 minutes and checked. With my oven , it was perfect. The meat registered at 131 degrees. I followed the same directions for Part Two, except I retented the ham with the foil. It resulted in a less crisp outercoating, but kept the ham from drying out. Including the resting period, the ham was done in about 5 hours this year.

Super Simple Fried Chicken

Super Simple Fried Chicken by Dispatches from the Castle

#cookchat regulars will remember this from the chat earlier this summer. Since then, though, we’ve made a few tweaks and the recipe is as delicious as ever. (Full disclosure: this is one of J’s specialties. I just help.)

Super Simple Fried Chicken by Dispatches from the Castle

Super Simple Fried Chicken

Ingredients
  

  • ingredients:
  • Vegetable oil
  • boneless skinless chicken breasts
  • eggs scrambled
  • 1/3 cup matzoh meal
  • 1/3 cup corn starch
  • 1/3 cup flour
  • spices we use Alton Brown’s spice mix of 2 tablespoons kosher salt, fresh ground black pepper, 2 tablespoons Hungarian paprika, 2 teaspoons garlic powder, 1 teaspoon cayenne pepper

Instructions
 

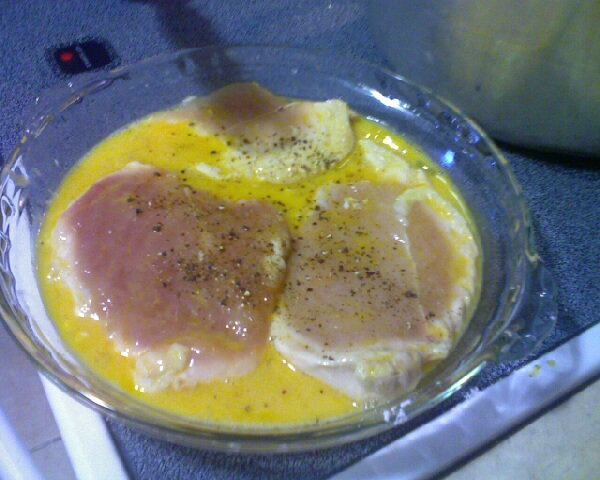
  • Combine the spices, flour, matzoh meal and corn starch in a zip top gallon bag. Heat a bottle of vegetable oil (or the oil of your choice) in a wok (what we use) or a 12-inch cast iron skillet or heavy fry pan. When water droplets “dance” when sprinkled on the oil it is hot enough. Coat the chicken in the egg mixture and sprinkle with salt and pepper.
  • Add the chicken to the bag of dr mixture and coat. Then place in hot oil.
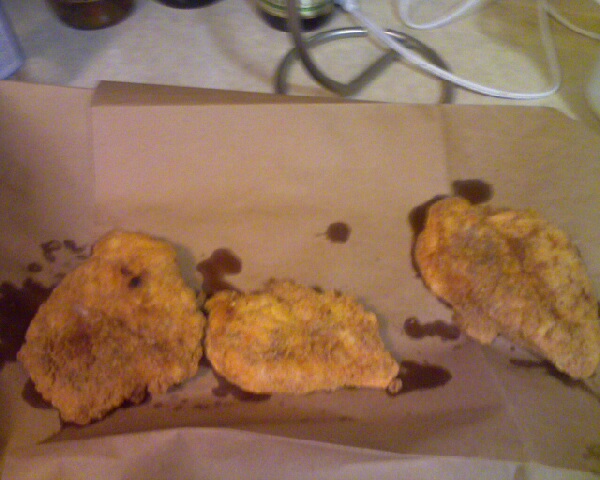
  • If you are adding more than one piece at a time, be sure not to crowd the pieces together. Fry for about 6 minutes or until golden brown. Remove from oil and place in a colander or on paper bags.
    cooling super simple fired chicken by Aurora Meyer on aurorameyer.com
  • Once cool, plate and enjoy!

Notes

My opinion:
If you like spicy chicken the easiest way to make the chicken spicier is to add more spices or spice amounts to the mix. However, you can always add hot sauce to the egg mixture or brush the chicken with hot sauce before adding to the dry mixture. We love this dish! It is better in flavor and texture than store-bought or fast food chicken.
Tried this recipe?Let us know how it was!