Slowly but surely, J and I are making our house ours. When we moved in last October, the ENTIRE house was this awful shade of grey. It’s almost like the previous owners watched a bit too much HGTV and decided that what all 14 rooms and bathrooms needed was one color. But instead of picking a grey that would make the spaces look clean and fresh and emphasize the size of the rooms and the great windows, they chose an awful flat dirty grey that made everything feel gross. It made the (painted) white baseboards look dingy and dirtier than they were.
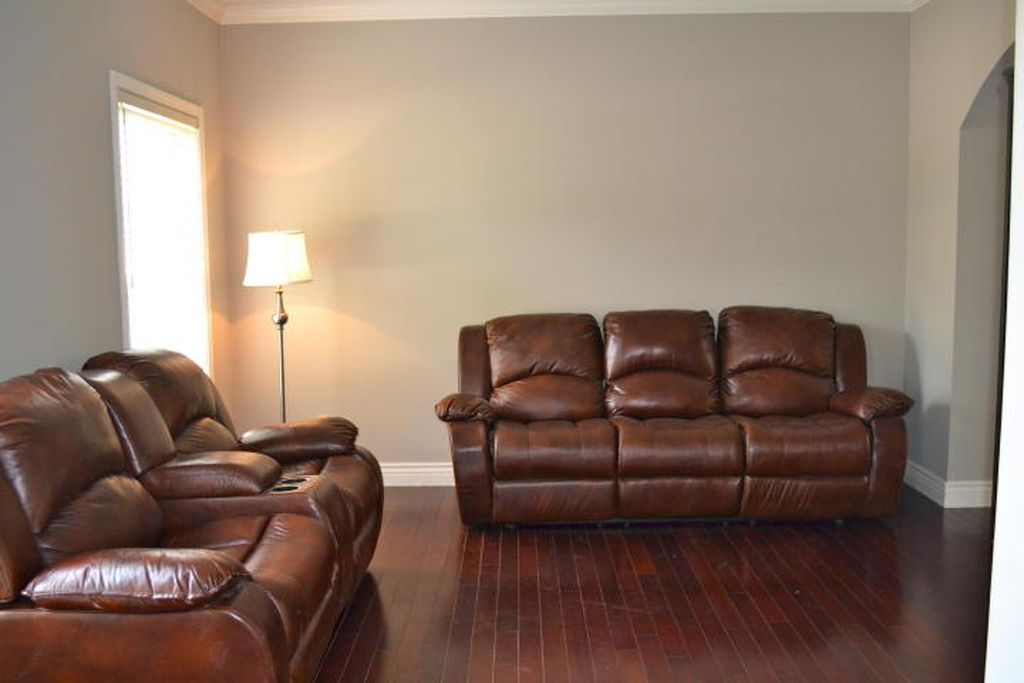
Here’s what the sitting room looked like before we moved in.


The photo “quality” actually makes this space look not terrible, but in person, it was dark and dirty. The room lacks an overhead light, but during the day (once the hideous vertical blinds were out!) has fantastic light from the two windows. J and I spent a lot of time trying to find the perfect blue for this room to match the formal, yet inviting vibe we wanted it to have. Plus, while we both like blue, I tended to go more toward a true navy and J tended to go more cobalt. Ultimately we settled on Empire Fleet Blue from Valspar.

On our test swatches, it looked pretty dark, so J was a bit skeptical about how it would make the room feel. We left the squares up on the grey walls for about four months before our favorite local hardware store had a buy one get one free on premium paint sale. That was the push to just try it. As I wrote about here, we figure out some pretty great taping hacks. One more time, splurge and get the good Frog tape. It’s absolutely worth it!
The additional hack we used to protect our wood floors for this room was paper bags and boxes. Our paper bag collection bordered on hoarding so I was happy to get rid of them this way.

We found if you opened the bags like you would if you were covering a school textbook (high school memories!) but left the bottom flaps, you could cover more space and give your baseboards extra protection.

Then just make sure you tape the bags together and tape them to the wall. This method works particularly well for corners.

Then we further protected the floors by adding a super cheap plastic drop cloth, or feel free to use a plastic party tablecloth if you have one on hand, and then old sheets to keep from slipping and sticking to the drop cloth. 
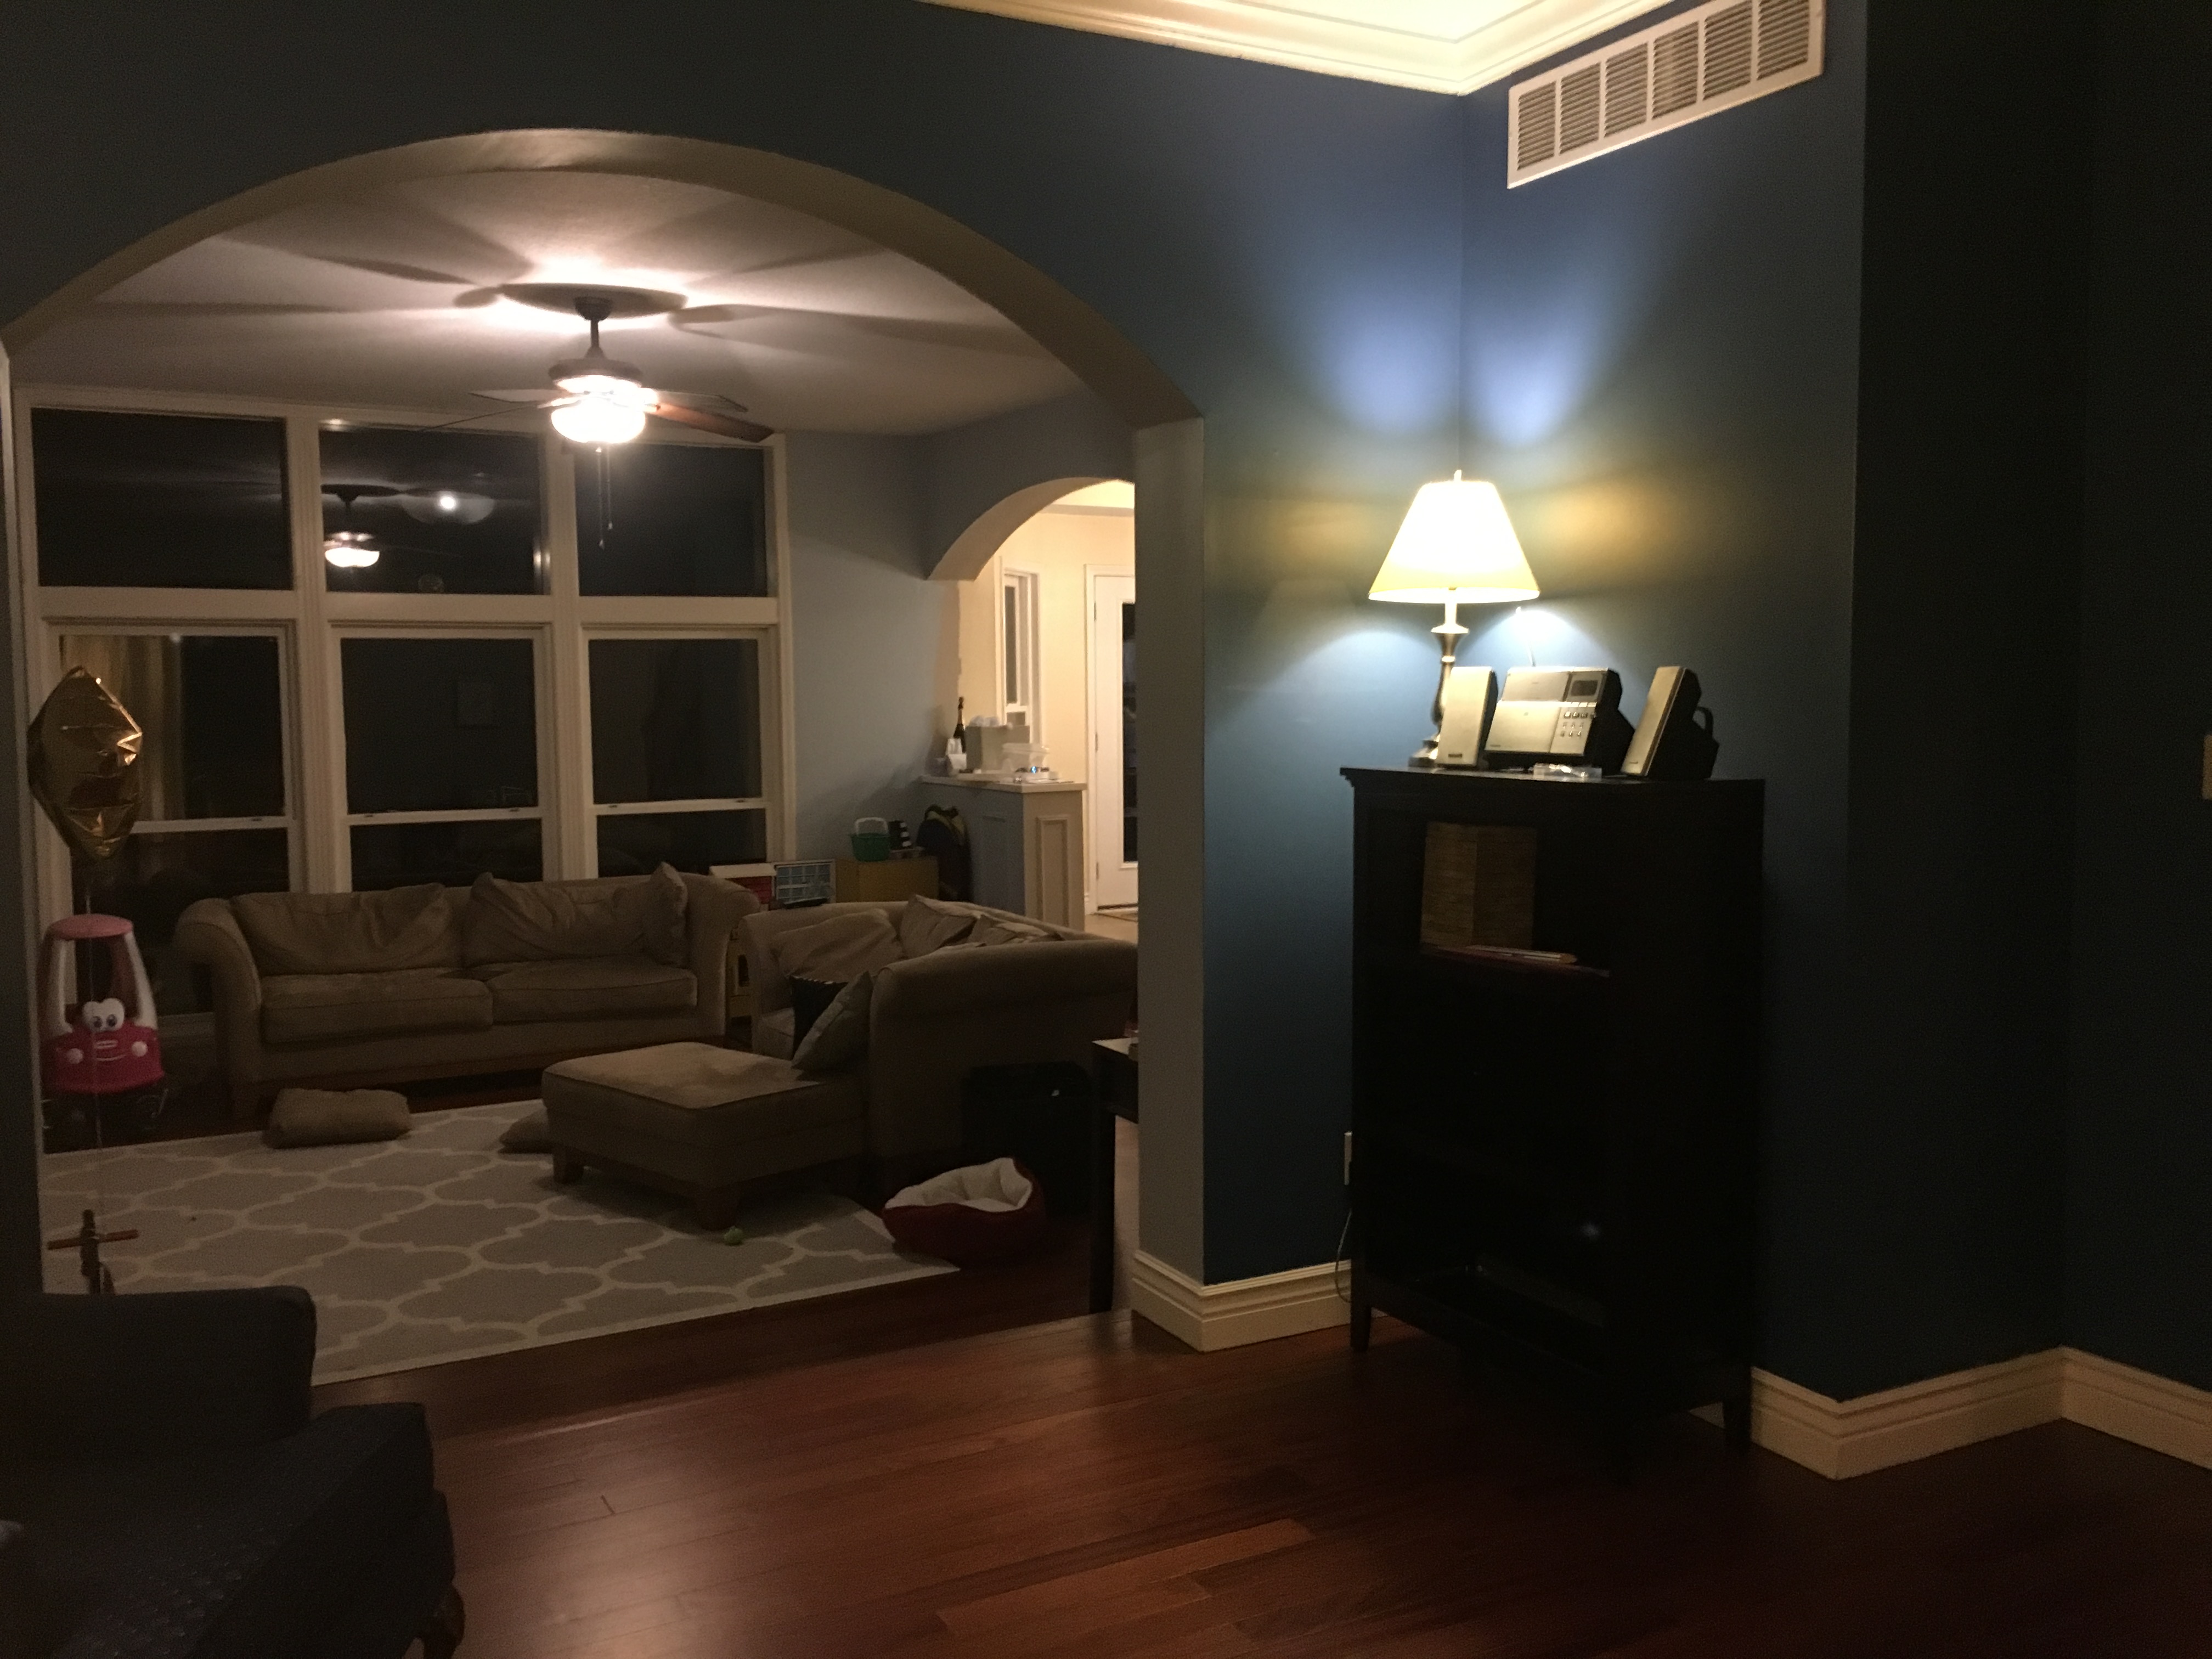
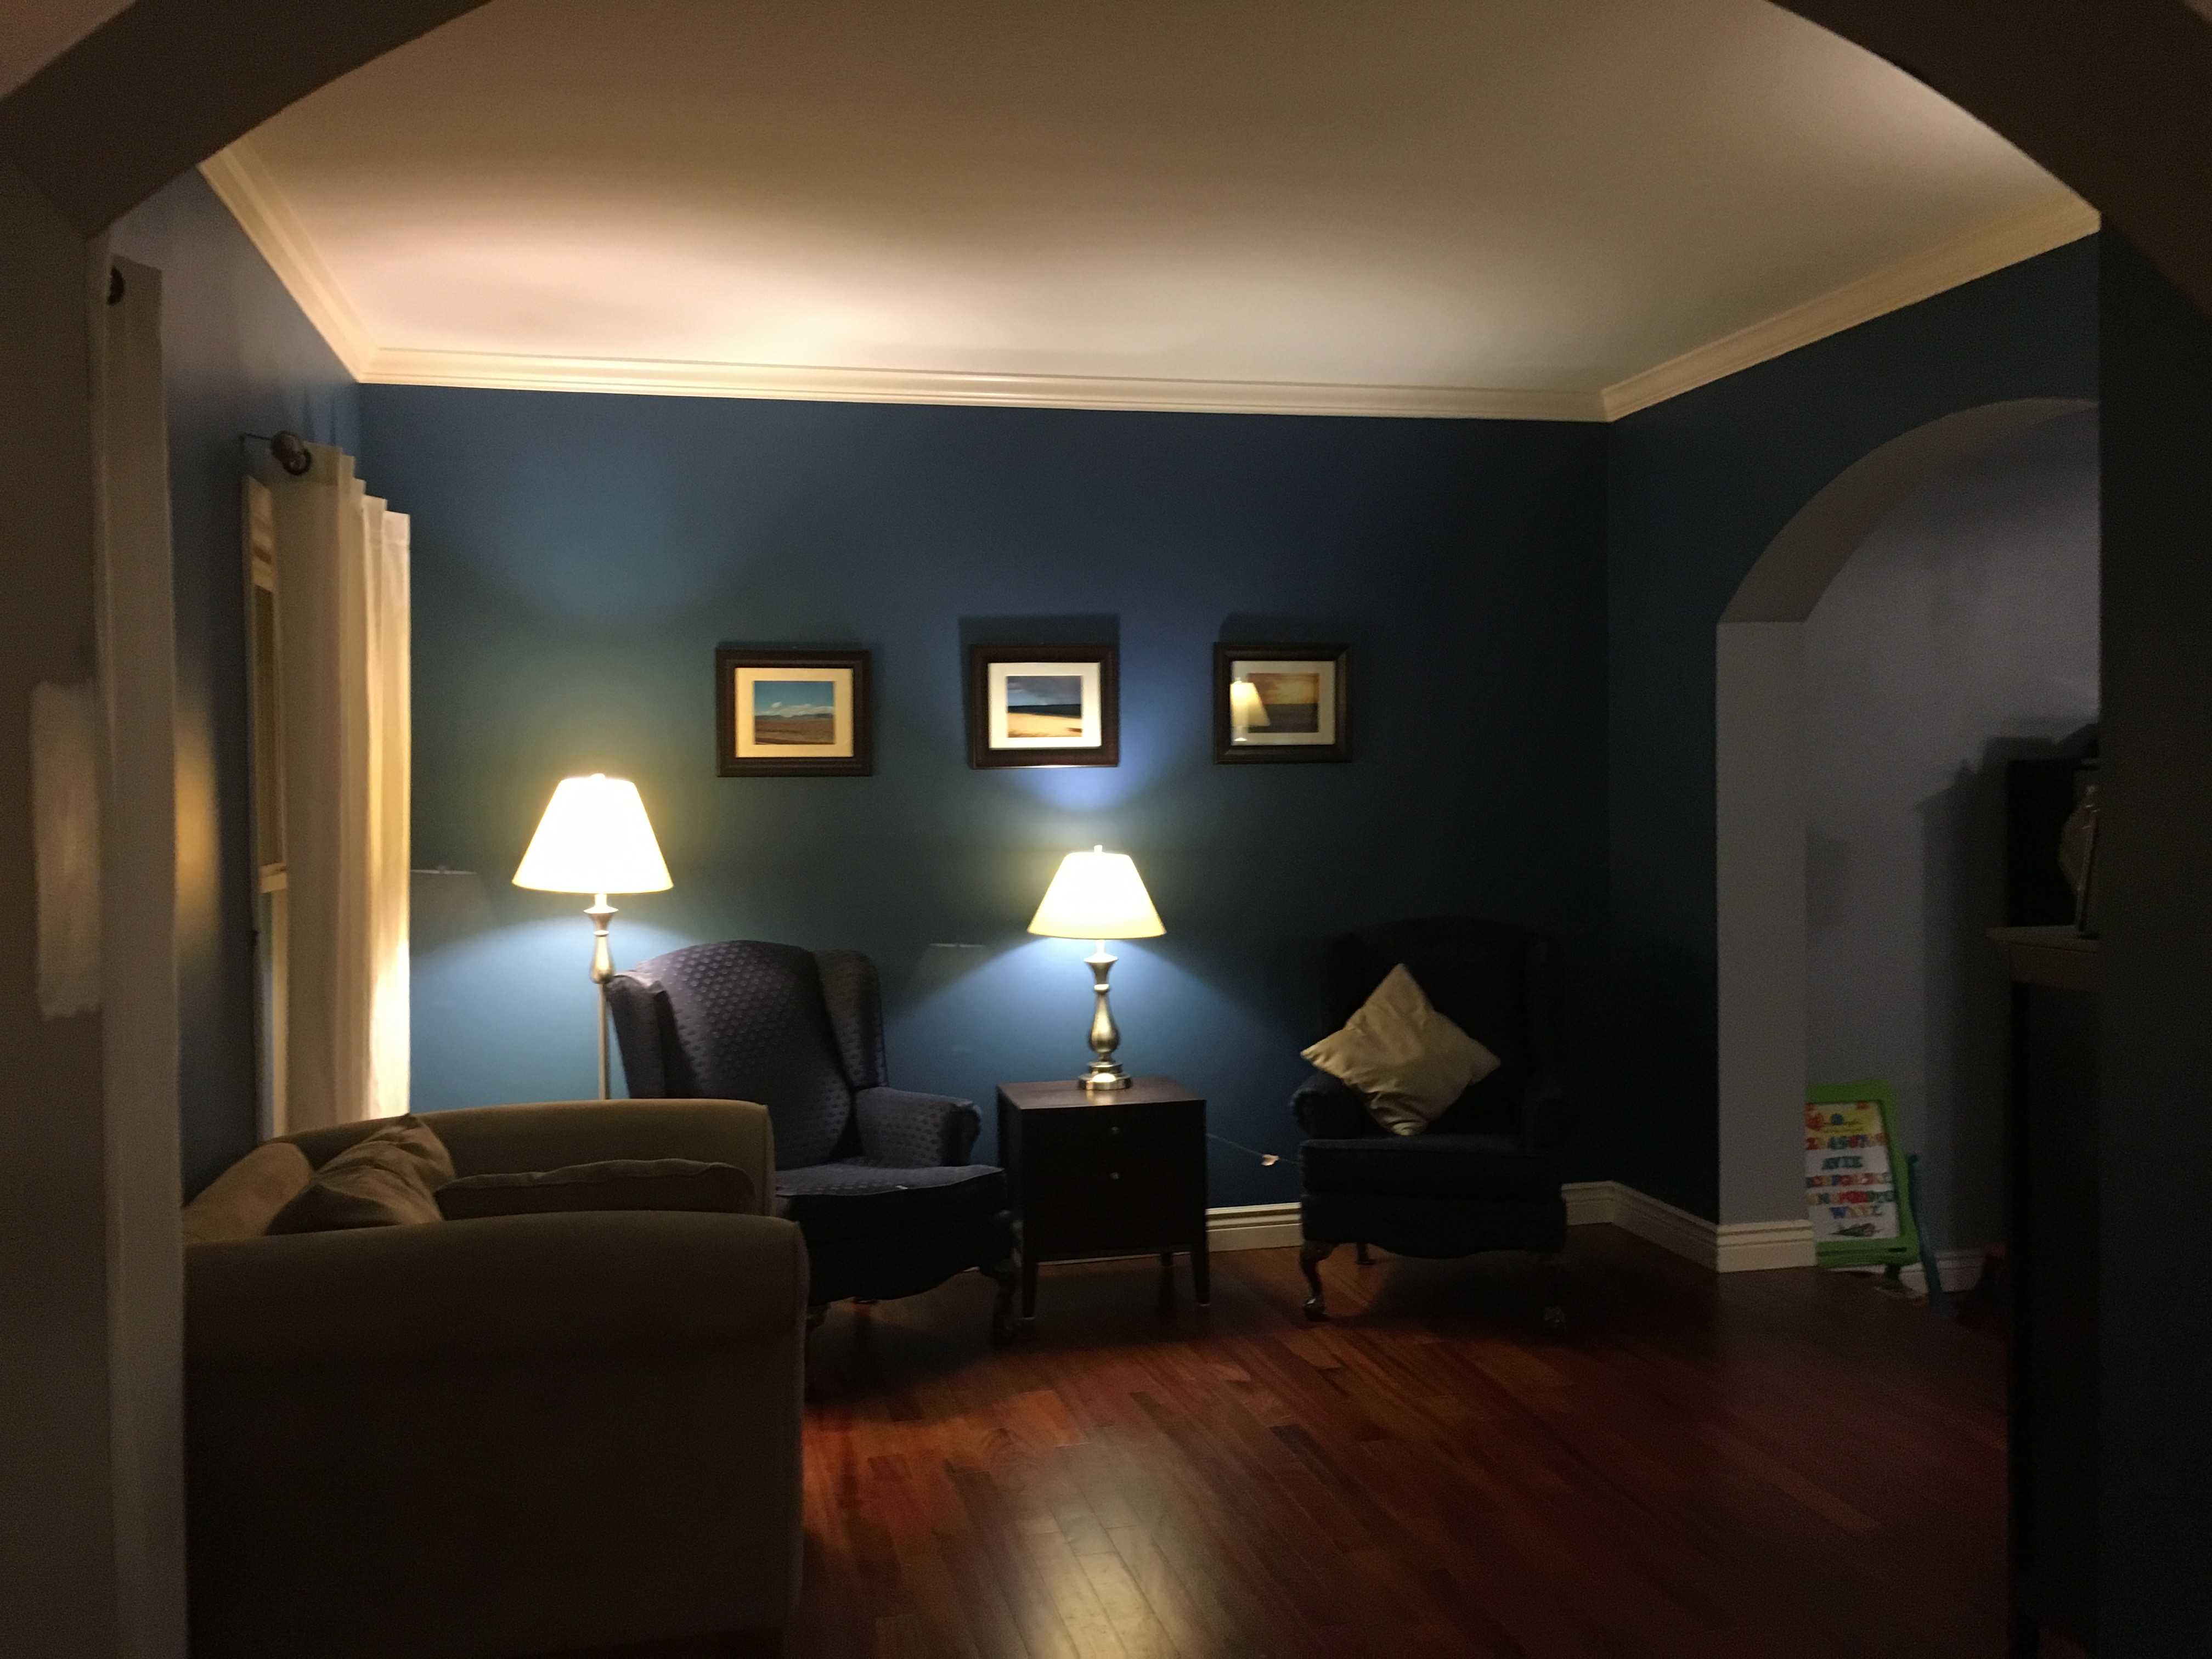
While all of these photos are at night, if you can avoid it don’t paint at night. With a toddler, we couldn’t avoid it and just painted after she went to sleep in the evenings. One coat covered really well, but there were a few places that needed a second coat, so every wall got another coat the next night.
 We let the paint dry overnight before adding the furniture back to the room.

In all it took three night to get this room painted and put back together. 
I couldn’t be happier with the end result. I love the color. It isn’t too dark, which makes J happy. 
Here’s what it looks like in overcast daylight:
 The blue is a lot lighter in person and daylight as you can tell.
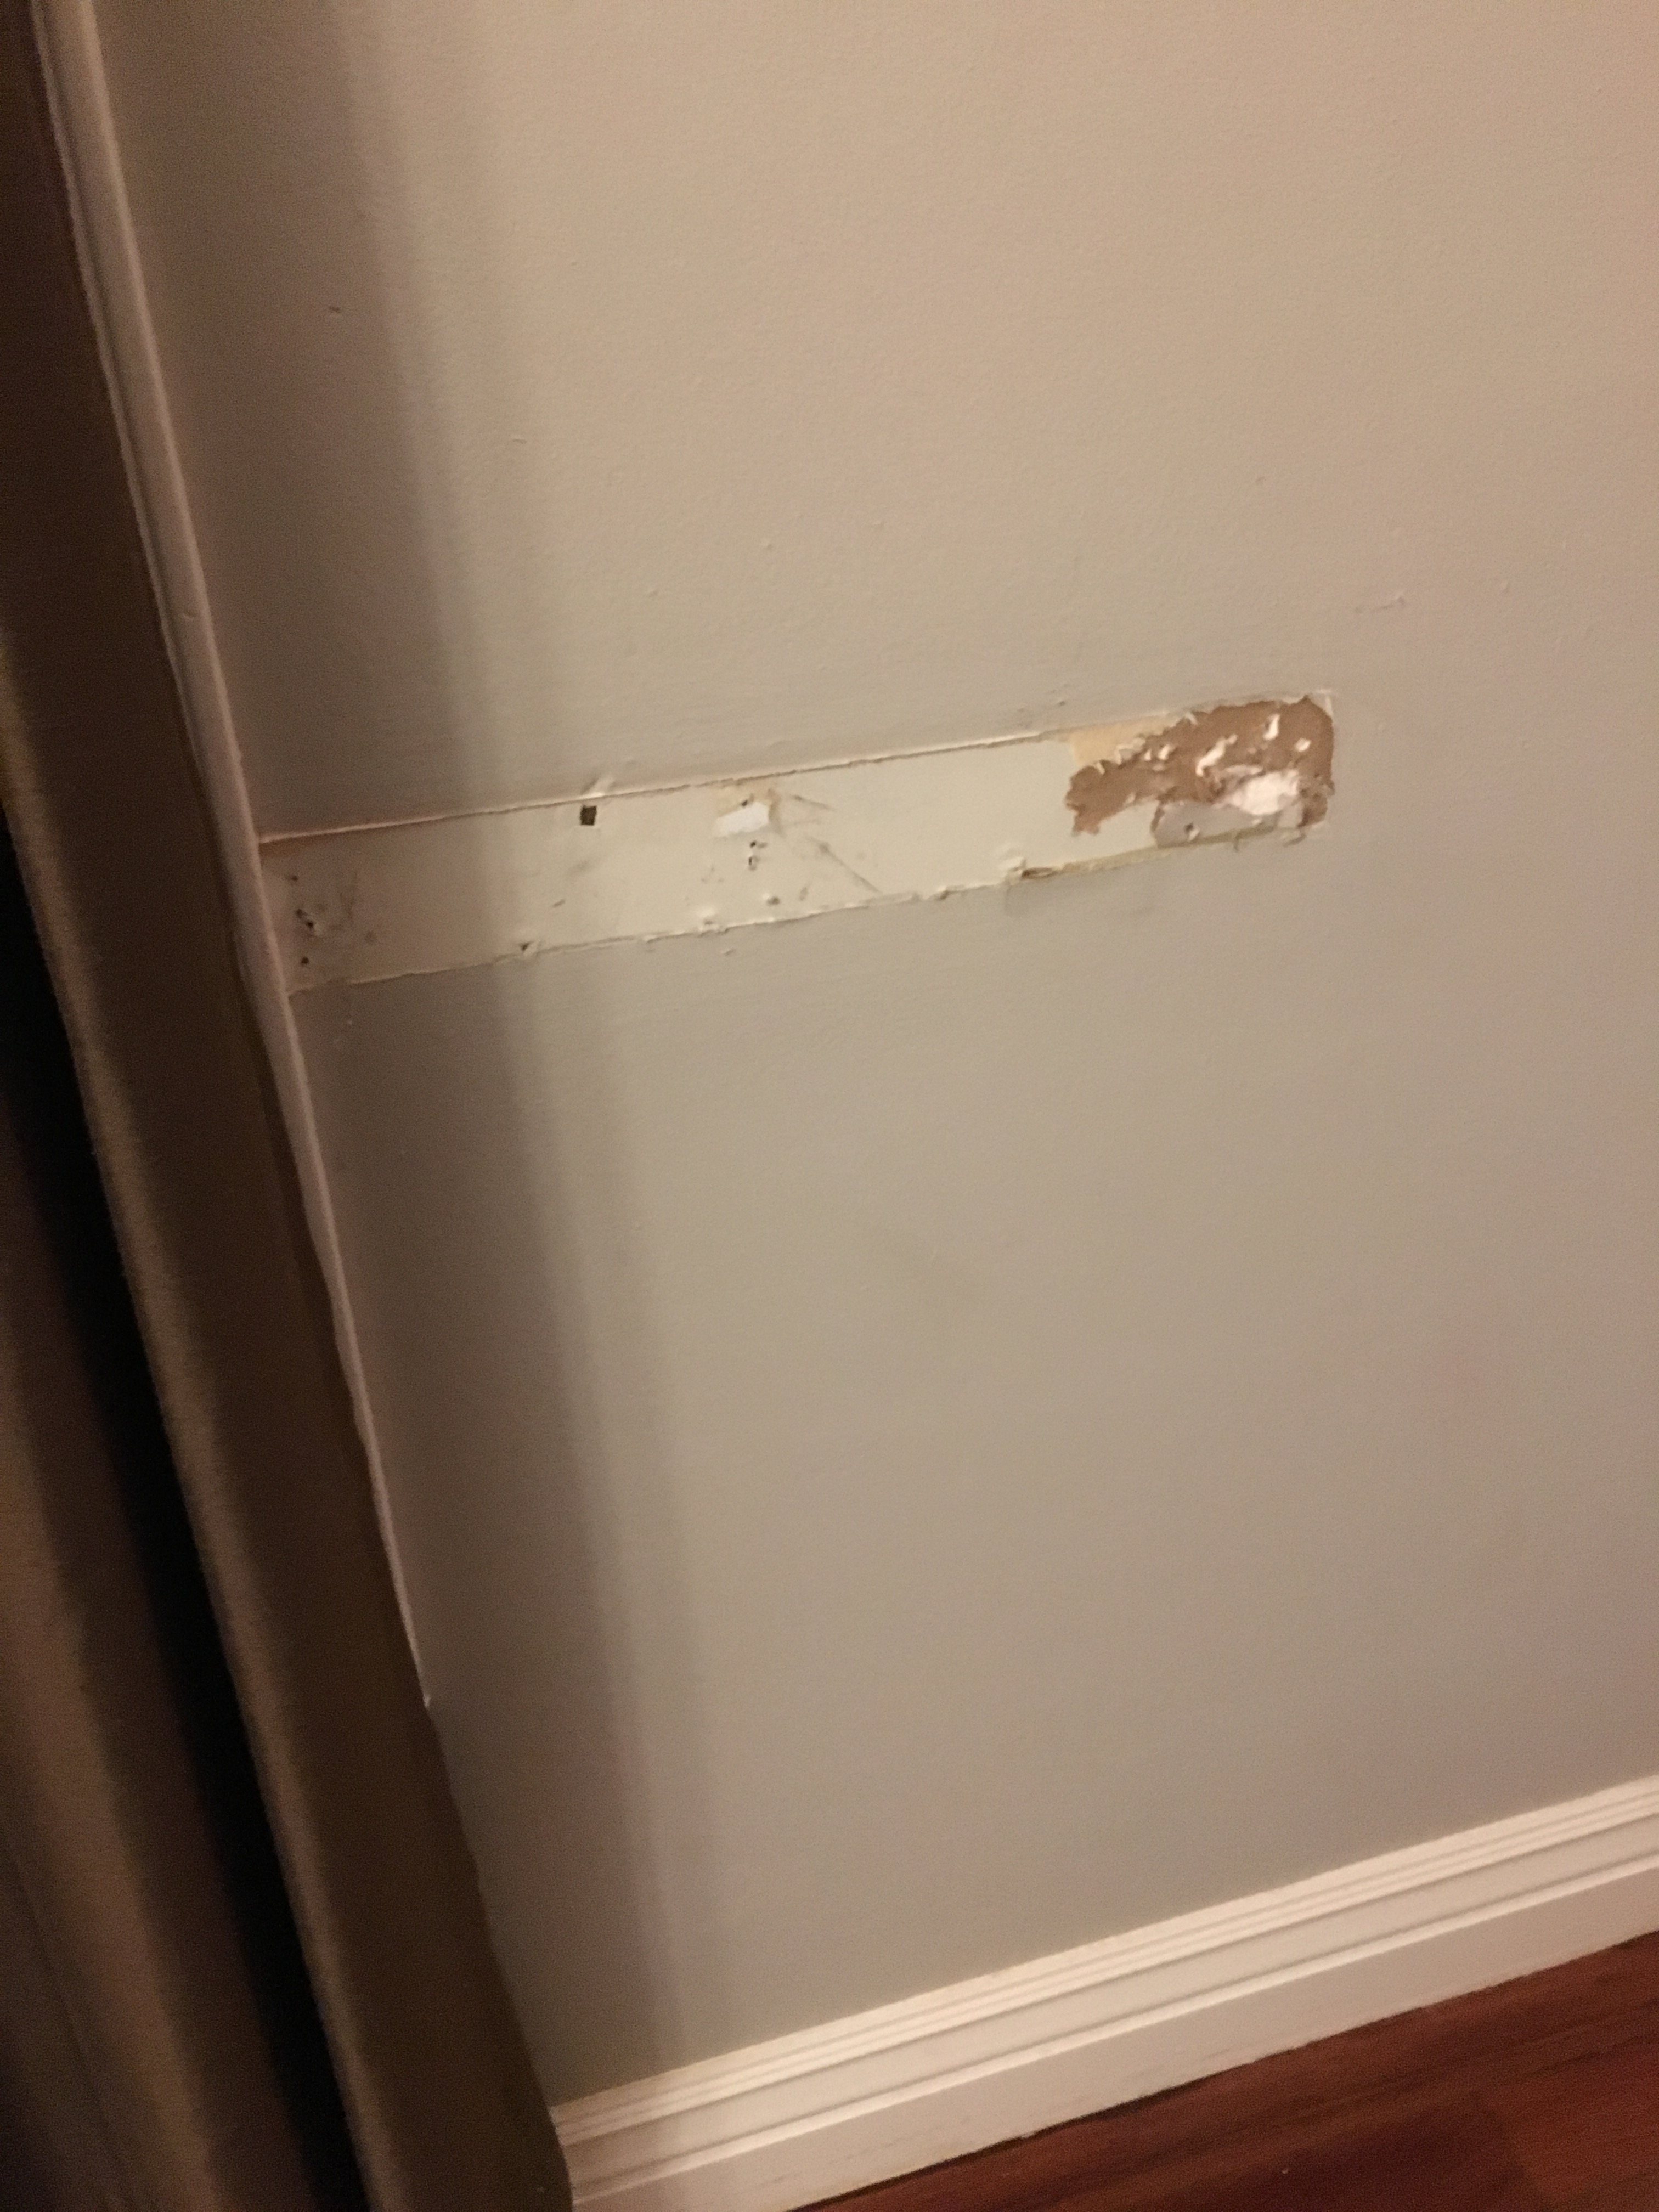
Now for the next project, removing the improperly installed chair rail in the dining room. 
