
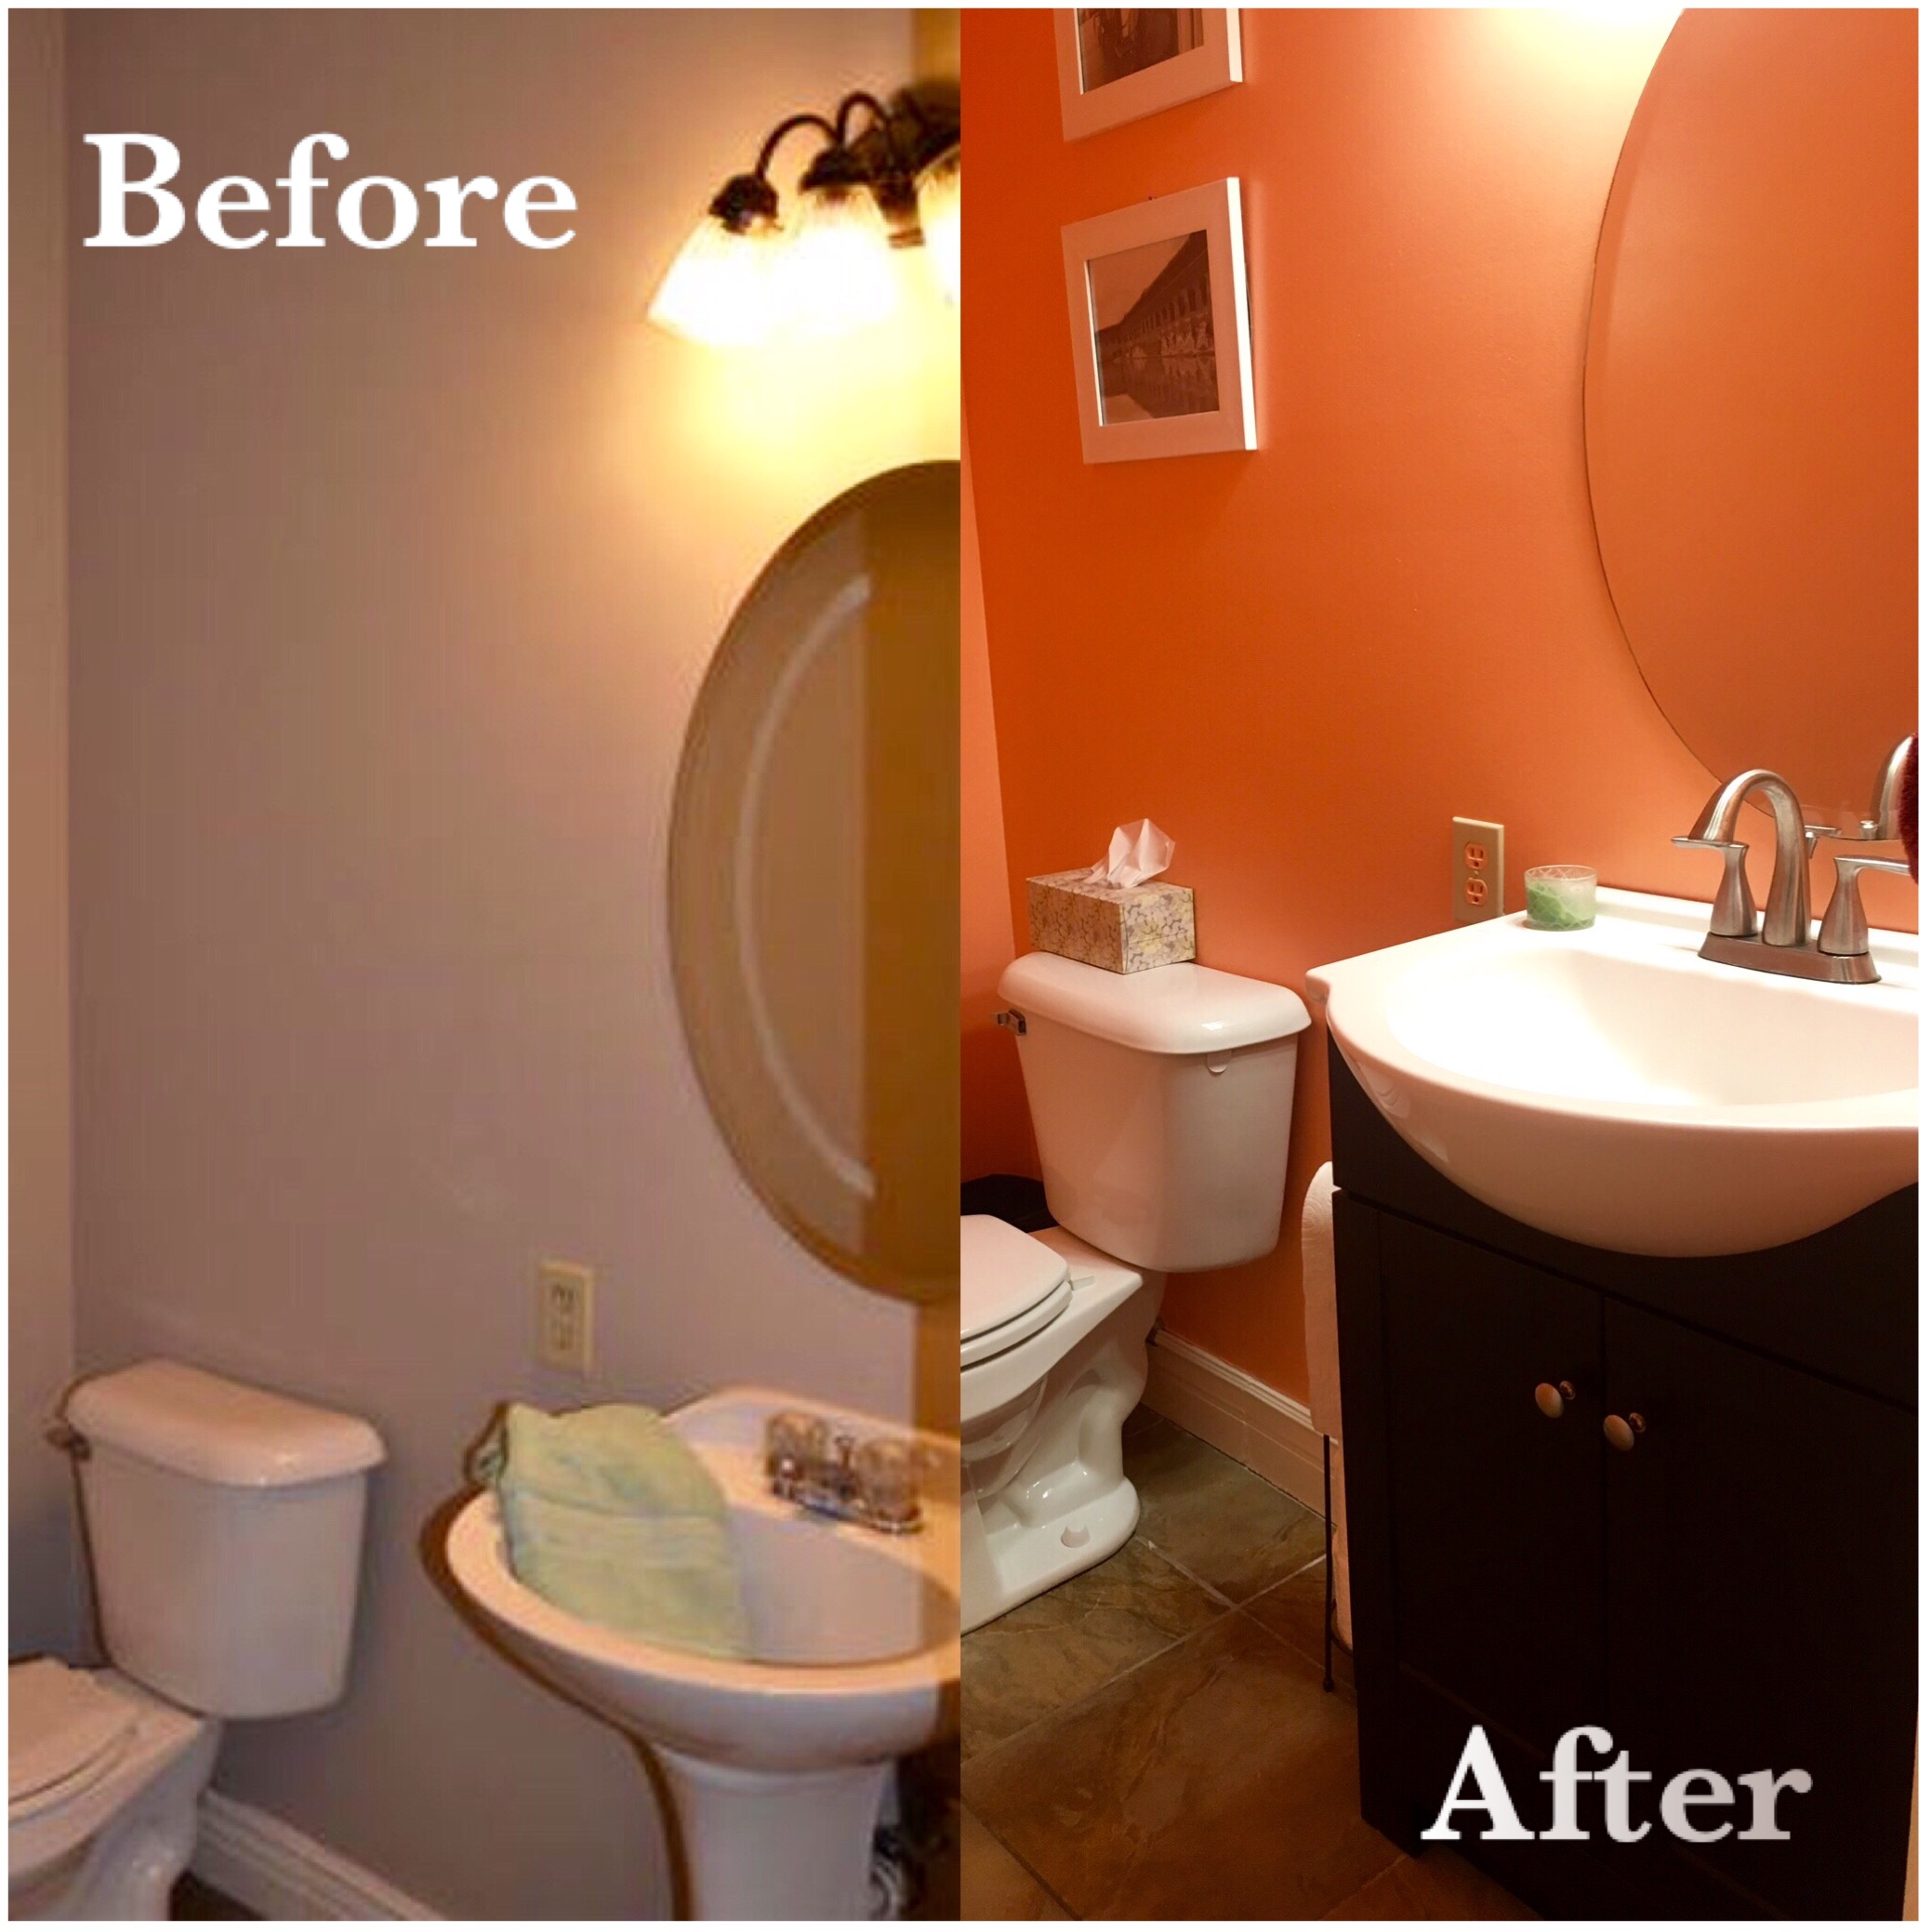
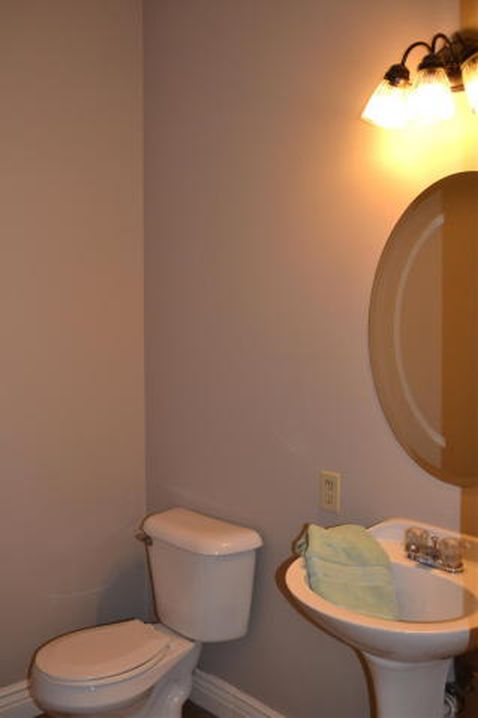
Our hall bathroom was the same color as every other room in our house: GREY. But not just grey, super flat, super grey grey. I like grey when it is more of a blue-grey tone or a nice green-grey, but this color is just very basic and boring and never looked clean. That color plus, a sink that didn’t really fit the space made it hard to like that room. It felt small. So we decided to do something about it while my parents were visiting recently. A quick trip to the local Lowes and we had a new vanity and sink, paint and paint supplies, a new light fixture and faucet to completely update the bathroom.
The first step was ripping out the sink, which turned out to be liquid nails-ed into the wall and floor. Removing the sink left us with a hole in the wall that needed to be patched.
Before we patched the hole, we checked to make sure the new sink would fit and drained the toilet tank.

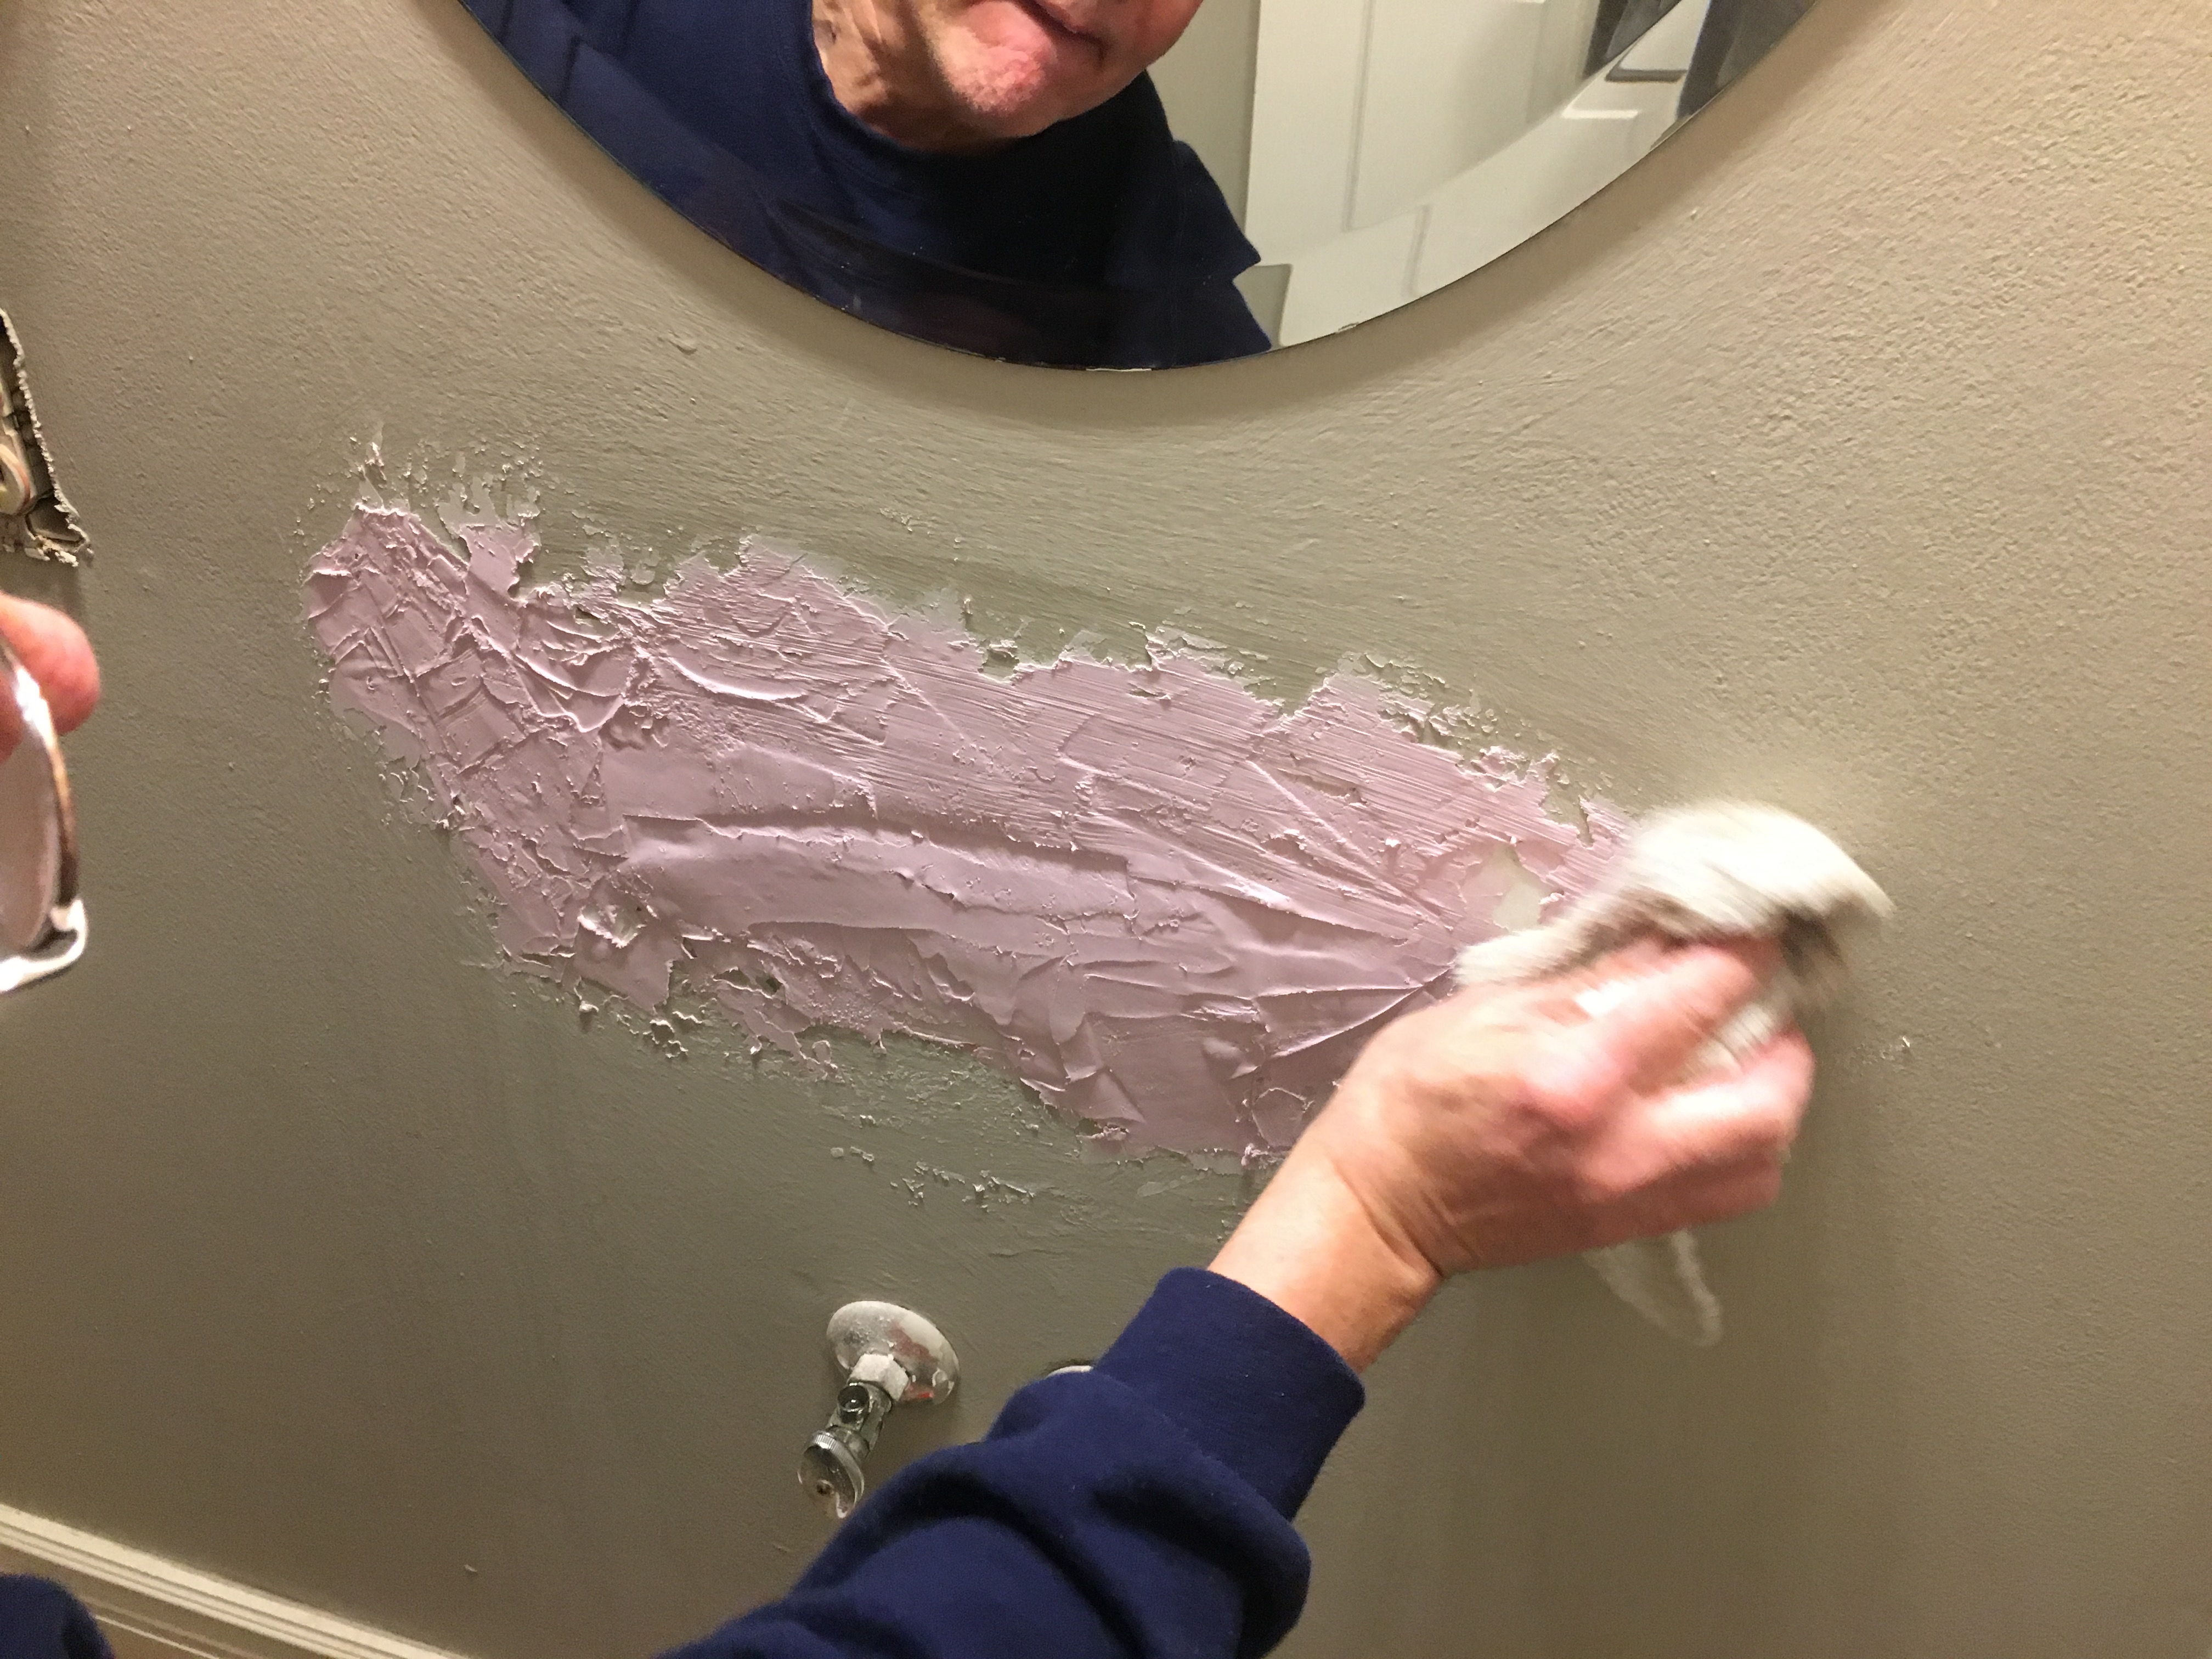
Then my dad and I used a spackle putty that went on pink, but dried white. It took nearly an entire small container of the putty. Some general tips: when spackling use the putty knife to push it in and then using a “sunshine shape” from the middle to spread it out.

After we were done applying the putty to the wall, my dad showed me how to smooth it out with a damp washcloth. My grandmother came up with that trick and it really does make a difference in the finished texture.
 Metal putty knives are way better than plastic paint knives. Ideally, you’re looking for a thin 3 inch or so for a giant hole, like the one our sink left. With all that patch work it took a really long time to dry.

After the patch completely dried and the toilet tank was empty, we took the toilet tank off to make ladder maneuvering and painting easier. If you’re not sure how to take the tank off, run a quick google search. It isn’t as scary as it seems.


Add a washcloth under the connection line just in case. 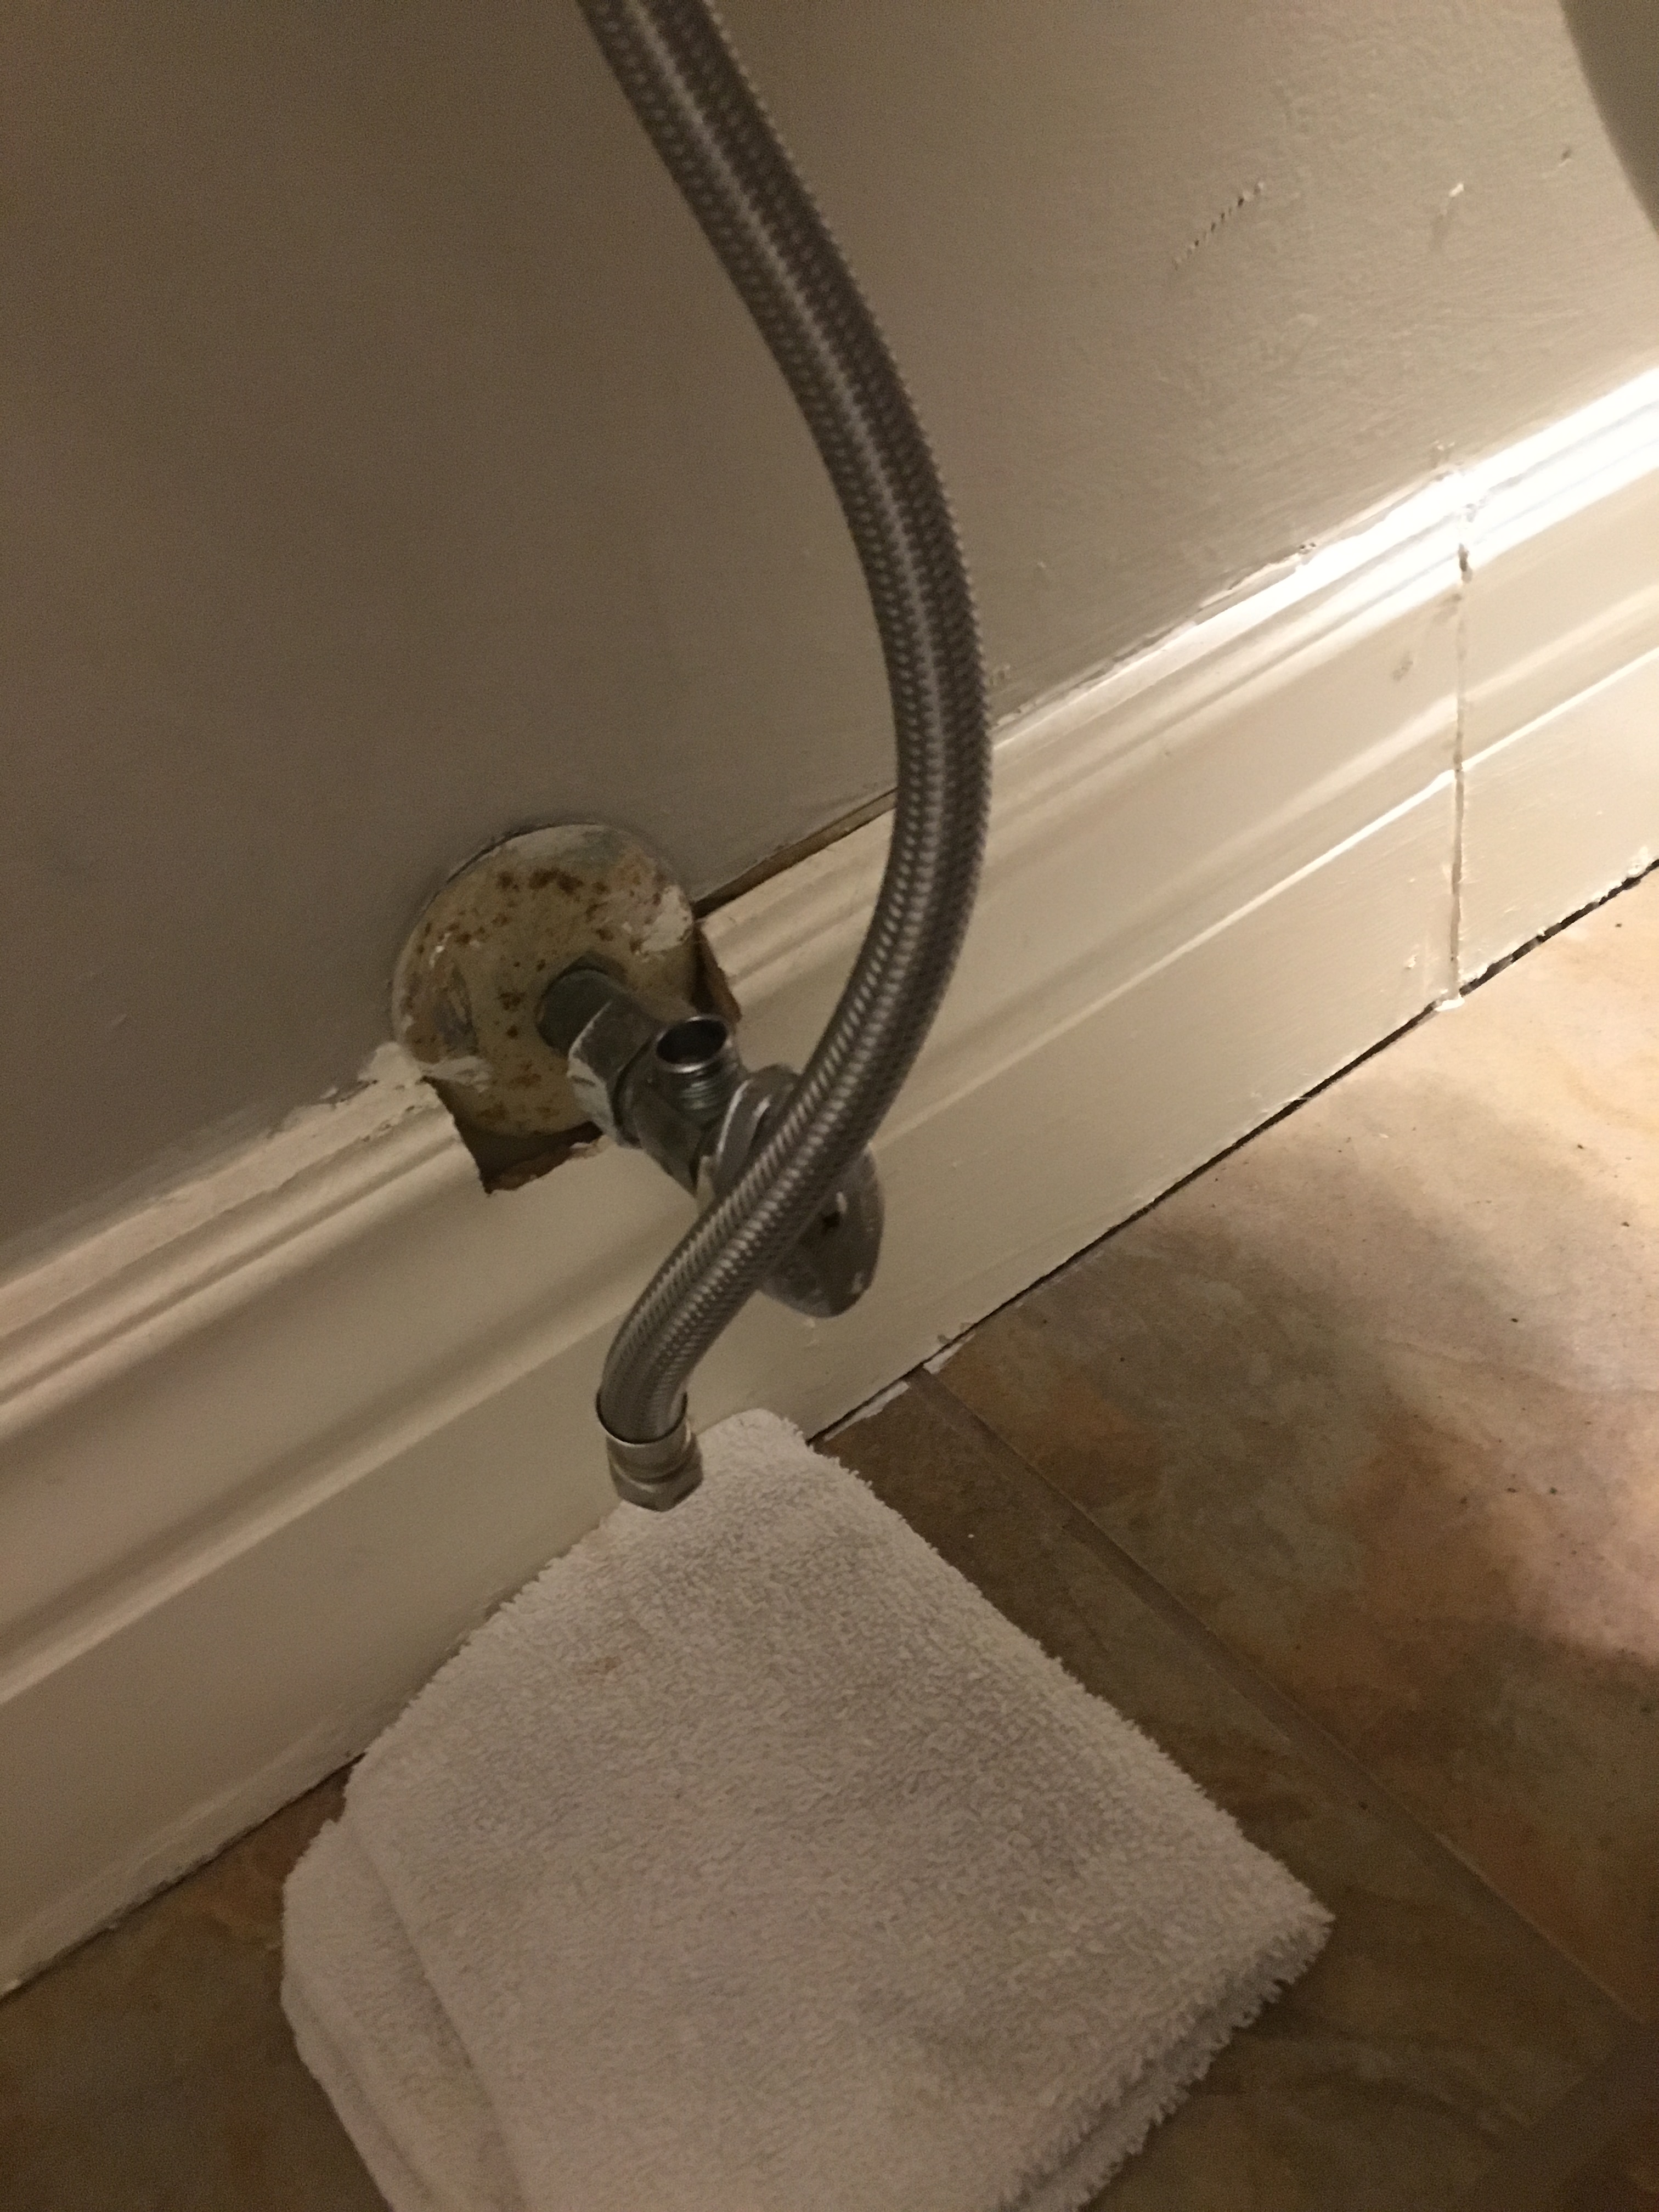
Voila! The tank is gone! As you can see we were the first people to remove the tank for painting and honestly hadn’t noticed, so if you choose not to remove it, no one will probably notice. 
See? Room for the ladder!
Now comes the least fun part of painting, taping and prepping the walls. We started with sanding since we needed to sand down the patch any way. We used a hand sander and a fine grit sand paper.
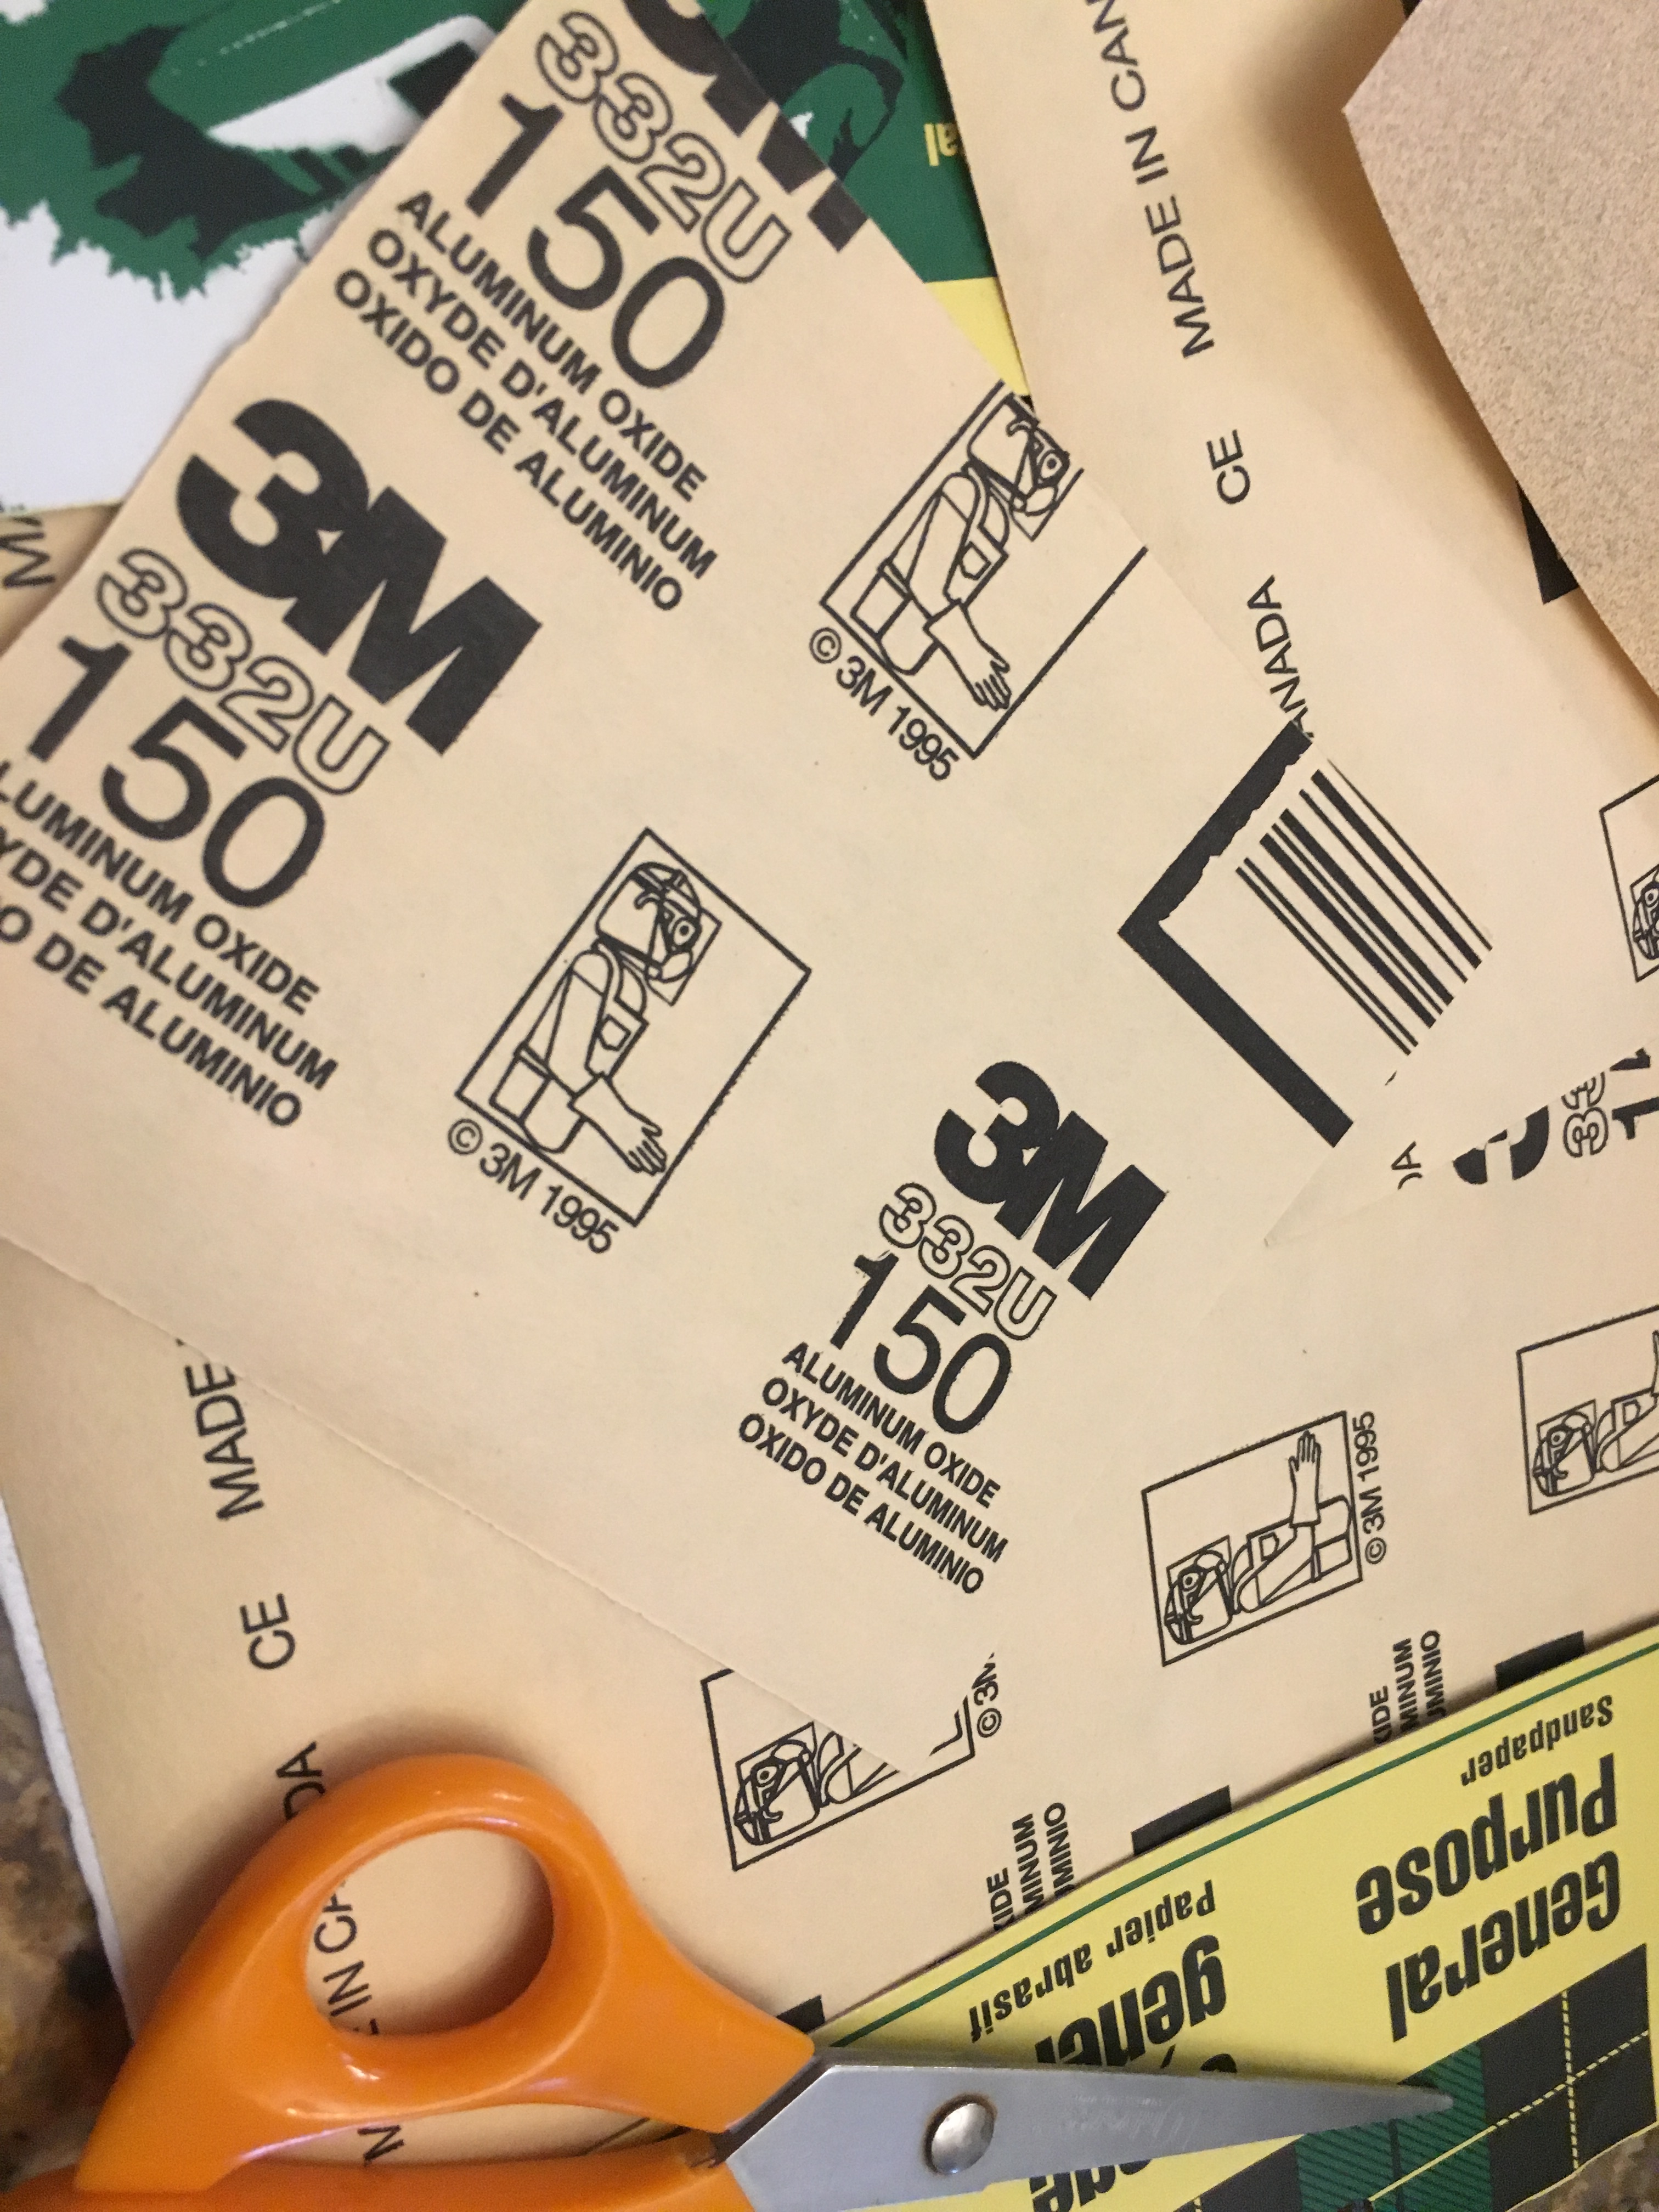
We cut the sandpaper into quarters, which fit the sander perfectly.
Then we started sanding.
Once the walls were sanded to smooth (er) and wiped with a damp rag, we started taping. I find taping the ceiling worth it, but since my parents have lots of experience at painting, they didn’t need to (goals!).

Tape tip: Use your fingernail to get the tape in between the baseboards and the wall. When you get the tape try to go from corner to corner with one long piece.
Now, start edging.
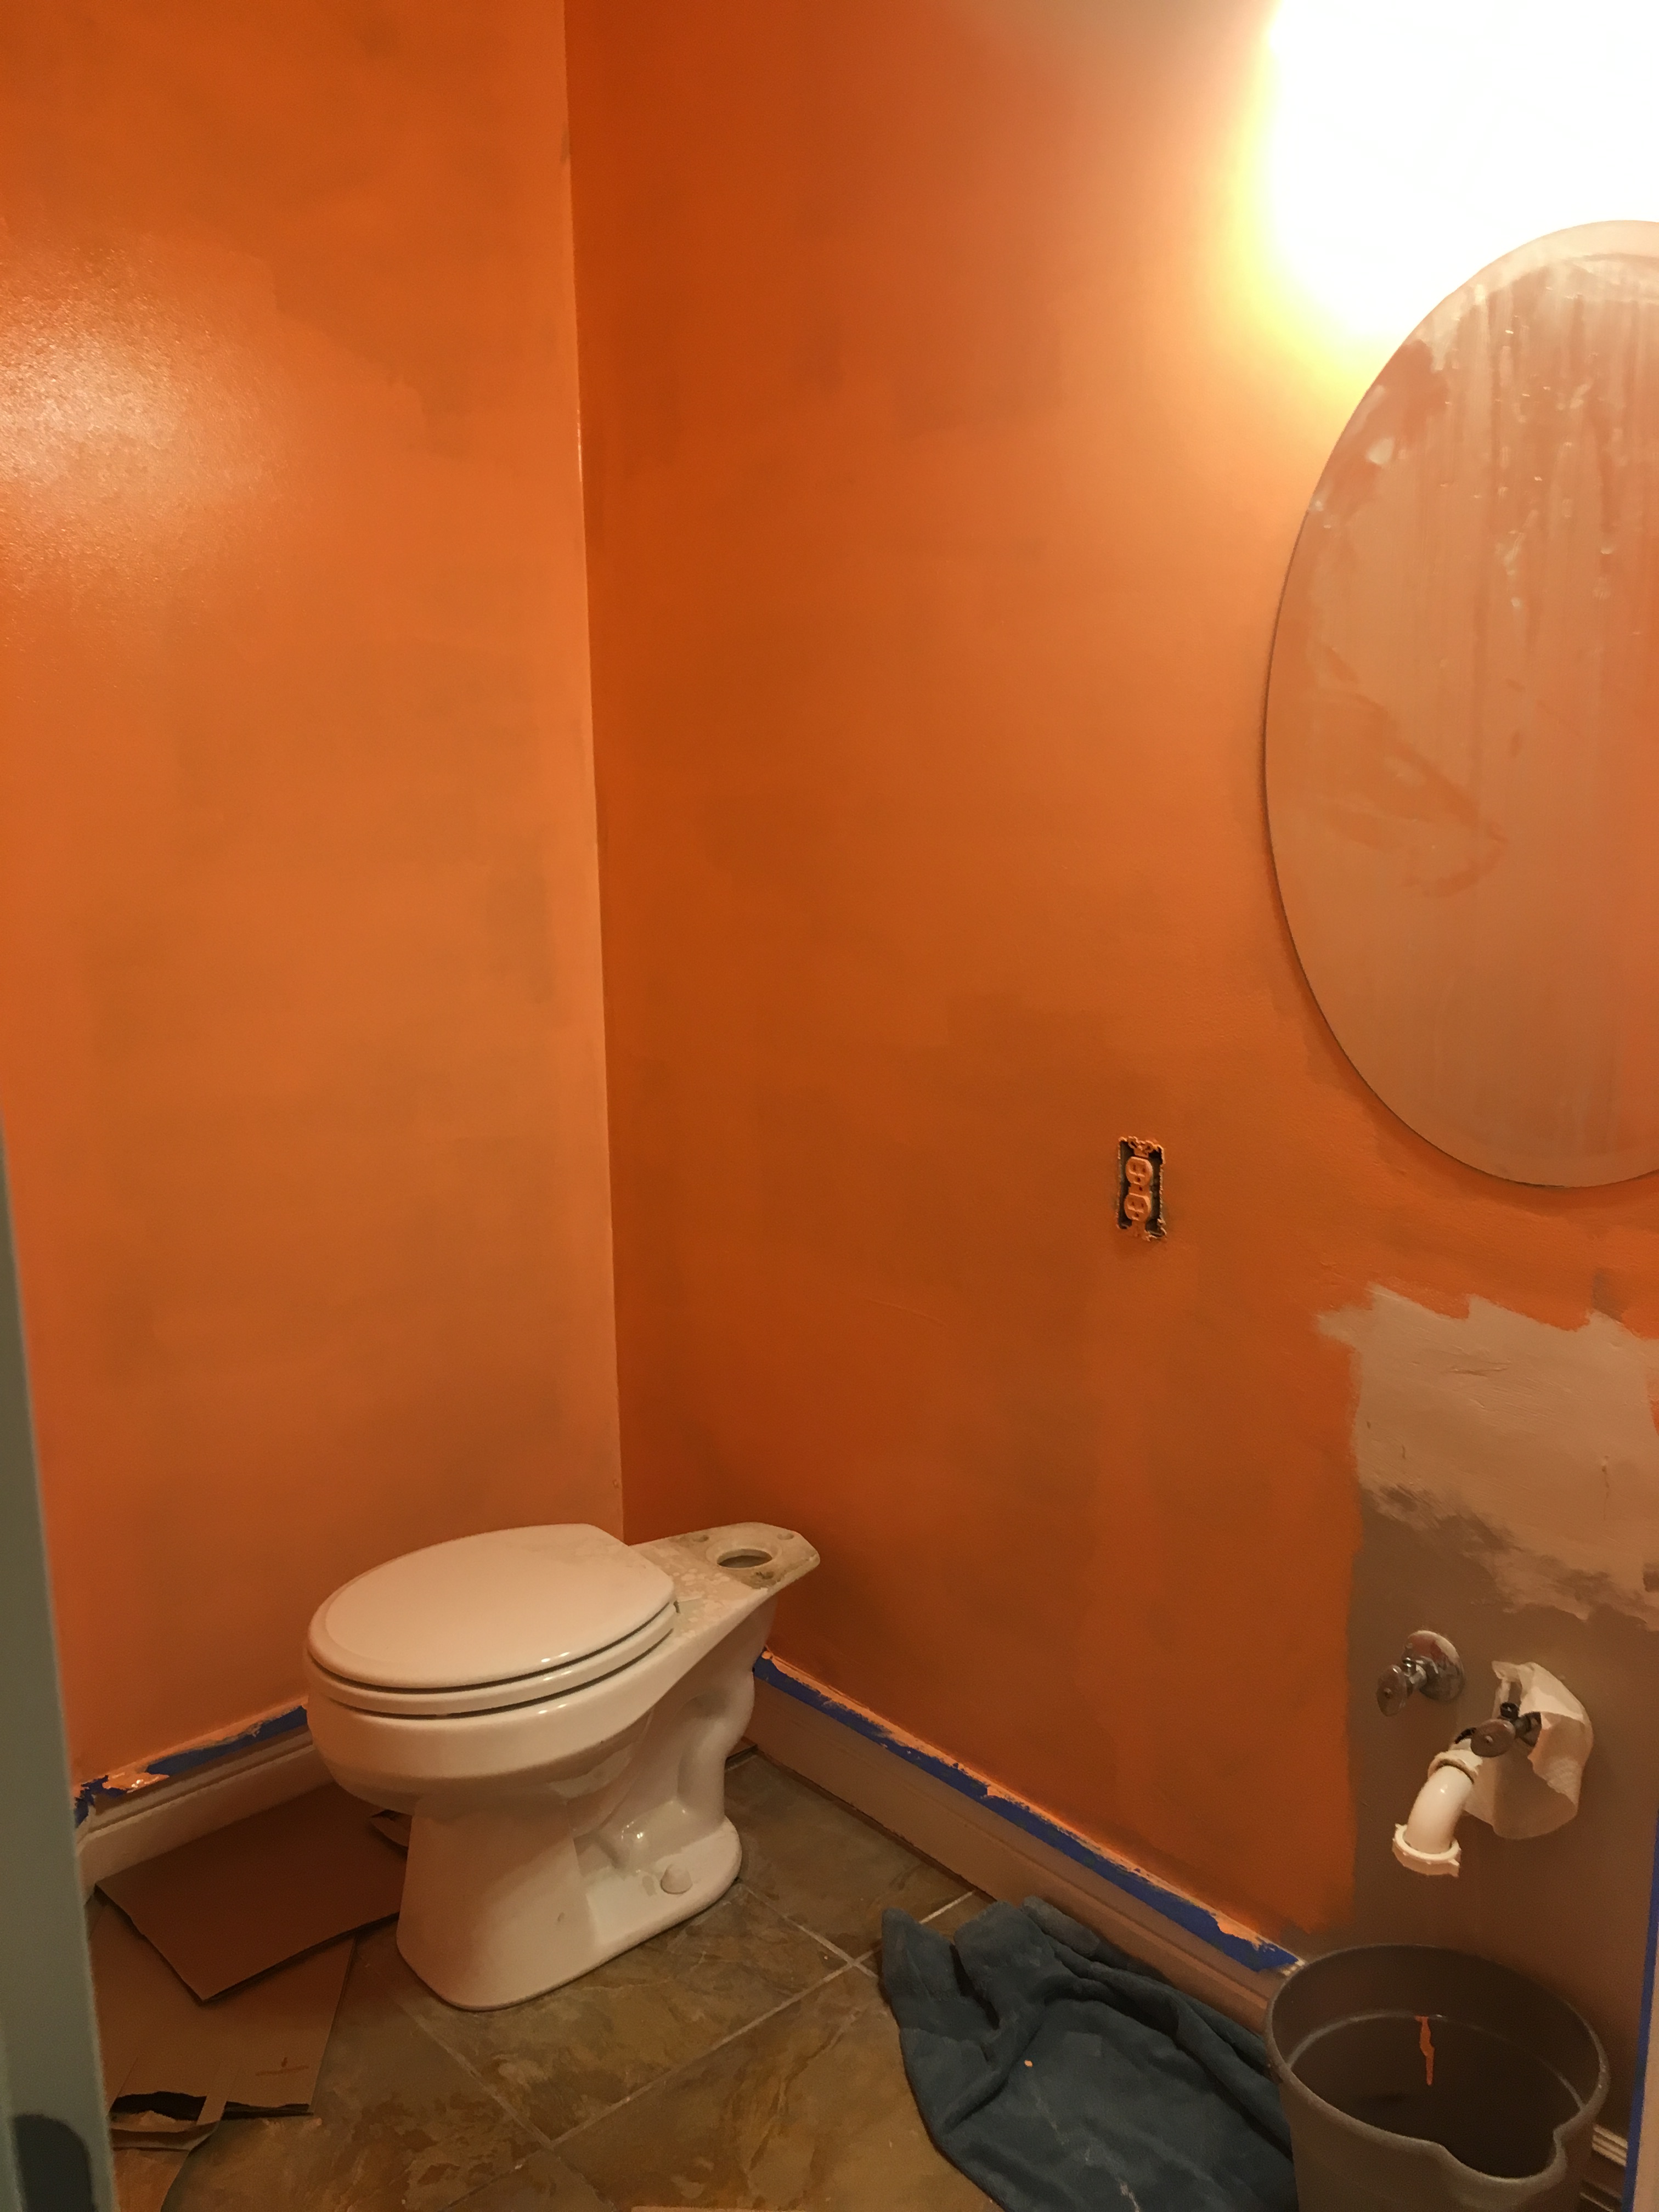
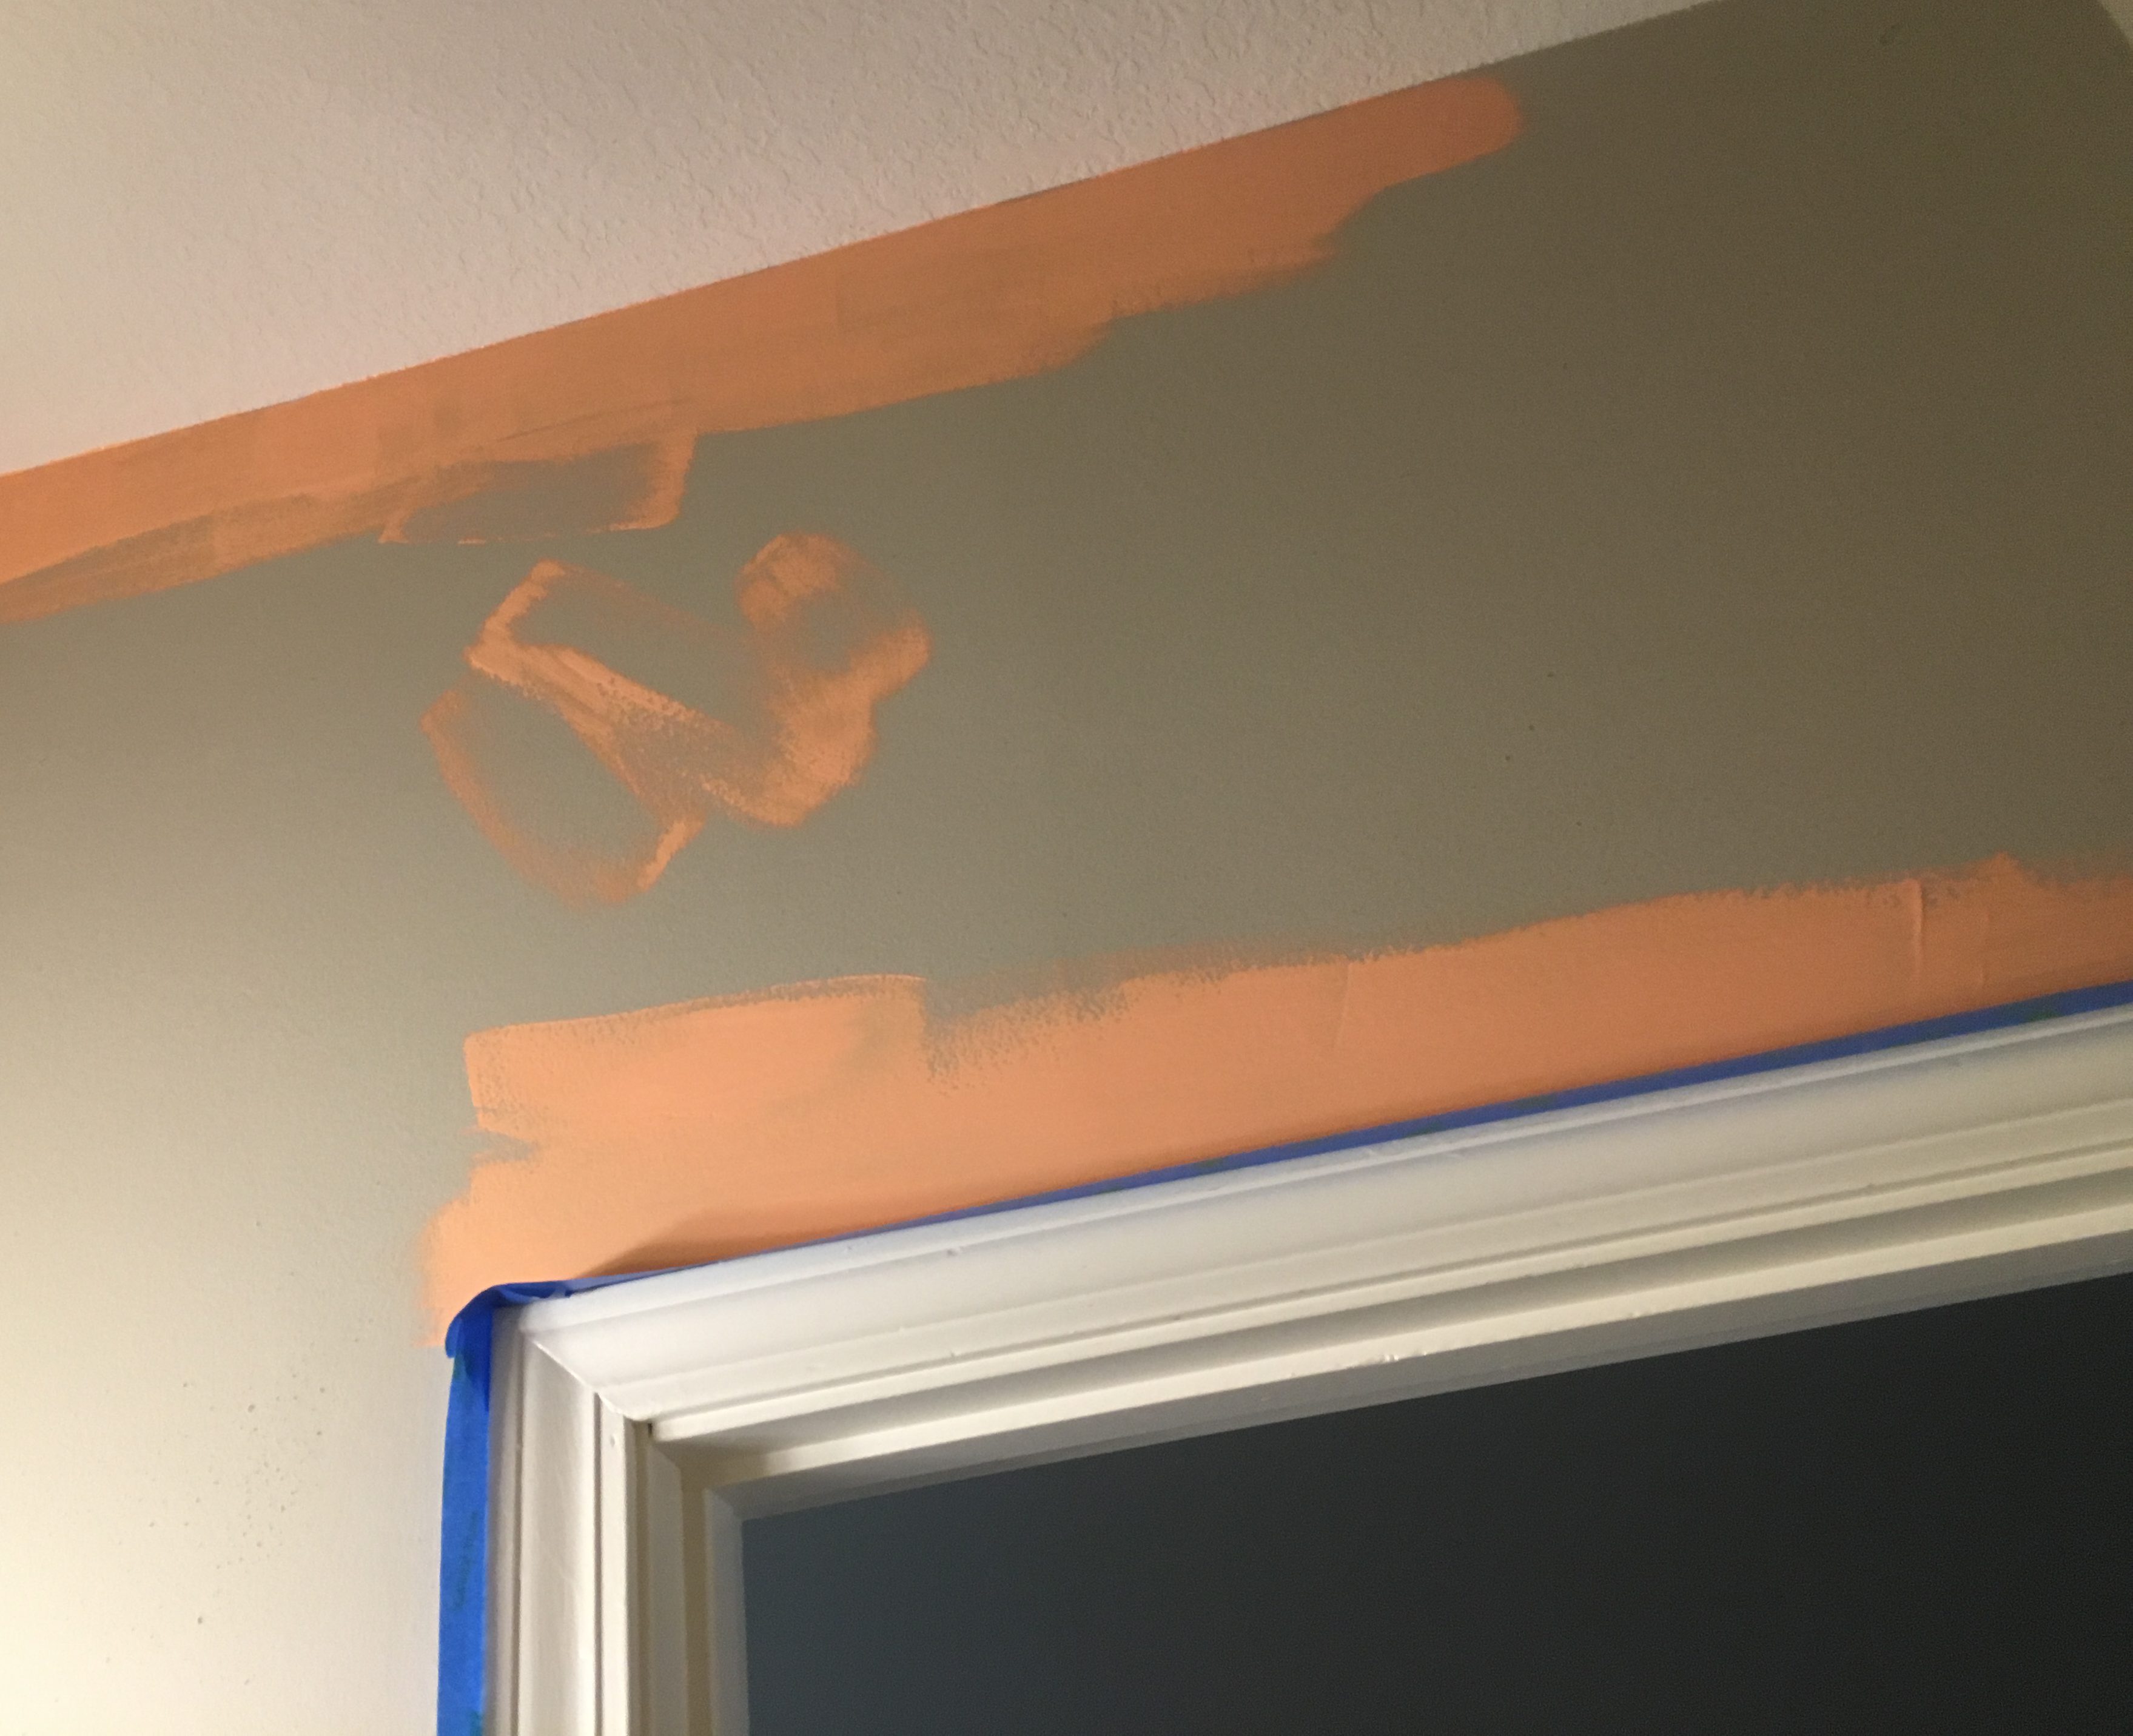 As you can see we picked a coral color, which is less orange in person, I promise. It really brightened up the room. After edging, paint the entire room with a roller, some people like the thin rollers, I like the larger ones go with whatever makes you happy. Tip: don’t be stingy with the paint on the roller or the brush. You don’t necessarily want to glop it on, but it’s better to err on the side of too much rather than too little. Also, be sure to paint in a W motion so you overlap the stripes.
Two coats later and you can hardly see the grey. You can see it even when the paint dries. Obviously, we opted not to paint where the new vanity is going since no one will notice it.
Now for the vanity and sink installation.

Finished project!
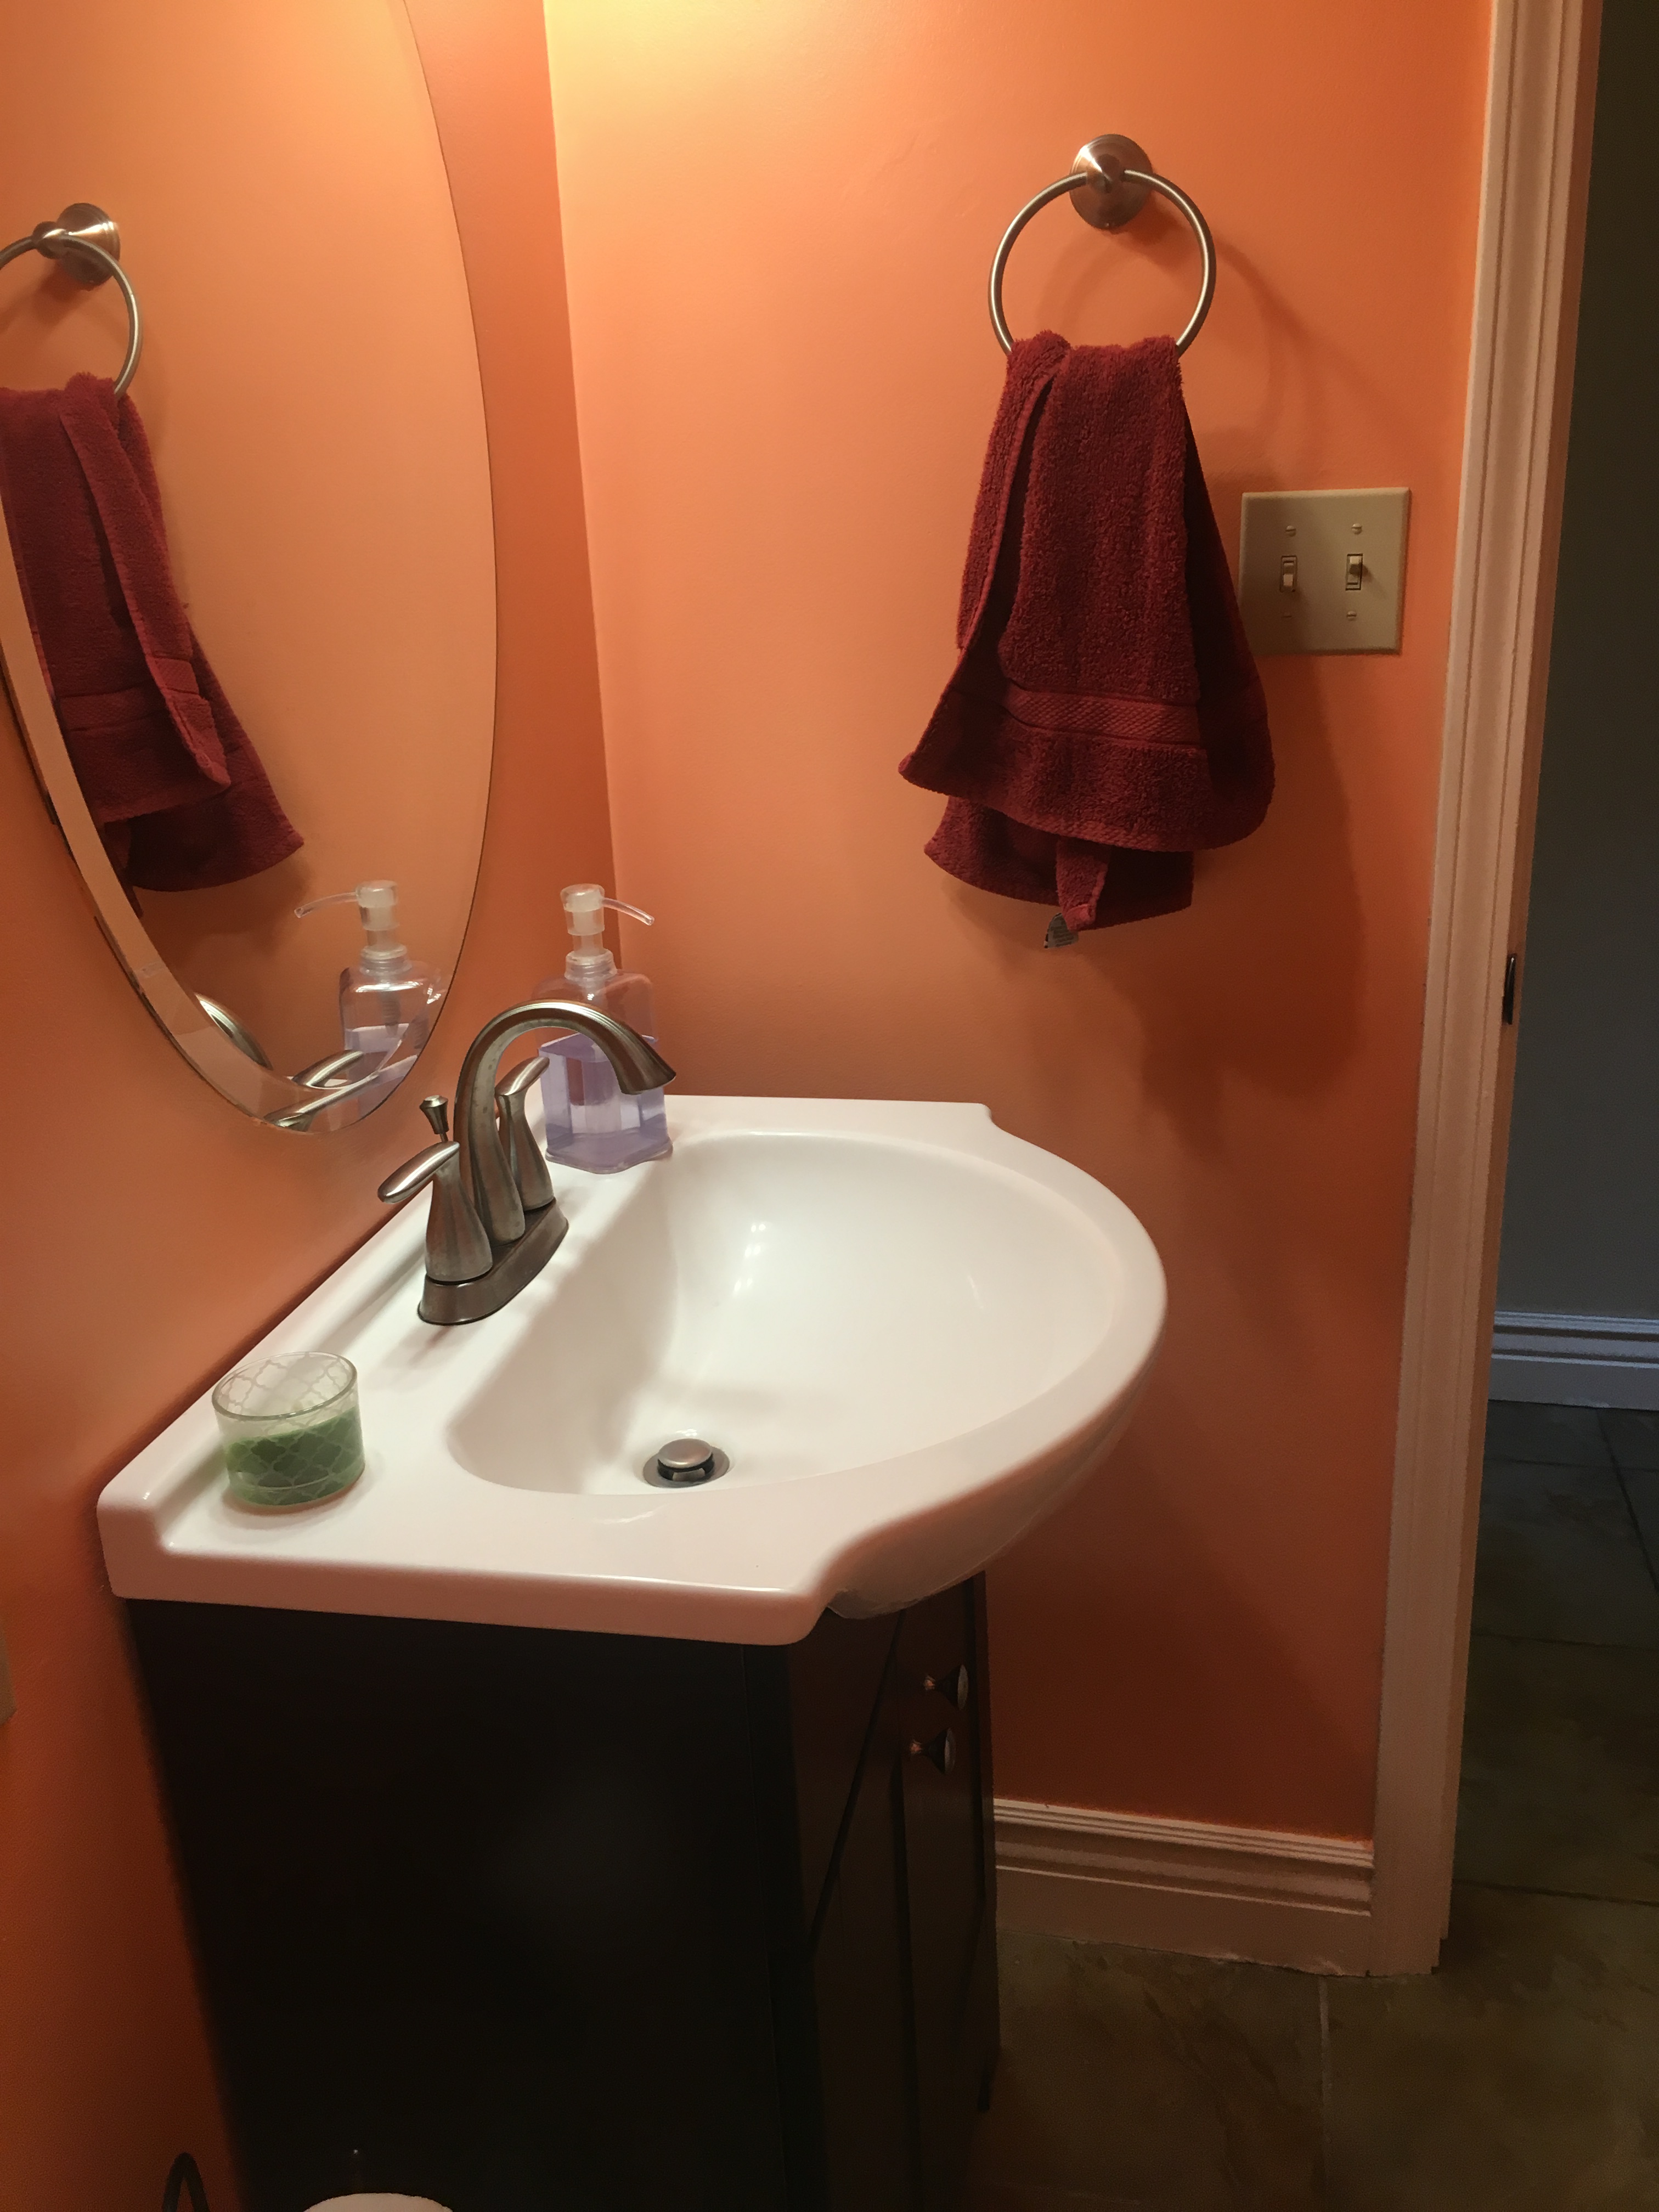
We still need to replace the outlets with white, but it looks so much better and with the new sink and vanity, there’s more room and a bit of storage. I couldn’t be happier!.
I didn’t realize you took that many pictures of the bathroom in progress. Love, Mom
Sent from my iPad
Way better! And kudos for doing things the right way the first time! Don’t you hate finding those little gifts previous homeowners leave when they cut corners? UGH! Pedestal sinks are pretty (well…sometimes) but most people need some sort of storage. We did the same for our half bath by replacing it and putting a small one with cabinet underneath.
These surprises were just one of many we’ve discovered in the last 10 months. Here’s to fewer surprises in the next project for both of us!